My dad visited J and me this past fall in California. Unfortunately, he bowed out of staying with us, and didn’t get to experience that studio life!! But we did a number of other fun activities.
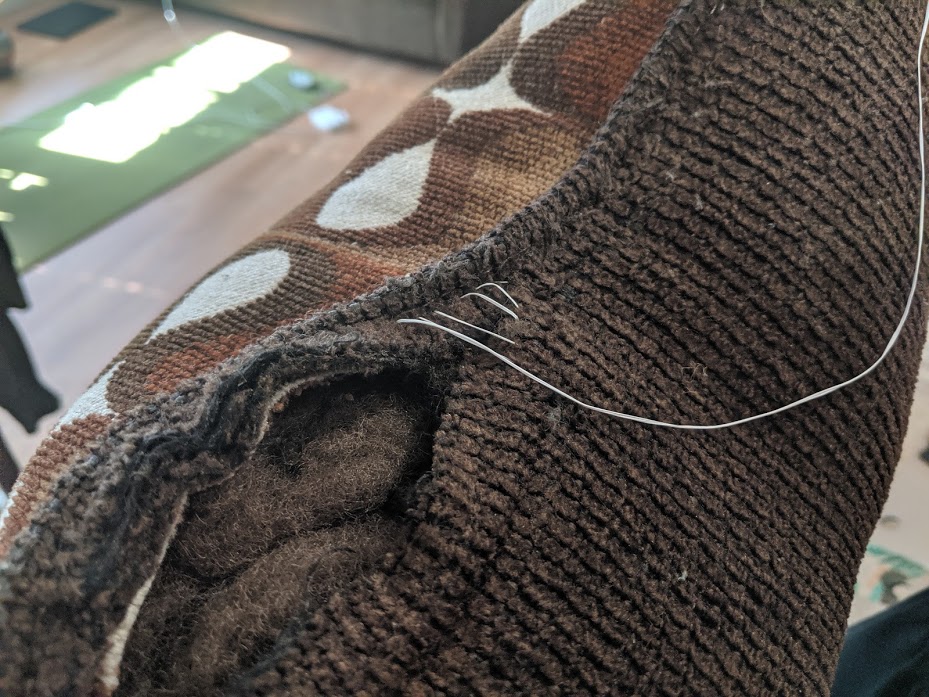
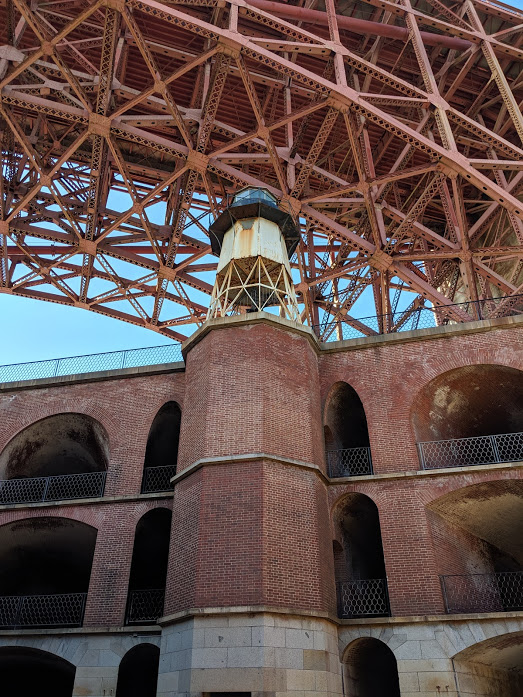
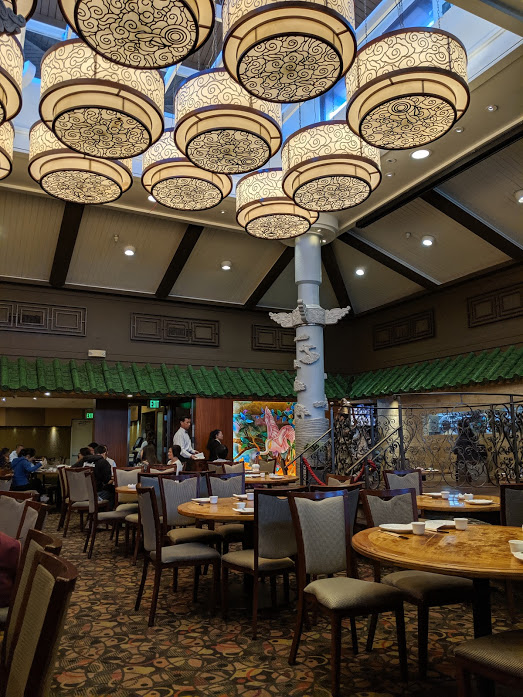
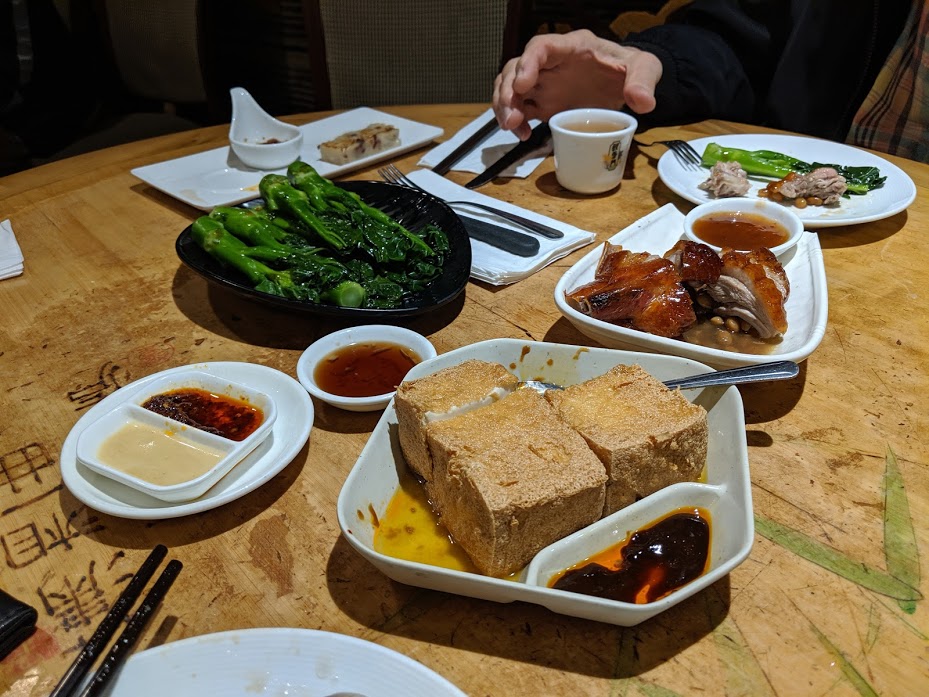
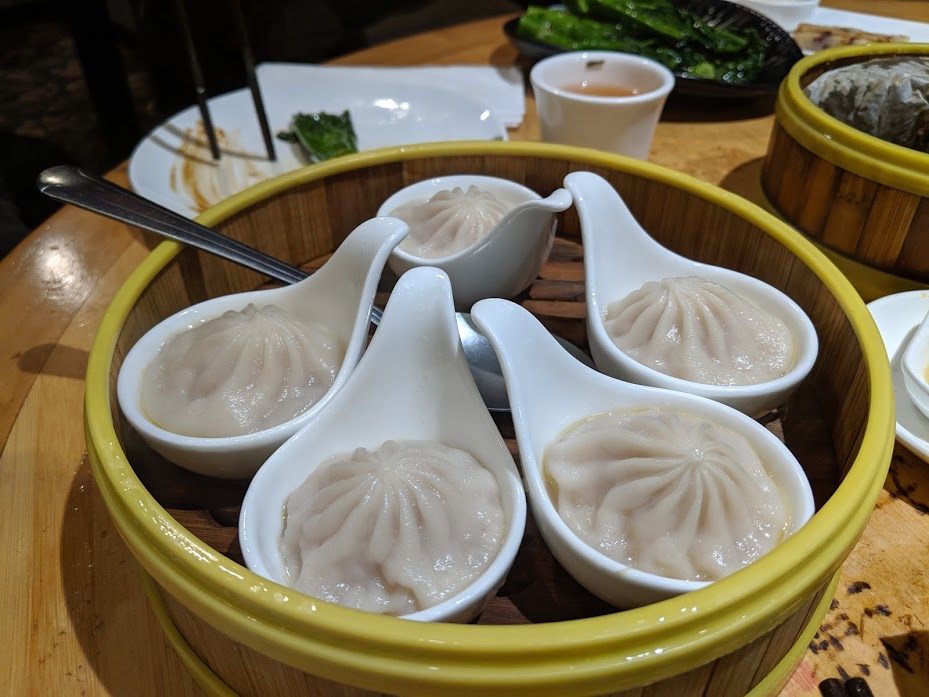
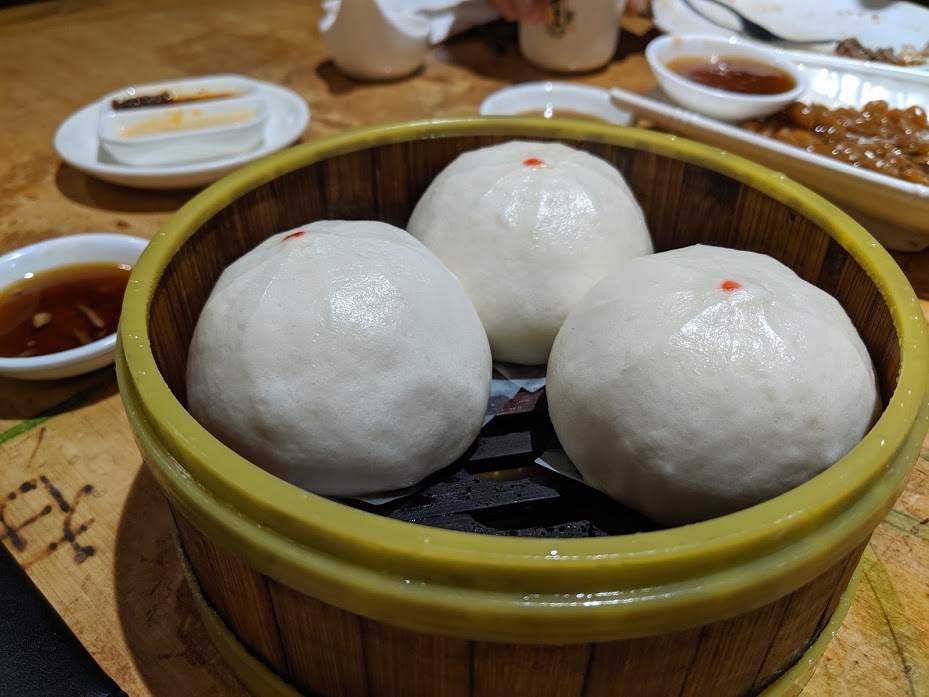
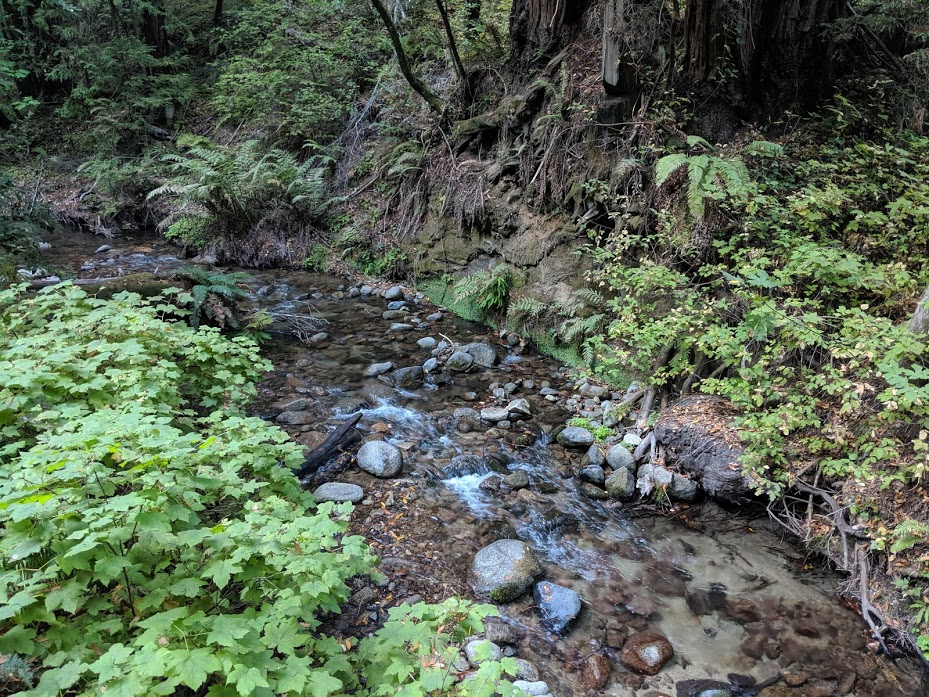
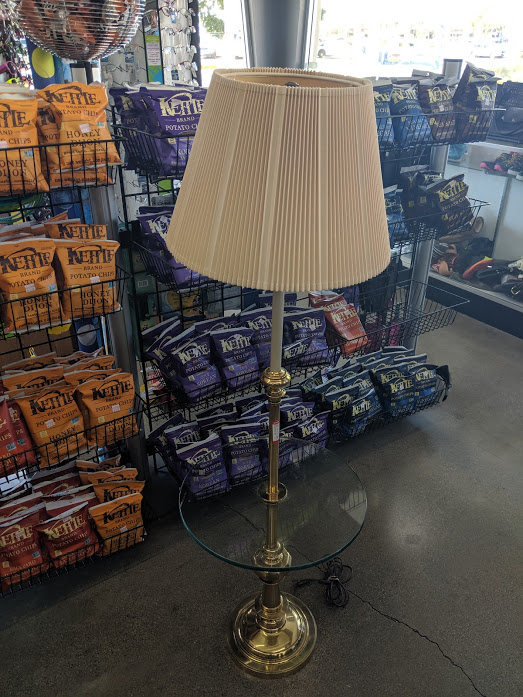
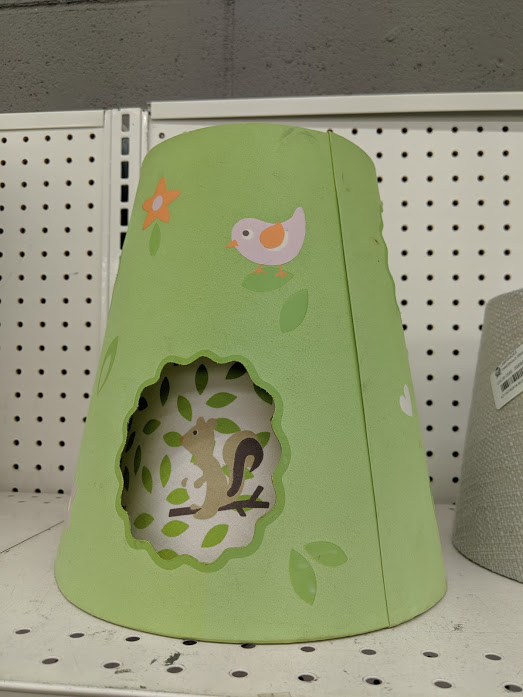
Fixing the sofa with dental floss was just one part of getting ready for the visit.Indian pizza with my dad and friend A.Peach Dutch baby (fondly called “the big pancake” in my family) for breakfast, recipe courtesy of my mom. We were too ambitious with the peaches – these are supposed to puff a lot more than this usually… I’ll post the recipe on here sometime and y’all can try it out.Hangar One, completed in 1933, at the Moffett Field Historical Society Museum. Lots of airplanes, old military uniforms, scale models of stuff, etc. There were a lot of interesting older buildings at the airfield. With more time, it would’ve been fun to walk around. Mysteriously, Carnegie Mellon also has an outpost here.The underside of the Golden Gate bridge!! As seen from Fort Point.Lighthouse!Fancy dim sum restaurant! This is Koi Palace in Daly City. J heard about it from… somewhere. It’s supposed to be really good. We got there pretty early in the morning and briefly had to wait in line.Some hiking~We got rid of some bad lamps at Goodwill and picked up a new-to-us one! It’s made by Stiffel, my dad’s favorite lamp company. Apparently they’re normally quite expensive ($300) – we got this one for $25!We also saw this cute replacement shade 🙂Ate at Original Joe’s, a kinda fancy Italian place in SF.
We went to Santa Cruz and saw some old mission buildings. The actual mission was partially destroyed in a mid-1800s earthquake and replaced by another church. A replica was built in 1931. The only original building was used as housing for Native Americans.
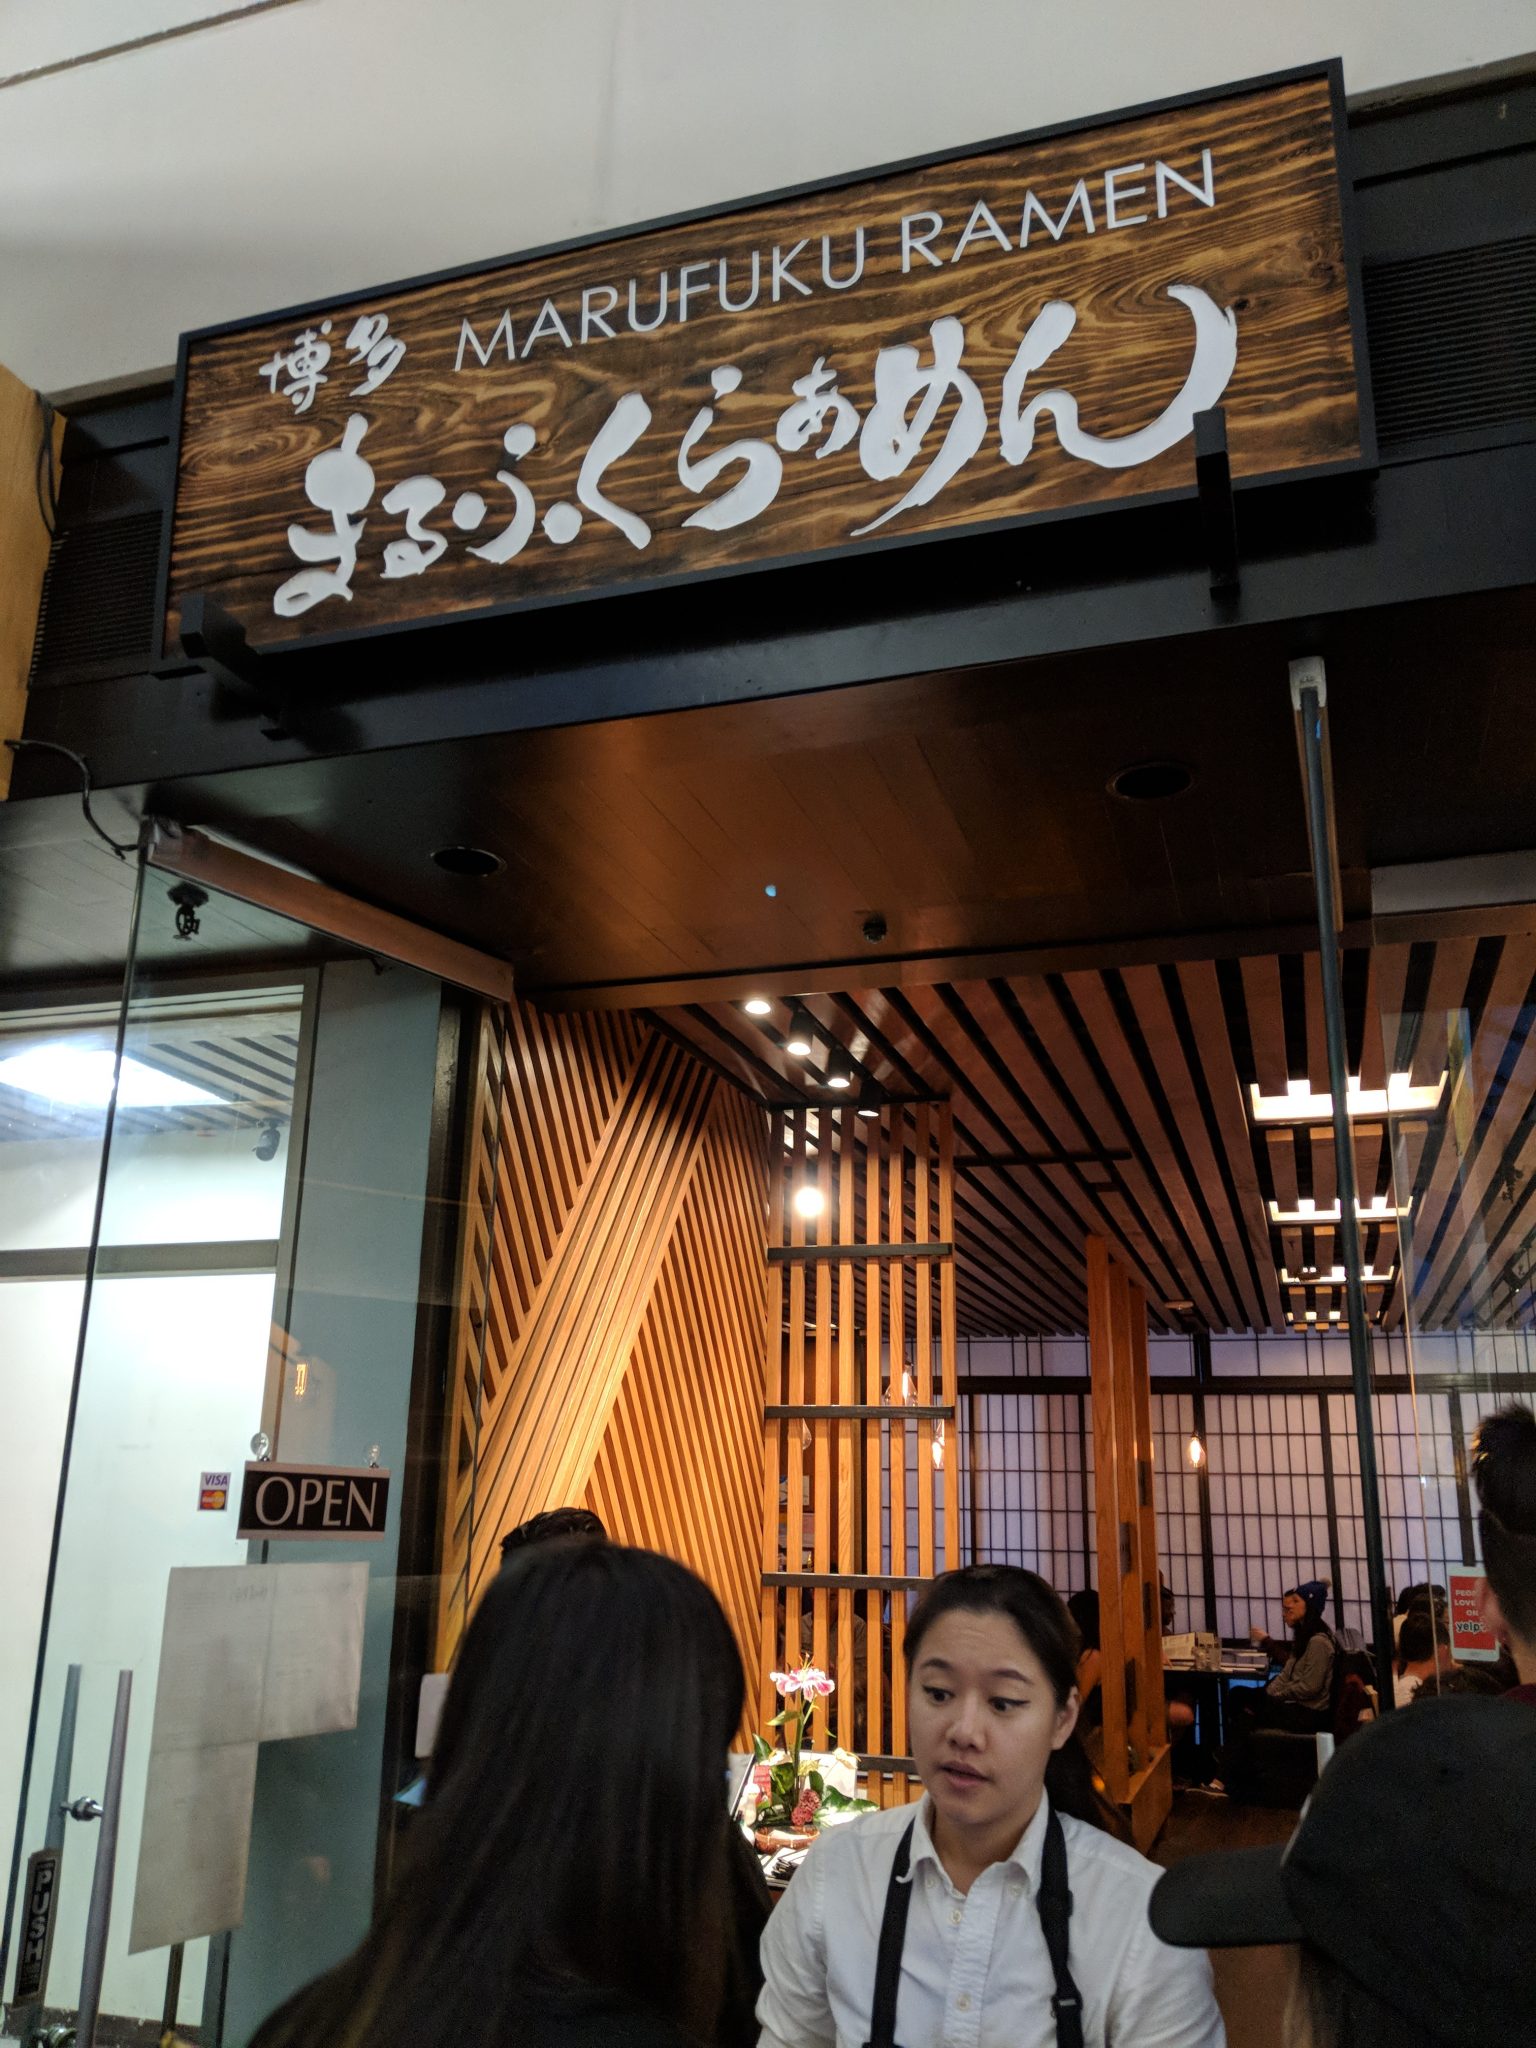
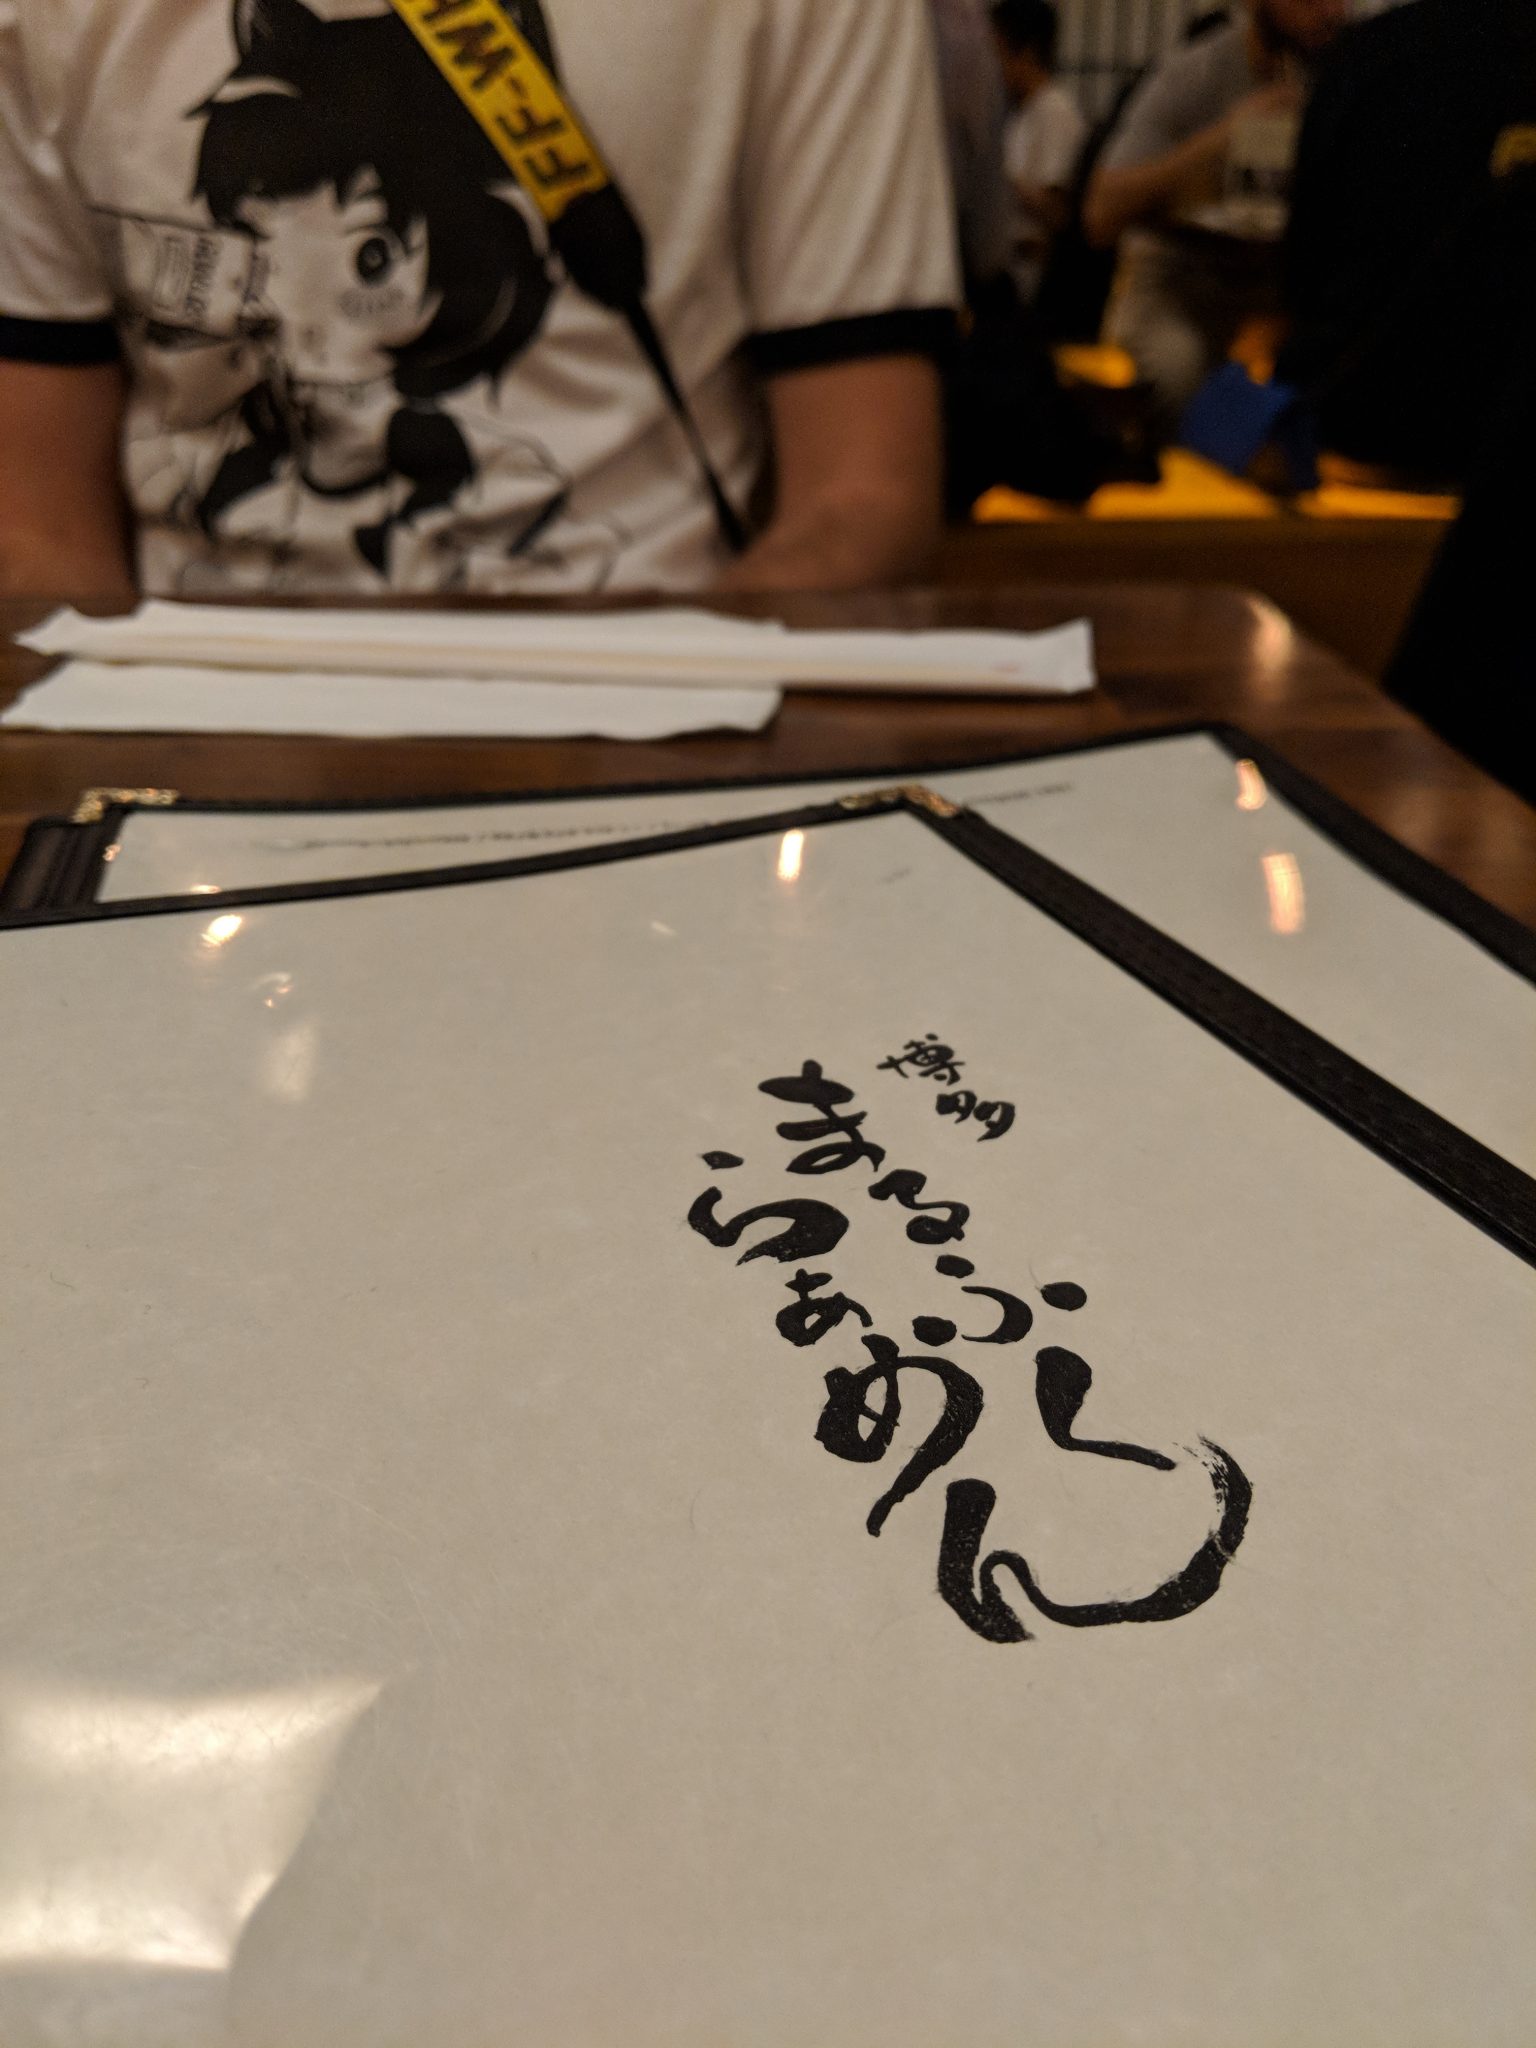
I’ve been wanting to go to Marufuku Ramen in SF, for a while now, but since they don’t have any vegetarian options it’s hard to go there when I’m travelling with N.
Fortunately, Friend M came to visit the Bay Area, so we decided to go try it.
They always have a really long line. Fortunately, you can put your name on a waitlist on Yelp. I’d recommend doing this 1-2 hours in advance.
Friend M pictured with his Off-White branded camera strap.
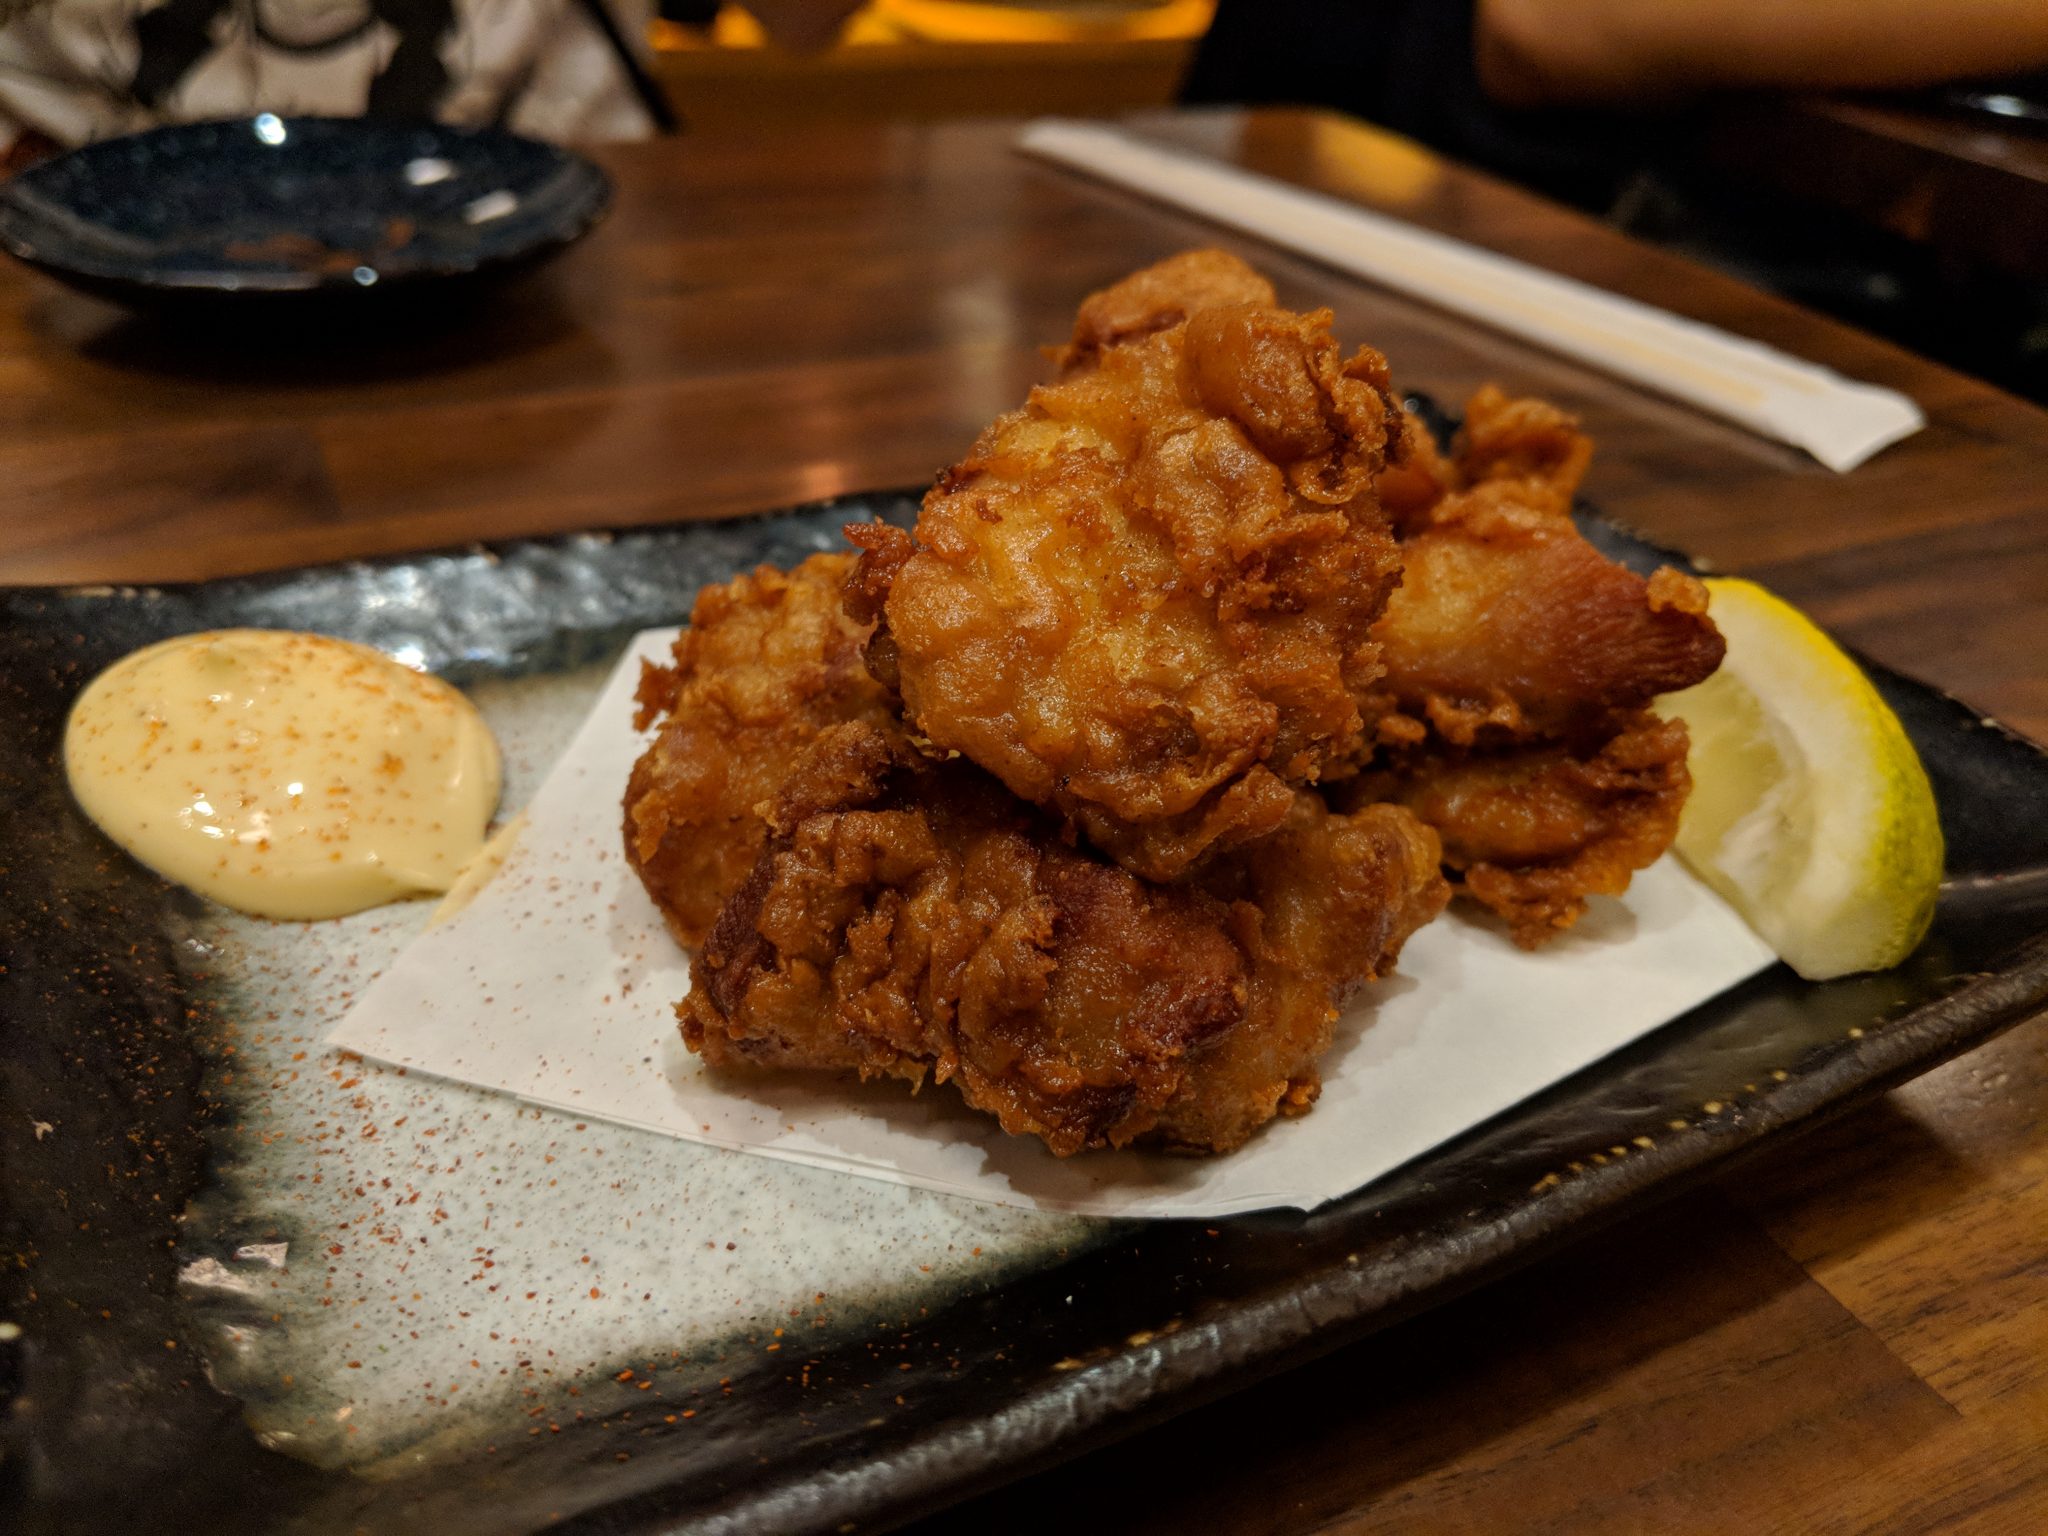
Chicken karaage. Pretty good.
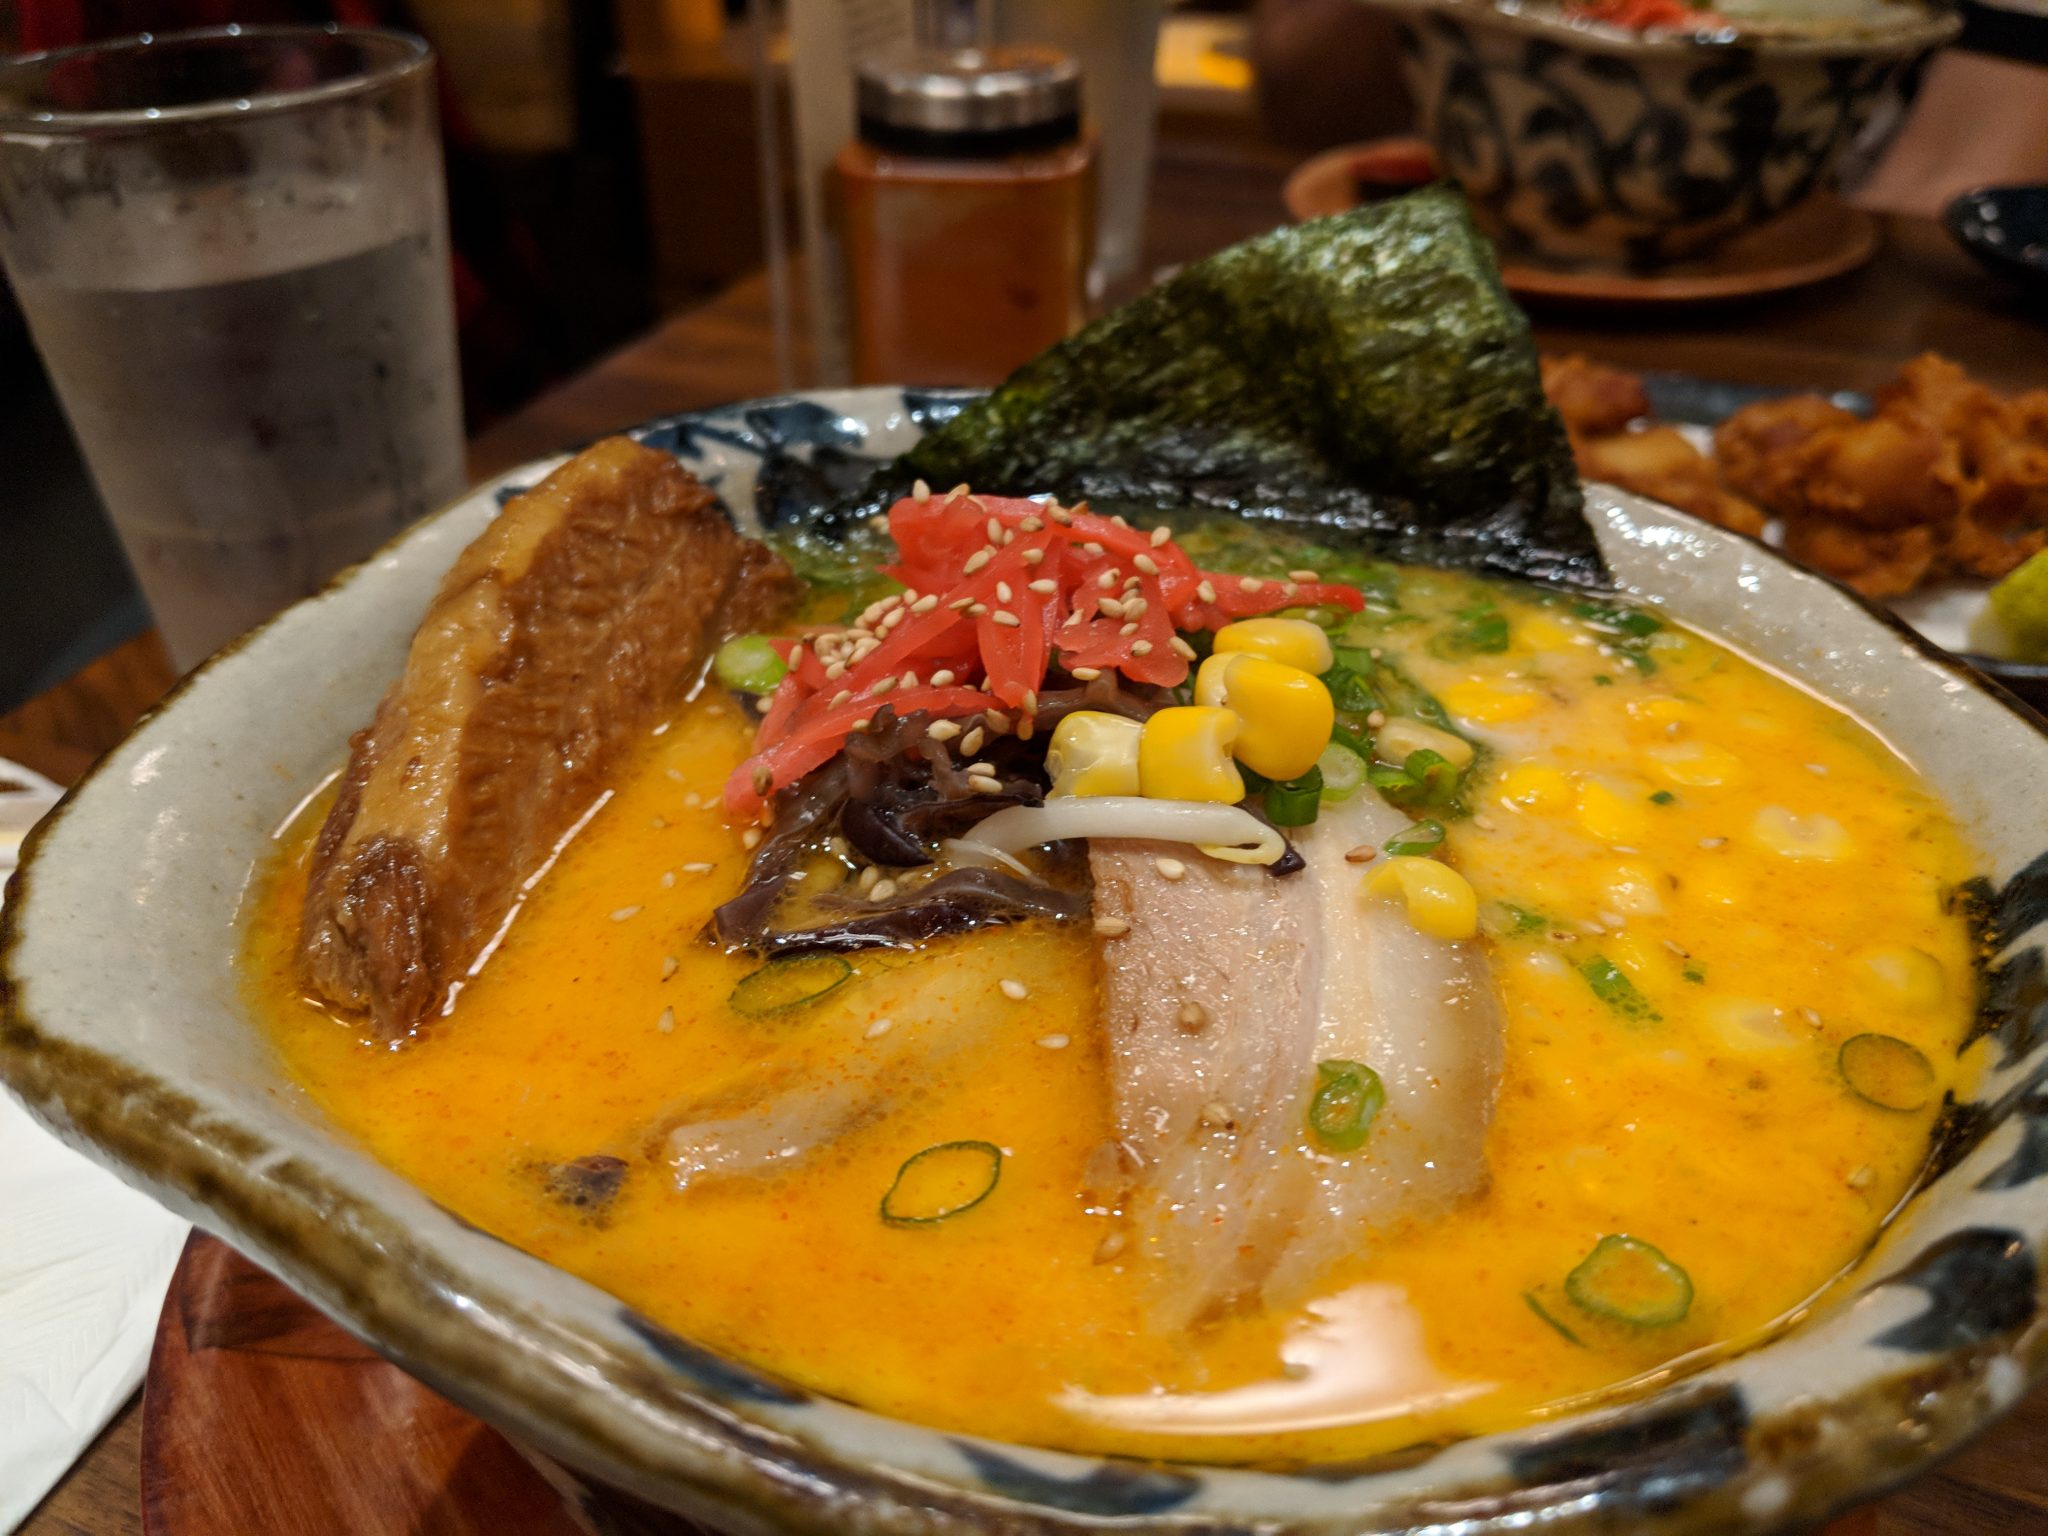
Hakata Deluxe Ramen. Tonkotsu broth with chashu and kakuni.
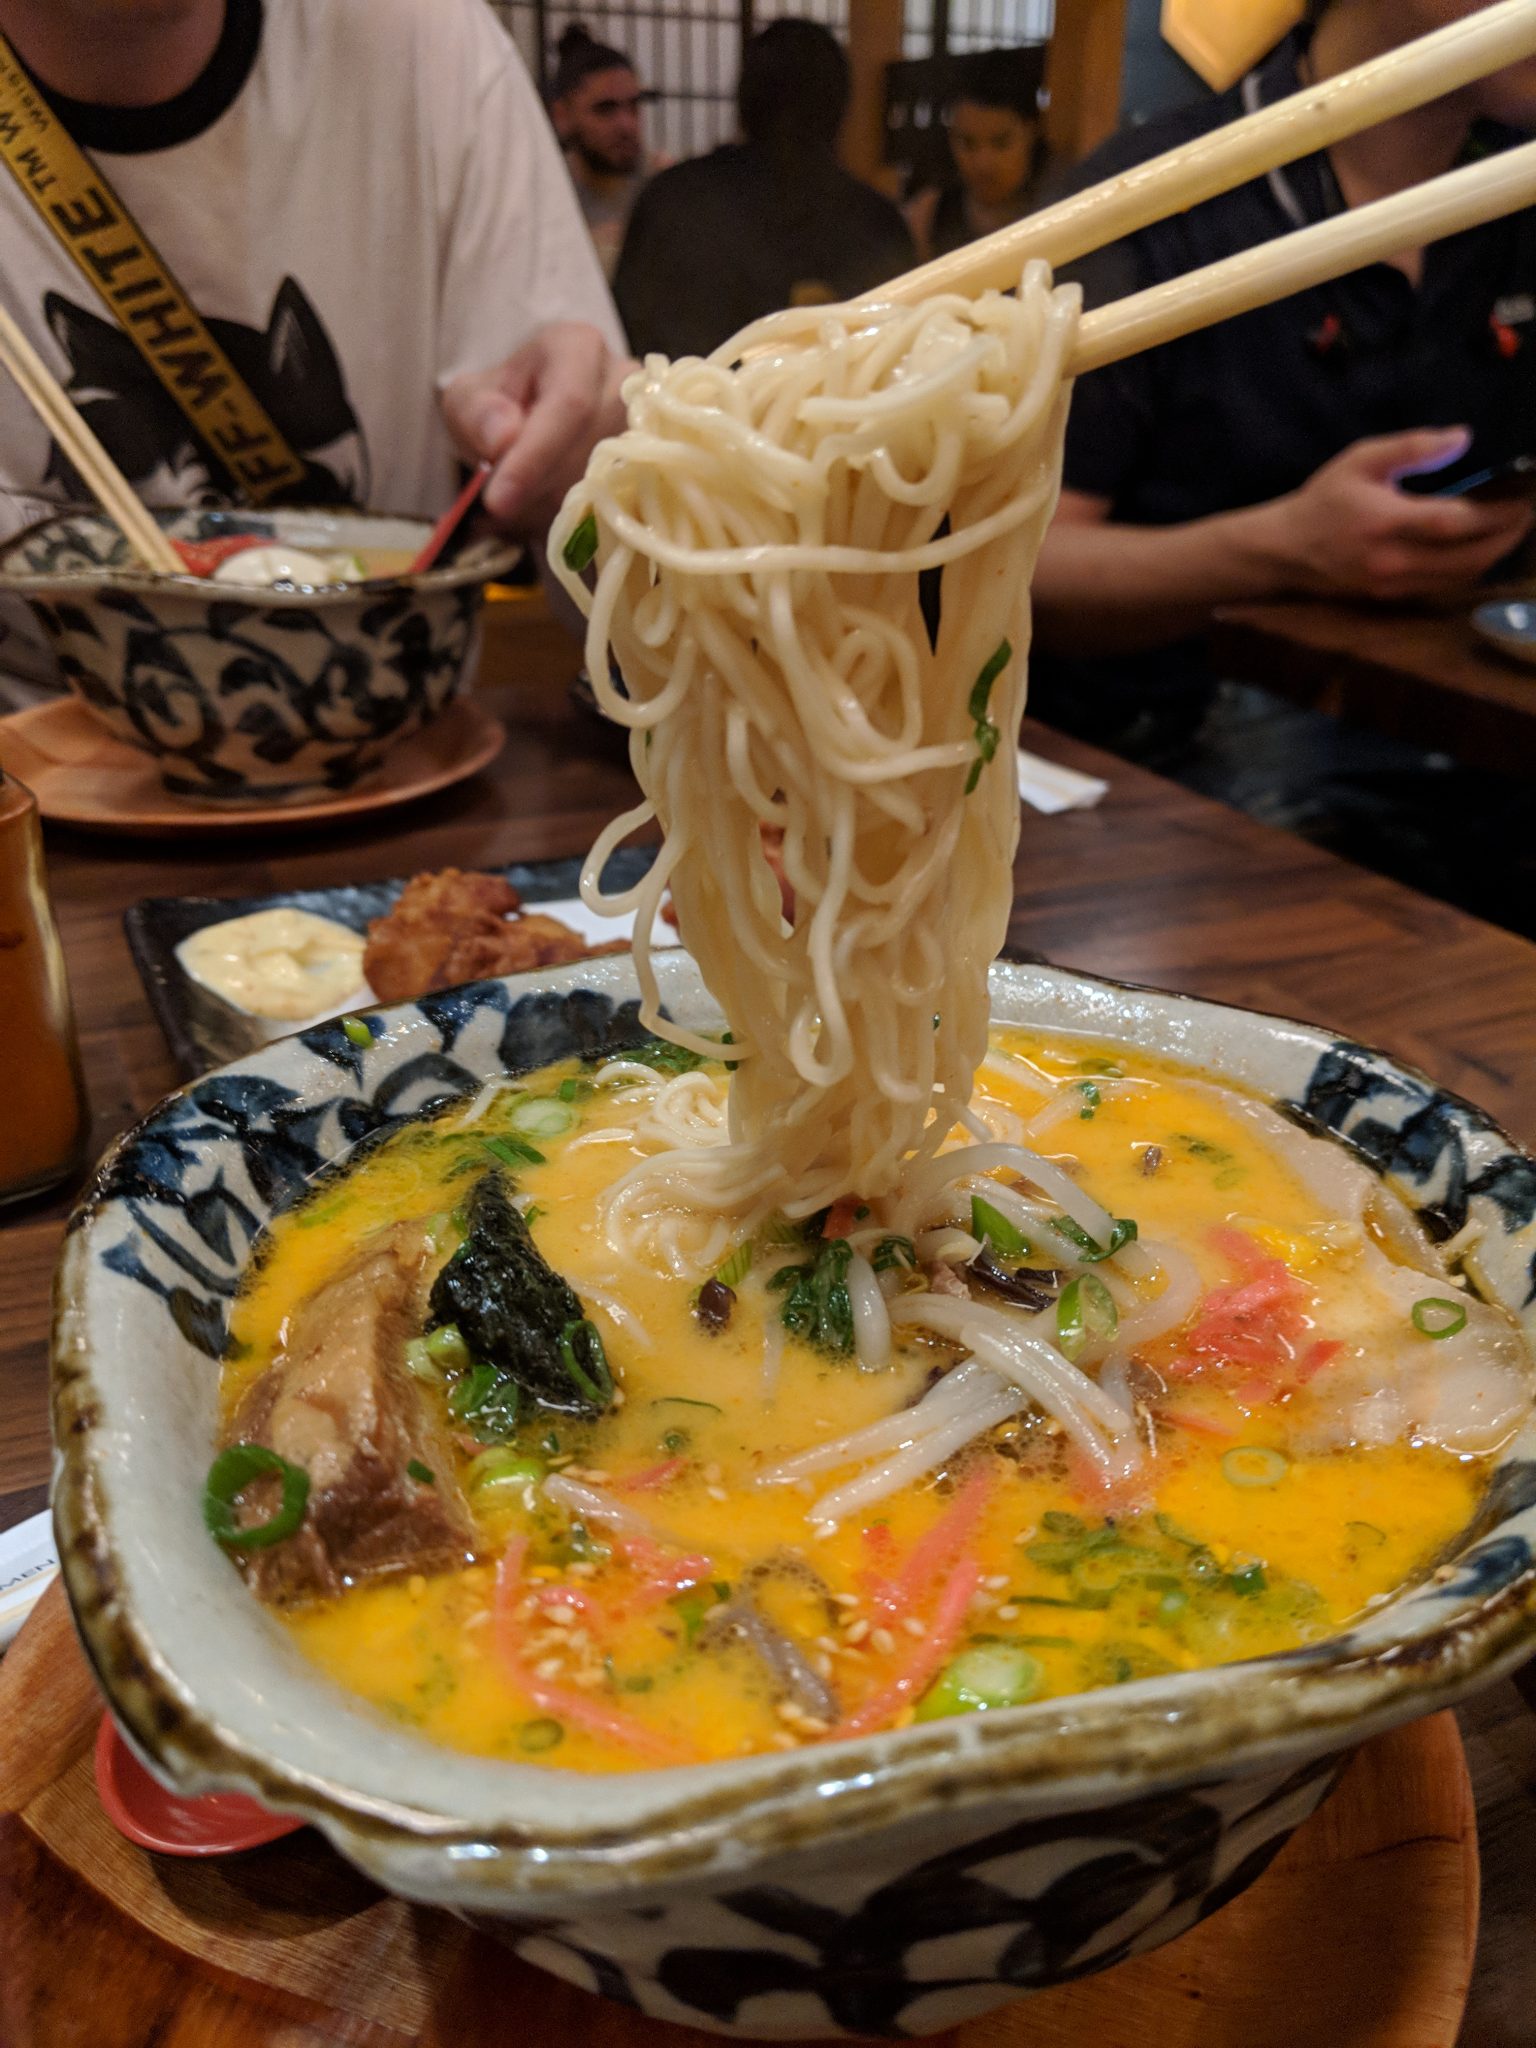
I saw people doing this (lifting noodles out of bowl) on Instagram, so I decided to try it too.
Usaato is having an exhibition at the San Francisco Japan Town mall. It is going to be from 11am to 6pmon Saturday-Sunday October 6-7.
Natural fiber, plant dyed, and hand-woven clothing from the Usaburo Sato collection will be displayed and sold. Usaato clothing is made from cotton, hemp, and silk fabrics woven and sewn in farming villages in Laos and Chiang Mai, Thailand. It is Usaato’s mission to support sustainable agriculture, respect village traditions, and bring a healthy economy and quality life to these villages.
For those of you in the Bay Area, Usaato is having an exhibition!
Place and Time: San Francisco Japan Town, 2nd Floor of Kinokuniya Book Store Bldg, Saturday, September 1, 2018: 11am to 6pm, and Sunday, September 2, 2018 11am to 7pm.
In the email advert I received, Usaato described itself as:
Making fully handcrafted artisan fabrics using sustainably grown cotton, hemp and silk: hand spun, hand woven, plant based dyes
Using high quality designer-spec construction and seamwork: durable, long lasting
Using an innovative fair trade model
“USAATO clothes are made in specially selected villages in Thailand and Laos practicing sustainable agriculture and known for their traditions of spinning, weaving and plant based dyes. The fabrics are mostly handspun and hand woven by their traditional weaving machines from cotton, hemp and silk with natural dyeing by artisan women in various areas of these two countries.
USAATO clothes are sewn by individuals and groups in worker friendly environments in Chiang Mai Thailand. These beautiful fabrics are unique to the various villages which is further reflected in the individuality of Usaato designs.
It is the Usaato mission to support sustainable agriculture, respect the village traditions and to bring a healthy economy and quality life to these villages. We would like to invite you to be a part of this Usaato movement.”
The day after the park walk, C and I went to San Francisco via the Caltrain, of course.
First we went to Rainbow Grocery to check out the bulk selection. We were actually too starved to shop, so first we ate our picnic lunch on the bench in front of the store.
Then we went to Cookin’, a mid-century-European-cookware thrift store.
(stand for food mill, wok spatula)
Cookin’ was very impressive! They have a large selection of very niche items – not just one canning food mill, but 5! – and a large selection of vintage and non-electric cookware (e.g. hand-crank egg beater). The store is organized by type, so that all the wooden cooking spoons are together within the larger implement section, the copper pots are together within the larger pots and pans section, etc. Not everything is displayed, so ask if you’re looking for something specific.
I bought a canning food mill stand, which I haven’t even been able to find on eBay. C bought a wok spatula, which she’s been looking for at thrift stores for ages.
Cookin’ is kind of expensive, but the prices are worth it for those hard-to-find items. The prices for popular items (vintage Le Creuset) are on-par with eBay, but the low demand items seem too expensive (worn plastic spatulas for $0.75). The store specializes in European cookware, so you won’t find a lot of specialty Asian items, e.g. (although C did get to choose between 3 different wok spatulas).
Darning eggs are used to stretch knit fabrics to make them easier to repair.
Oddly, they were selling darning eggs as pestles. They do look a bit like wooden pestles (see canning food mill picture above), but the owner obviously doesn’t do crafts. At least I know where to find darning eggs now 🙂
As some reviewers note on Yelp, the shop is like a display of the owner’s personal collection of cookware. The inside is an organized hoard – leave large bags and hats at home to avoid accidents! Enjoy!
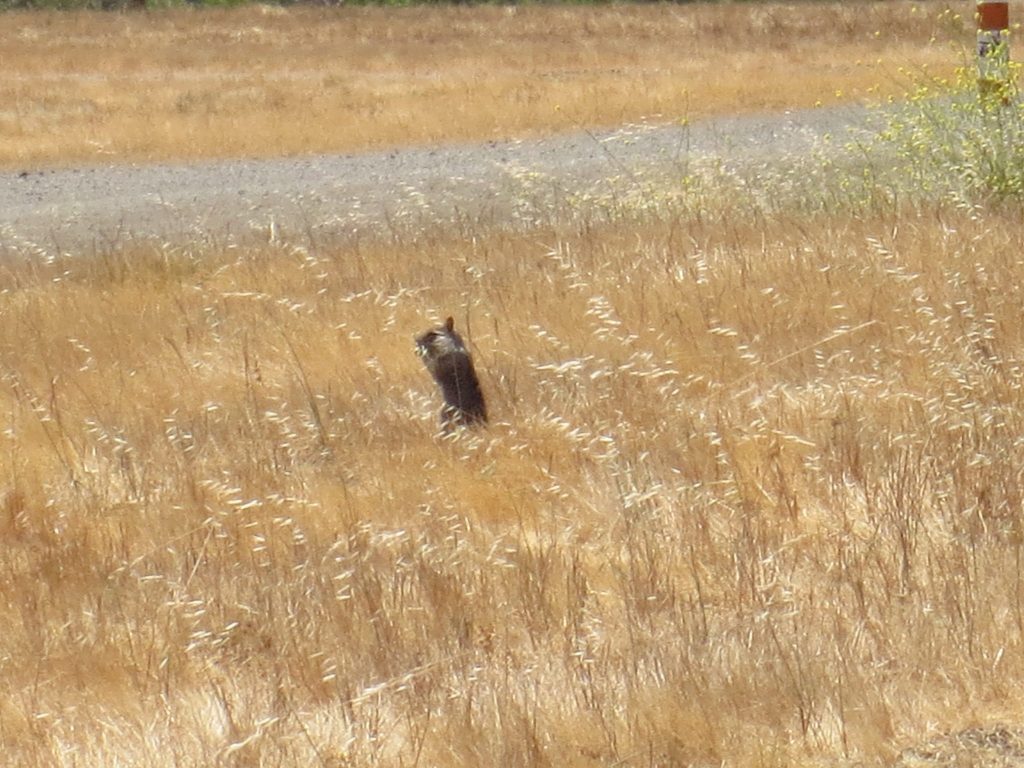
Sibling C and I went on a nature walk along the in Shoreline Park, a public park and nature preserve for endangered animals. It is build on an old landfill (and had problems with methane fires a few decades ago…) along the San Francisco Bay and provides habitat for burrowing owls, among other animals.
The main feature of the walk was a pack of baby ground squirrels on the side of the trail.
At first, we thought the babies were some type of tree squirrel, but they acted funny. They seemed really slow and dumb, for example. Great for photo shoots!
Ground squirrels are not quite as cute when adult, looking like a cross between normal squirrels and rabbits (I’ve seen what I think are black-tailed jackrabbits in the area too).
An adult ground squirrel we saw at the park.
We also saw ducklings!
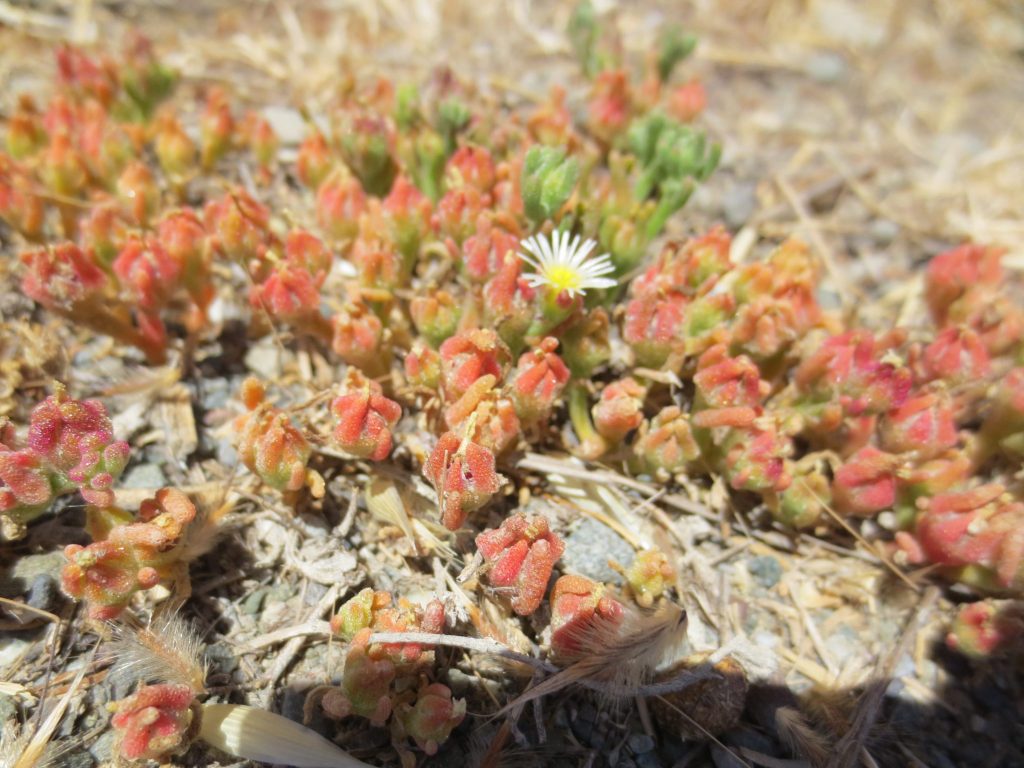
C also took a lot of plant photos to try to identify via iNaturalist. iNaturalist features a plant and animal-identification algorithm that guesses the species featured in uploaded photos. Most of the suggestions are spot on! Other users can also help with identifications.
A generic lizard, for example.
And invasive English ivy.
Cute sedum-thing.
After the walk, we ate dinner out and visited a nearby rooftop garden (big enough for a basketball court)!
Last fall, I made olives from fruit gathered from a neighbor’s tree. As it turns out, this neighbor had been interested in making olives for a while, but never looked into it. He was very excited about the project and readily let me pick his olives.
I hadn’t cured olives before, but I’ve did some research on it (and have a lot of experience with other niche food projects!). As it turns out, it’s pretty easy and makes an item that is relatively expensive to purchase, so definitely worth it.
There are four basic ways to cure olives: in water, in salt brine, in lye brine, and in salt (dry). The lye method is the fastest- it can take less than a day, but lye is rather dangerous, of course. Curing in water is also supposed to be relatively fast (a month), although it seems of questionable veracity to me. Dry-curing takes 1-2 months. This method is also called oil-curing, since these types of olives are often marinated in oil after being cured. The low water content makes them taste richer and oilier. The slowest, but one of the easiest and most common, methods is brining. It takes 6-12 months and produces a “normal” olive.
The salt-based methods rely on lacto-fermentation for flavor and additional preservation. The salt prevents the wrong types of bacteria from growing (which is why it’s important to use enough salt and why I’m dubious about the water-only method!); the fermentation adds flavor and acidity.
All methods can be used on all types and ripeness of olives, but there are combinations that are more common. For example, dry-curing is more common with ripe olives. Brining is more common with green (unripe) or half-green olives. Unripe olives tend to have a stronger taste, since they start off more bitter.
Here’s a review of the process, plus improvements:
Collect olives by shaking branches towards a tarp. Gather olives from the tarp (e.g. pour into a bucket). Picking by hand is laborious and bumping the tree as you pick causes nearby olives to fall off and be lost.
Many (~75%) of the olives I collected had been impacted by the olive fruit fly, which lays its eggs in the olive meats. Impacted olives are safe to eat, but may be more acidic and have a shorter shelf life. I didn’t use any of the impacted olives this time, but would in the future since I was left with so few olives!
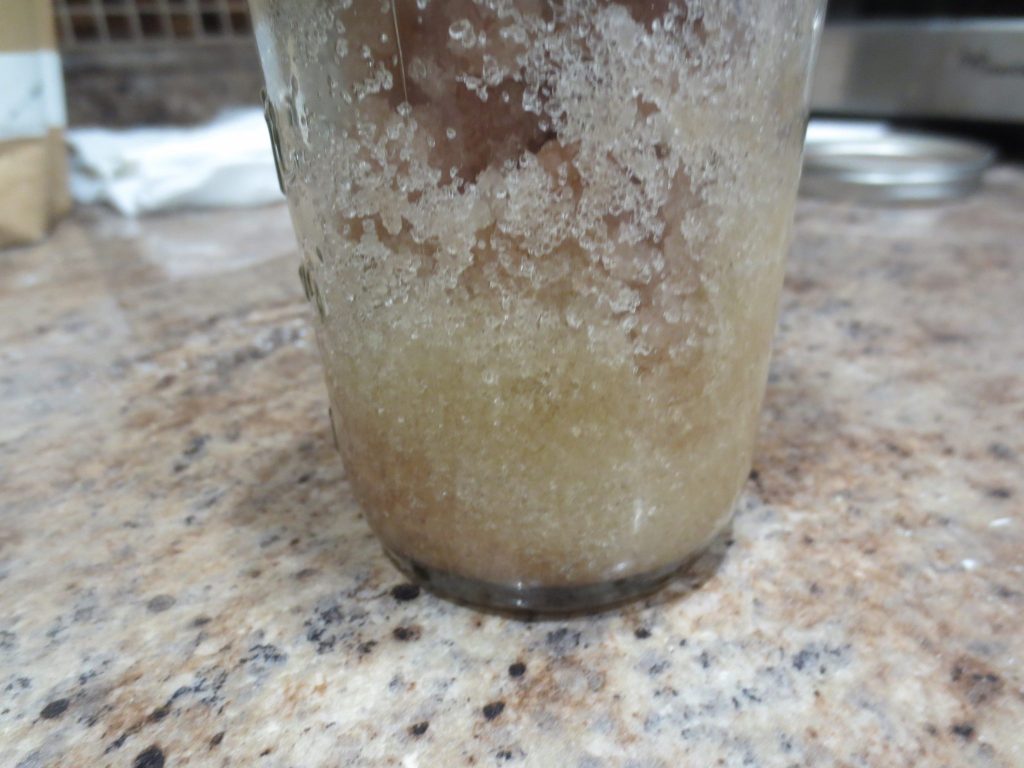
I dry-cured the olives, leaving them in a jar of salt for ~3-4 months. Turns out this was too long, as the olives were overly salty and desiccated, so make sure to taste-test periodically. I rehydrated and de-salted by soaking in plain water for a few days, then put the olives in a brine (because they started getting moldy…).
Dry-curing works best on ripe olives. I cured some green and half-green olives that turned out kinda hard and bitter, so I would avoid those in the future.
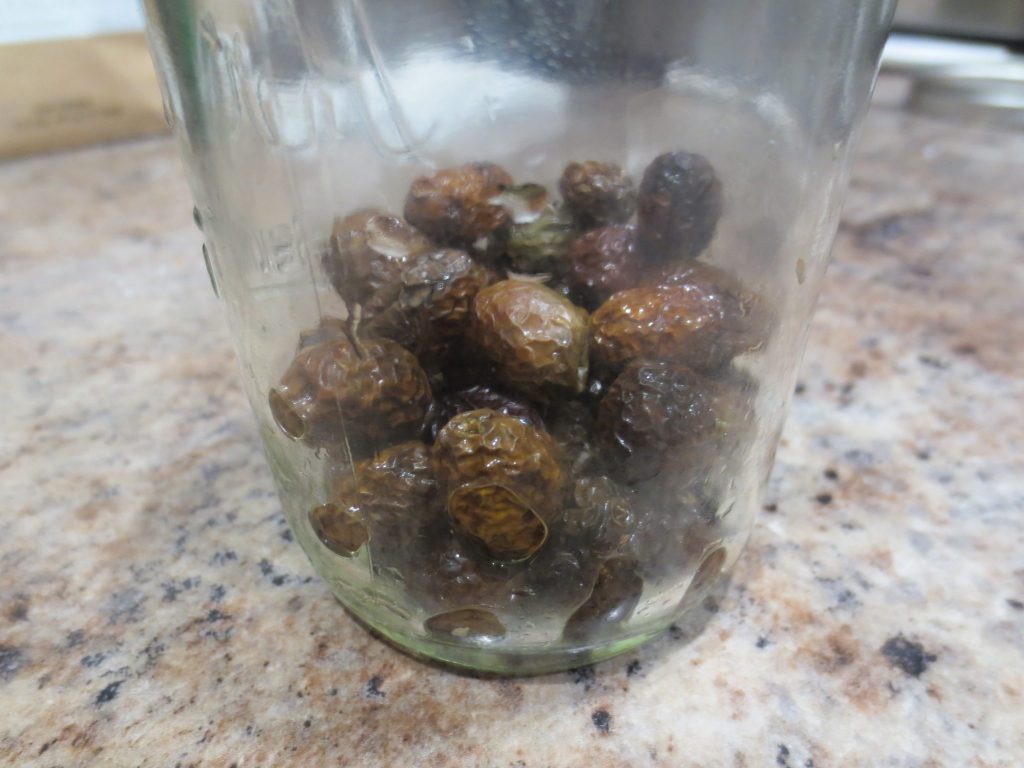
I was impressed with how easy the process was and how olive-like the finished product was.
Leftover salt. I still have it. Maybe I can use it in the next batch of olives.
The finished olives! I eventually put them in a brine (sniped from some commercial olives) for storage. I intend to give some to the tree-owner.
In my defense, I don’t usually lose things. I was distracted by another train passenger being disruptive. He had had the police called on him for “acting threateningly” towards an Amtrak employee. I was eager to disembark.
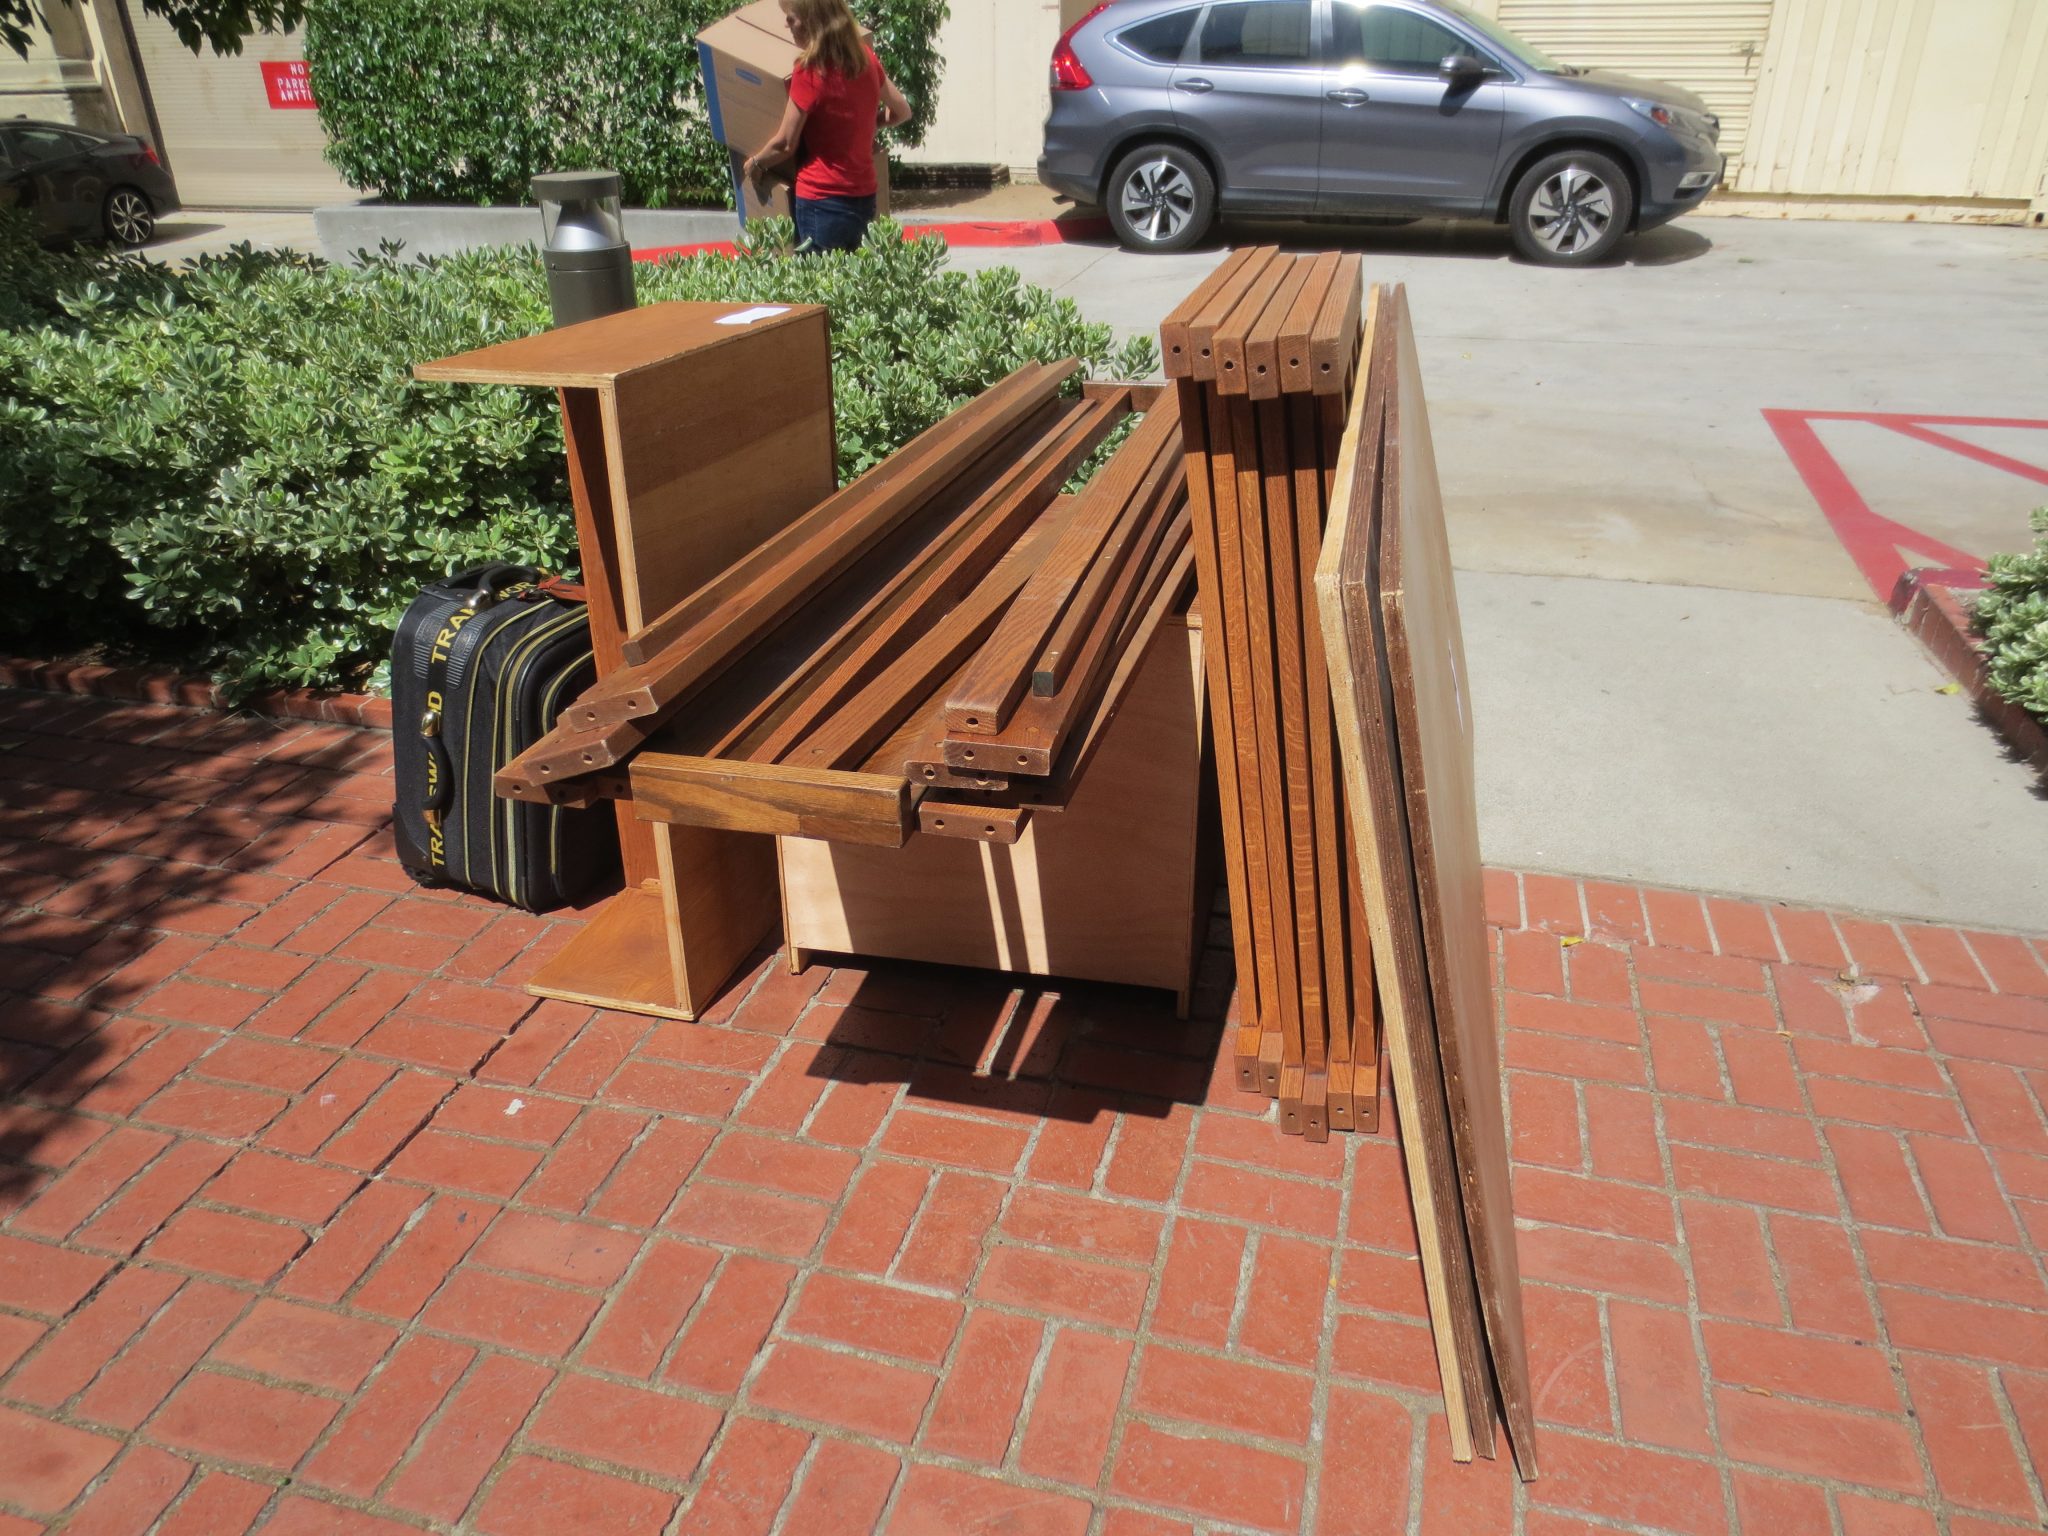
I recently took a trip to LA to pick up desk-bed parts. It was a success!
My original plan was to have a friend drive the furniture up for me, but I couldn’t find a willing driver (and car rentals got complicated). Instead, I used uShip! uShip is an online bid-based marketplace for shipping items (especially large, unpackable, awkwardly-shaped items, like motorcycles and furniture).
When shipping something through uShip, you start by making a “shipment” on the website. You enter details about the items (size, weight, number), where you’re going from/to, and when you need the items by. uShip automatically generates an expected price based on the information, so you have an idea of what you’re going to pay. Once you publicly list the shipment (at least 2 weeks before the intended move, please!), movers start bidding on it. You can accept any bid at any time, at which point you should contact the mover directly to iron out pickup/dropoff details.
Pros:
uShip provides a money-back guarantee, where you don’t pay the mover until you get your items. uShip holds the money until then. If anything goes wrong with the move, you can contact uShip for help.
The auction-based format of uShip helps get you a lower price, both because of mover-mover competition and because movers can combine shipments to the same destination.
I didn’t have to drive anywhere.
I didn’t have to pack anything (unlike using Fedex, e.g.). The movers provided all of the padding material (nothing disposable!) and loaded all of the items.
Items can be delivered to someone else, so I didn’t need to be at both ends of the shipment.
Cons
I paid $320 to the movers ($25 fee to uShip), $130 more than uShip originally predicted (and J accidentally tipped 40% upon delivery…). I do think that it was a good value, considering that I didn’t have to drive and a new bunk bed of questionable quality costs around $900.
It was scary to use uShip for the first time D:
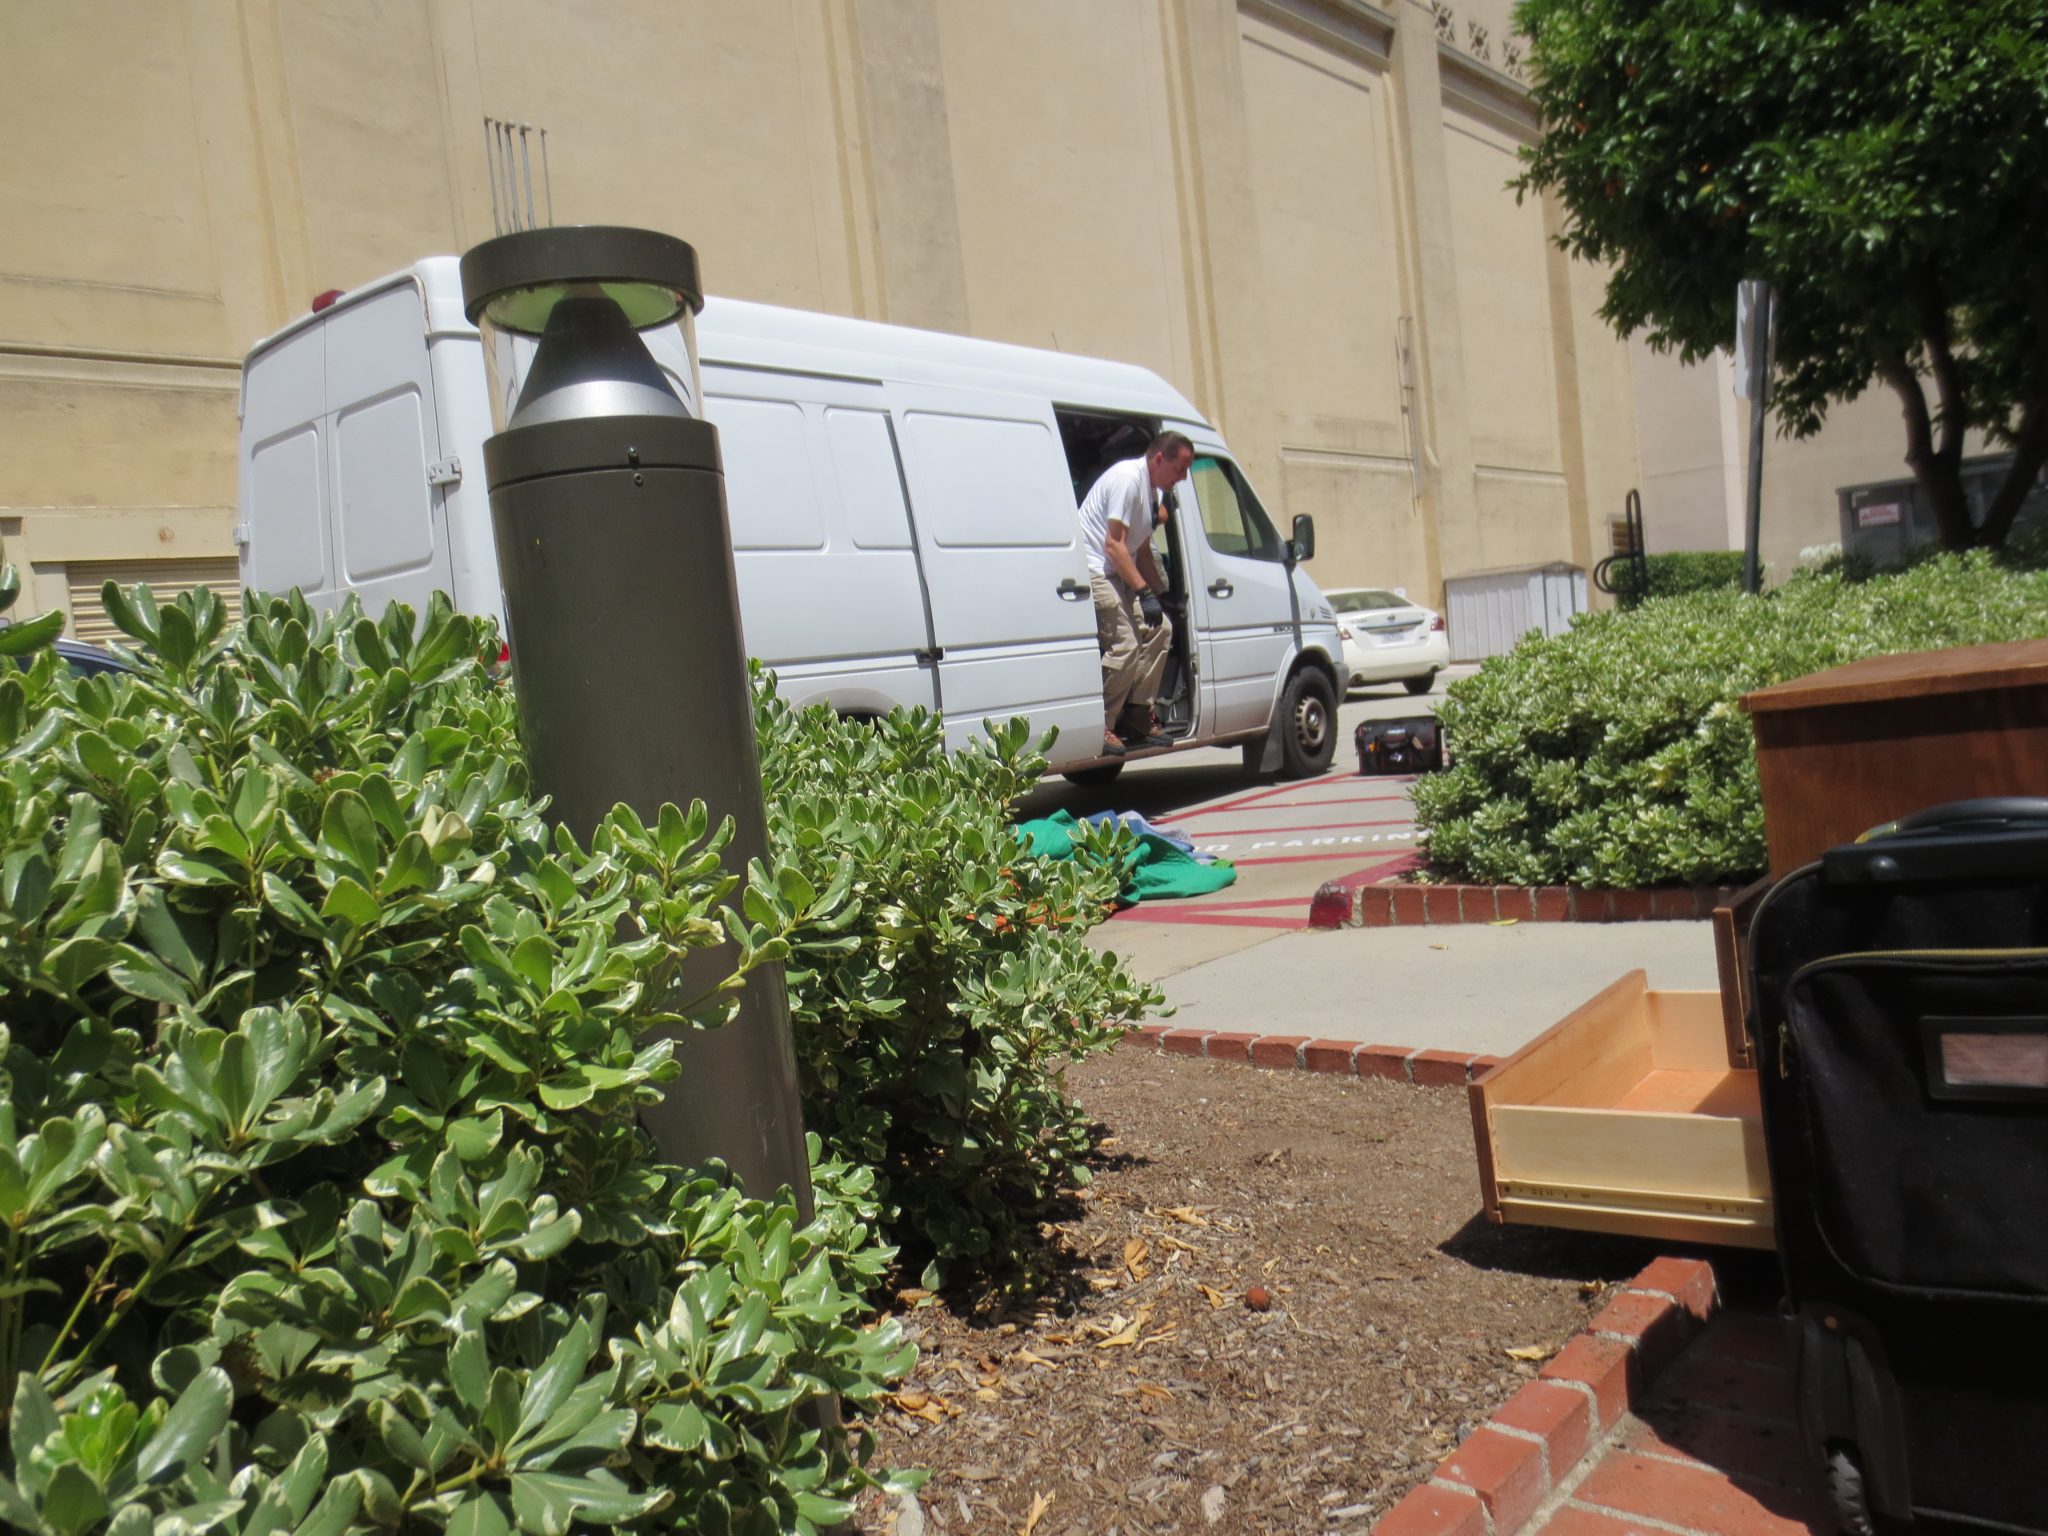
My experience was excellent, although it heavily depends on which mover you use (reviews are provided on the website). The movers I worked with were very organized and fast! The furniture was delivered the same day as pickup. The movers even helped carry it up to a second floor apartment. I would use uShip again, and would generally recommend it if you are moving a small number of items (i.e. not a whole house of furniture).
Bunk-bed and desk parts, half-shelf, dresser, and a stand mixer (in the suitcase) to be moved.
Smaller-than-expected van, although big enough to hold a motorcycle!
By the way, I took Megabus to LA ($37), and BoltBus back ($23). I did not take any overnight buses, due to the last miserable experience. The bus rides were fine by day, since I didn’t need to sleep. They were much cheaper than flights (would’ve been $150 each way), and cheaper and faster than the train (would’ve been $80 each way, since the cheapest tier of ticket was sold out). A friend in the area housed and fed me 🙂
The weekend after going to Sacramento (so about 3 months ago now), J and I visited our undergraduate institution outside of Los Angeles, ’cause our old dorm was having its big annual party! Woo!
We took an overnight BoltBus to get from San Jose (Diridon Station) to LA (Union Station). It was cheap at $25/person, but I would never do it again.
Pros:
It was overnight, so that we didn’t waste a day on traveling. Amtrak only has a daytime train between LA and the Bay Area.
Going overnight also decreases the chances of running into traffic.
It was cheap (half the cost of Amtrak, half to 1/8 the cost of a flight).
Lower emissions than a plane.
The stop in San Jose was relatively easy for us to get to.
There was a bathroom on board!
Cons:
It was overnight, so we needed to sleep to have a good next day.
The seats are uncomfortable and cramped -> it was hard to sleep.
The bus driver talked inappropriately loudly for the time of night. Pretty sure he was the only one fully awake.
Intermittent stops were accompanied by bright lights and loud announcements, thus disturbing our sleep.
Yeah… Only take an overnight bus if you’re a heavy sleeper and don’t mind cramped chairs. We were super tired when we got to LA. We made a multitude of plans to find a nice place to nap, but never actually succeeded in any of them 🙁 Overall, Amtrak is a nicer experience.
We stayed with the lovely T for the duration of our trip. Thanks!
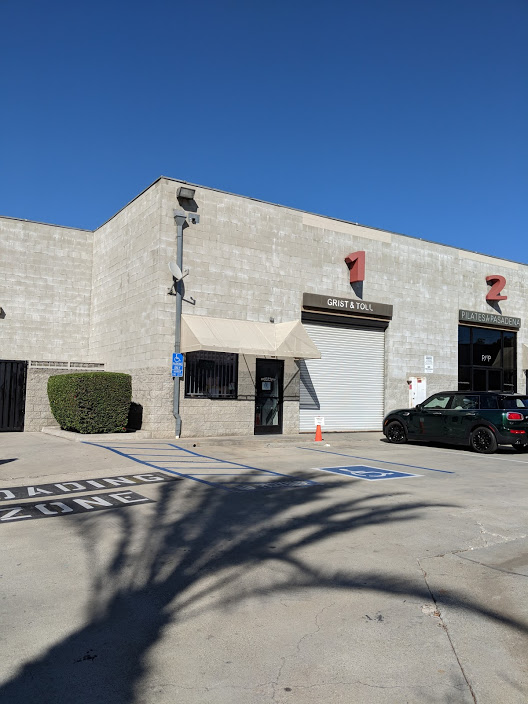
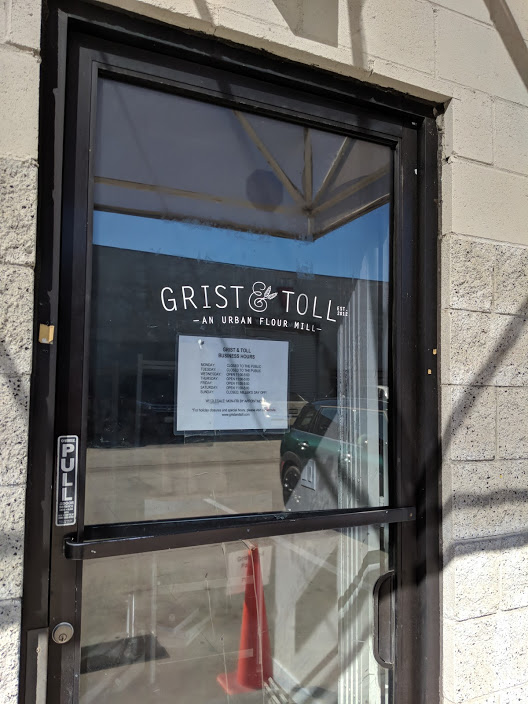
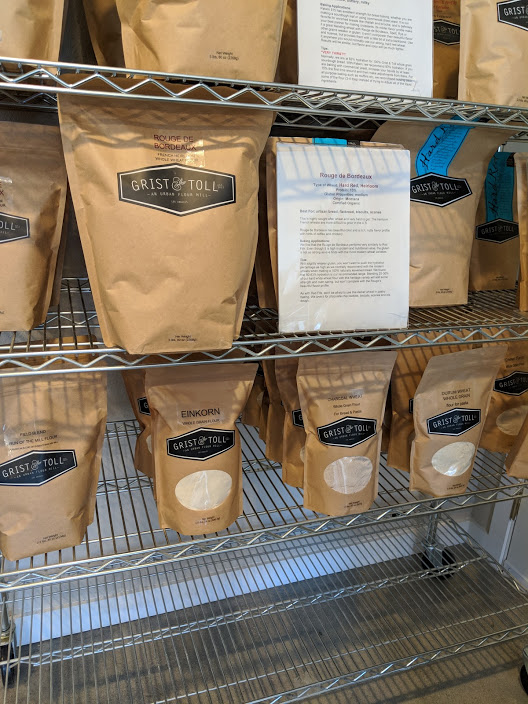
We visited Grist & Toll, an urban flour mill located in Pasadena. Who knows how long it’s been there! I’ve been missing out for years D:
The front of the mill. It looks pretty desolate. We initially thought we were in the wrong place because of the industrial vibe the complex gave off. Notice the big garage door for delivery trucks. By the way, that’s a date palm shadow.
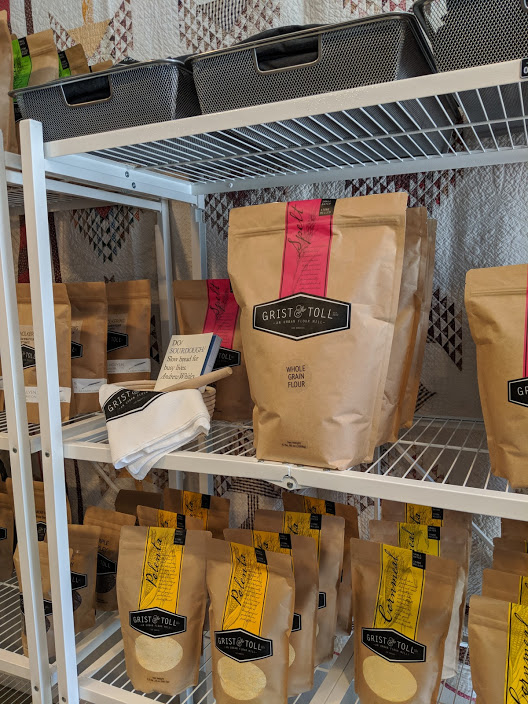
Grist & Toll specializes in heirloom and locally-grown varieties of wheat and other grains (einkorn, oats, barley, rye, teff, and sesame, I think).
Cornmeal, too. There was a big quilt hung up in the store. You can see it here against the wall. Of course I asked about it! It turns out the owners know someone with a quilt collection, so the store gets a rotating selection of historical quilts. This particular one was from the late 1800s; the cashier even read us a blurb on it!
J and I got one bag of bread flour (and one as a gift for our host, T!) and one bag of general purpose flour grown by Mai Nyugen, a farmer who tries to be super environmentally friendly. For example, most (all?) of her field work is done using horses(!) and she doesn’t irrigate. Of course, the flour is super expensive (~$35/5 lbs flour).
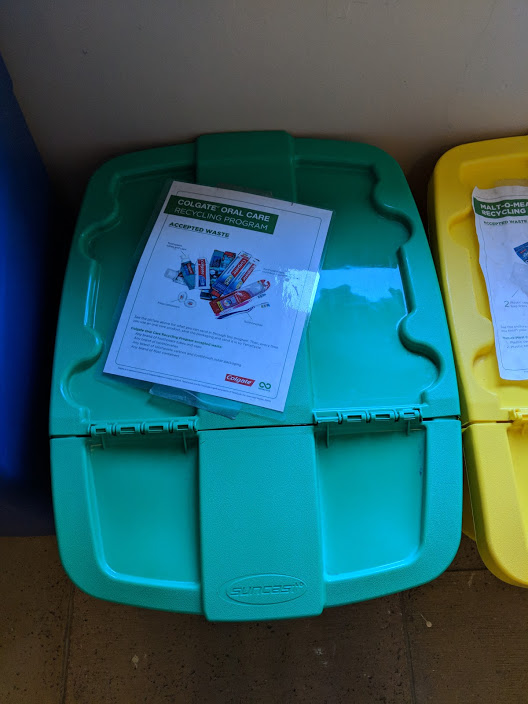
The dorm now has fancy recycling bins from Terracycle! Okay, I don’t think anyone is using them, but the intent is good. I may take my dental care waste back there to recycle it.
Recycling paid for by Colgate! This is a form of extended producer responsibility that would help build the cost of disposal into the price of a product.
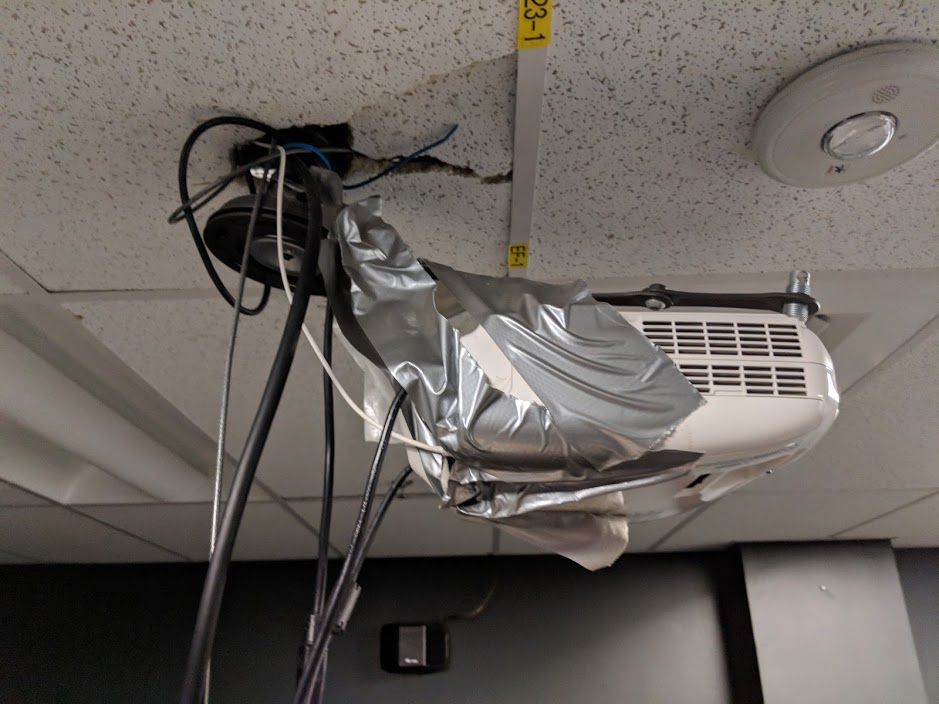
The communal projector is falling apart.
Seriously, I think it’s weight is being supported by copious amounts of duct tape.
The university recently switched to different dorm furniture, casting off the old (which was much beloved!). When we were visiting, I scrounged around for bunk-bed parts. I got enough for 1 bunk bed (so spots for 2 beds, or a bed and a desk) and 1 table, plus extras for future repairs. Now I just have to figure out how to get them to the Bay Area!! I’m hoping USHIP works out.


 (stand for food mill, wok spatula)