Great/grandmother’s watch

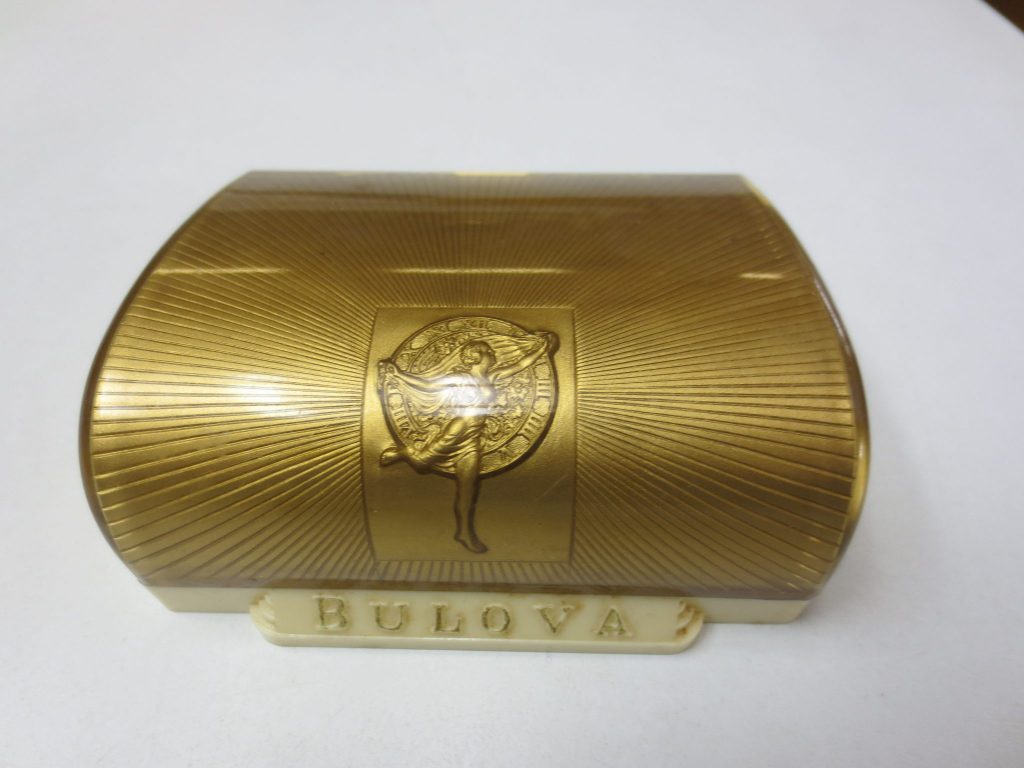
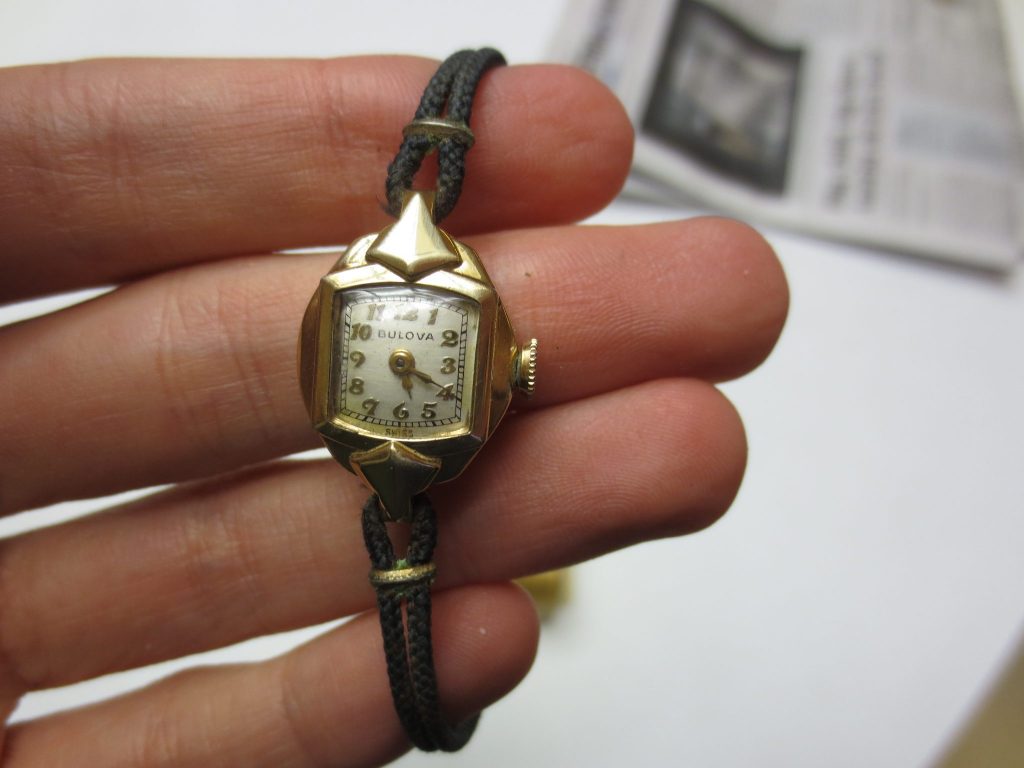
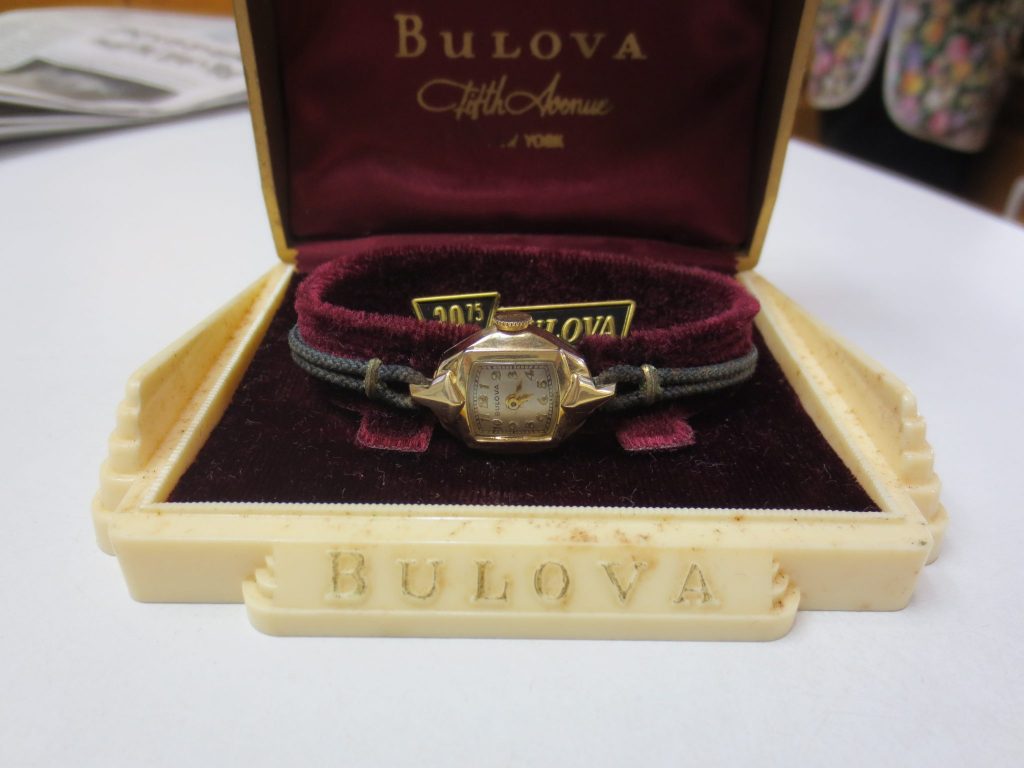
My maternal grandparents died several years ago, and my mom and her siblings have been working to clear out the stuff from their house. I specifically asked her to keep an eye out for watches for me, and a recent effort turned up a very nice Bulova that belonged to either my grandmother or my great-grandmother (my grandfather’s mother).

I have not been able to verify a manufacture date, but based on styling, it seems to have been made in the late 1940s or 1950s. The watch is mechanical (no batteries to replace!) and must be wound by hand every day. (Newer mechanical watches can be automatic-wind, where the movement of walking or shaking turns a weight that winds the mainspring.)

Fancy molded plastic case, patent number D-162.364. Unfortunately, the watch itself has no apparent patent number.
My mom had the watch repaired (mainspring replaced) and cleaned by our local watch repairman, Mr. Bennett! Thank you!
It cost $39.75 in the ’40s or ’50s, so about $400 today.

I wish people were better at passing down items as they are needed. Too often, you find out only after your parents or grandparents die that they had an extra set of silverware or dishes or pans, a sewing machine, bedsheets, fabric.

Goodwill adventure!

My mom and I went to the big Goodwill in Austin today. It’s smaller than I remembered from my childhood, but still has a good selection of furniture, kitchenware, and computers. Anyone want a laptop for $80?

We bought some cool stuff!

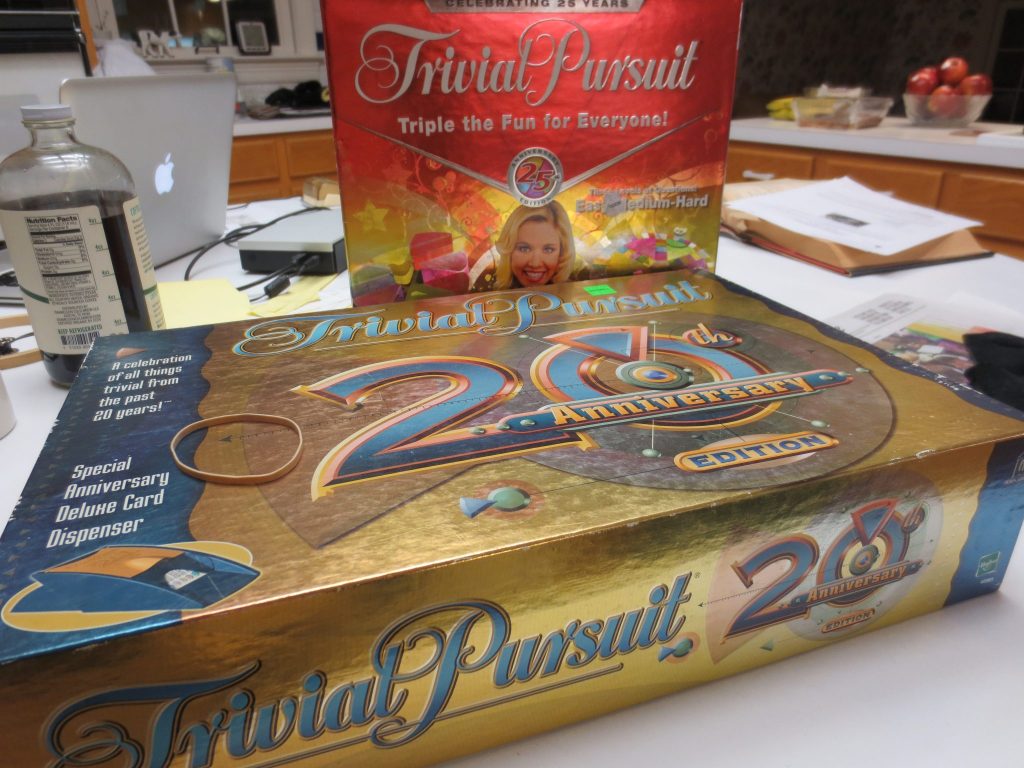
We’ve been playing the original 1981 version of Trivial Pursuit and it’s woefully out of date. It doesn’t even have questions on the Vietnam War! I found the 2002 and 2008 versions at Goodwill today, so we’ve moved 20 years closer to the present!
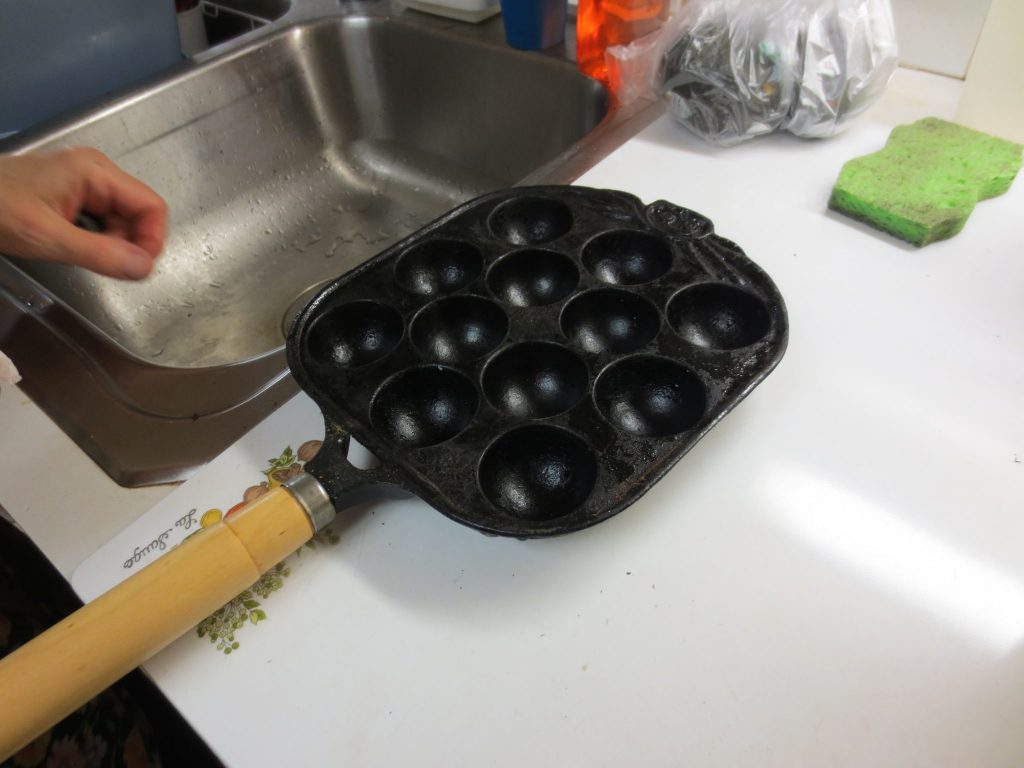
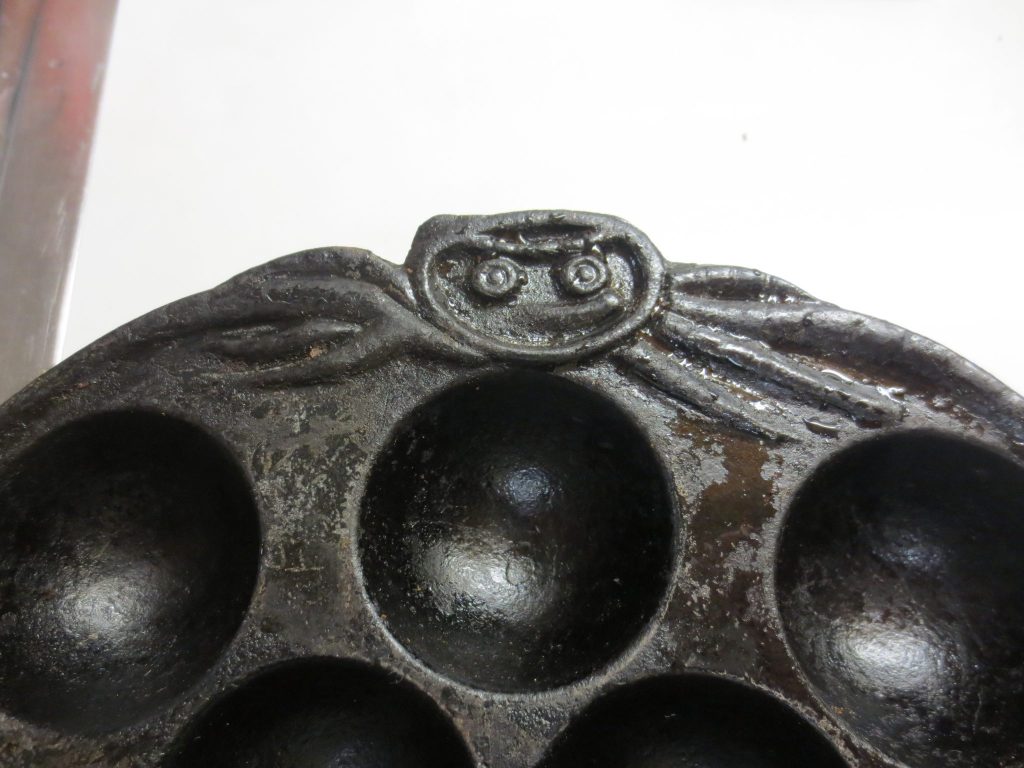
A cast iron takoyaki pan in the process of being cleaned. My mom actually got it for making æbleskivers, a Danish breakfast or dessert food. She’s tried making them before, using a muffin tin on the stovetop, but it didn’t turn out well.
Here’s a closeup of the octopus/spider decoration.

We say lots of other cool stuff (of course!): stainless steel popcorn/mixing bowl, cast iron skillet, pyrex pie dishes, pyrex baking dishes, empty pillow ticking, oak cabinet with curved doors (my mom says probably early 1900s).

Enjoy your local thrift store!

Brownies to use up remnants

My parents have a lot of food around (definitely enough to last the recommended 3 days for an emergency. In fact, it’s probably enough to last months). Unfortunately, this makes it easy for things to get lost or forgotten. We’ve had the same jar of Nutella for years (it expired years ago too, and the lid was used in a past automobile repair project by my dad). I was searching for a way to use it up before it goes rancid, and decided on brownies! The recipe I found uses almond meal and instant coffee, other remnant ingredients we have.

The recipe doesn’t actually call for Nutella. It calls for cookie butter swirled into the top of the brownie batter, but I figured I could sub in Nutella. I also used about 2/3 cup Nutella in the batter, as a replacement for the chocolate chips (I decreased the butter and sugar by about 25% each to attempt to accommodate the Nutella. I also added an extra ~1/4 cup almond meal ’cause the batter seemed too wet).

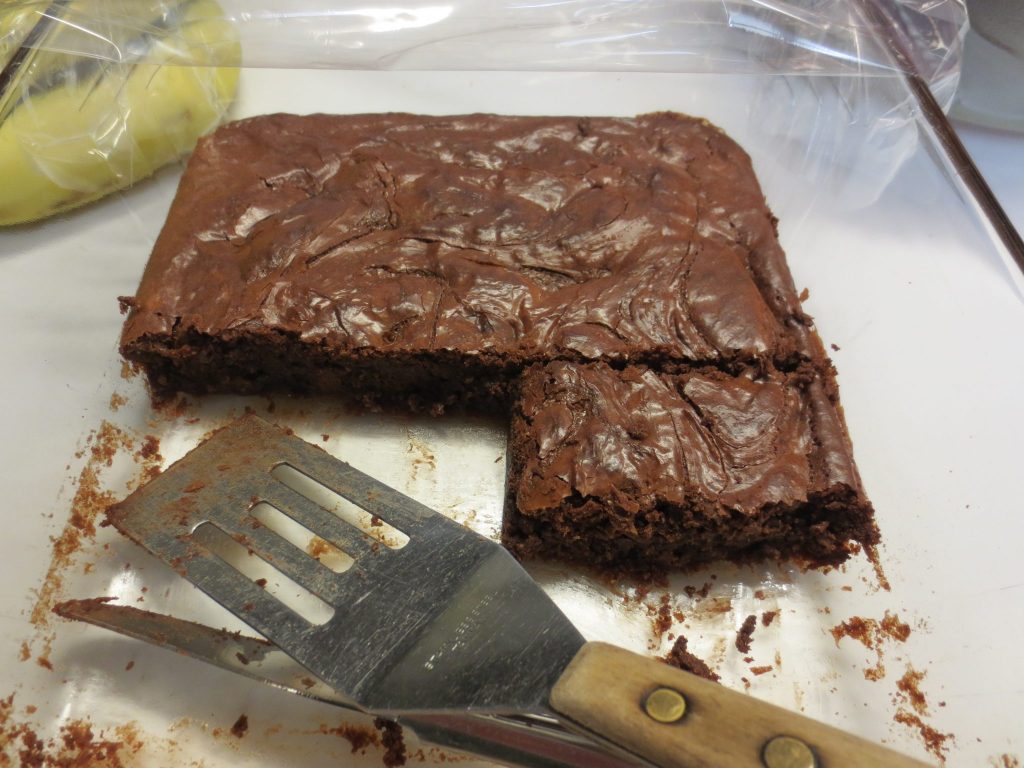
The recipe calls for baking at 325°F for 20-25 minutes. This was completely insufficient, unless you like uncooked brownie batter. I cooked the brownies for an additional 15 minutes, for a total of 40 minutes. Even then, the brownies were wet and fudgy, and incredibly tender. They needed to be eaten with a spoon. However, they had great flavor! Next time, I’d bake these at 350°F for about 30 minutes.

The brownies had a nice crusty top.

Pad thai for my parents

Since the last version of pad thai I tried didn’t turn out very well, I tried another recipe. It was sooo much better, and has very helpfully detailed directions.

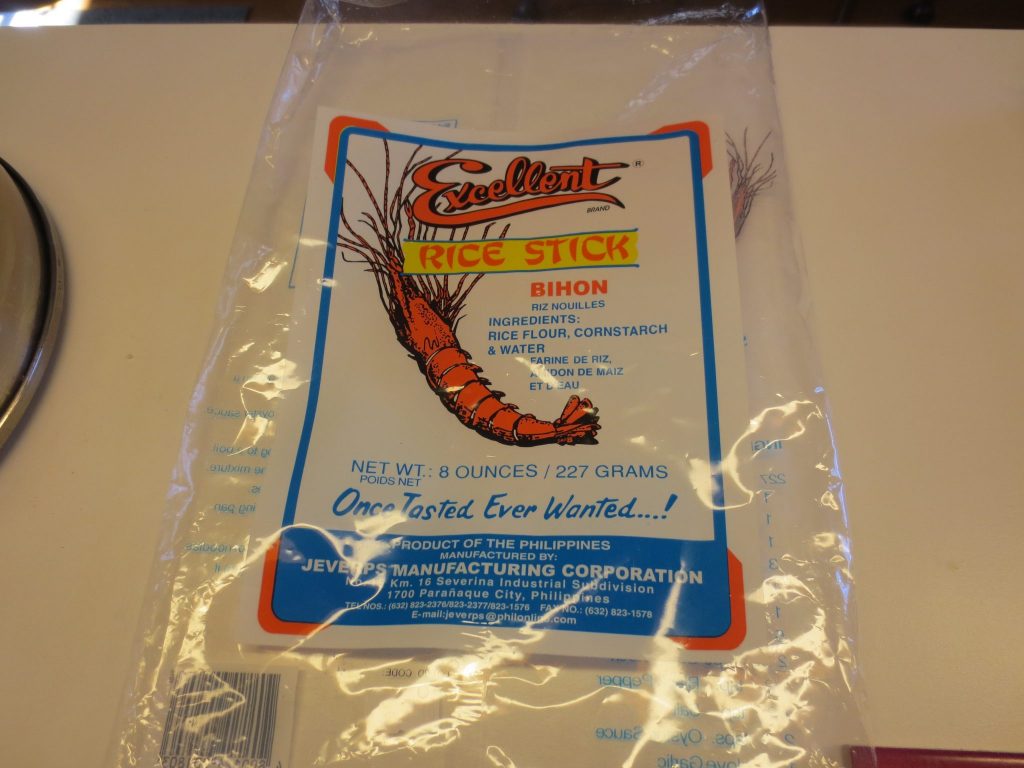
I used Excellent noodles, which were a Christmas present from Sibling A! Super useful! They’re not actually the right kind for pad thai, but it turned out fine.
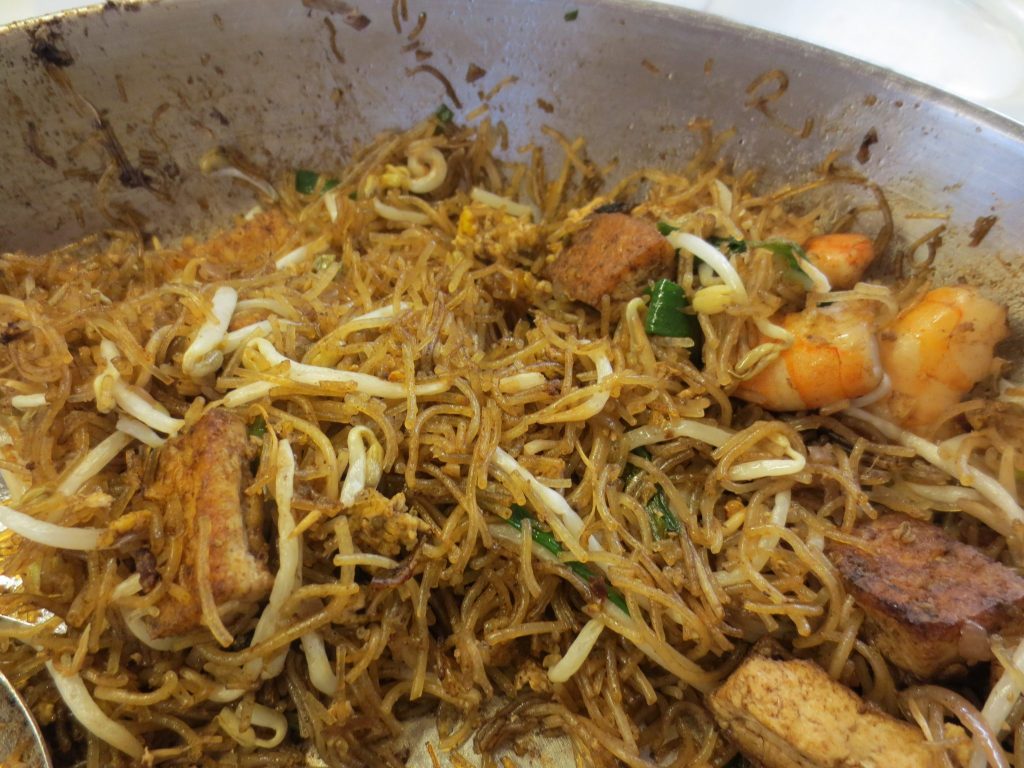
The dish! Those fried tofu were pretty yummy. They were fried in scavenged beef fat 🙂

Spontaneous Napa Adventure

This weekend I went on a very last minute trip to Napa with Friend A and Friend B. We decided to go the night before, and somehow we convinced friend B to drive us there. It was a lot of fun!

I think you’re supposed to have wine while you’re in Napa, but we ended up not having any. Maybe next time.

We started the day off at some random winery that Friend A picked out called Artesa. We went inside but didn’t actually have any wine there. Friend A thought the tasting was too expensive.  Correction from Friend A: Through a thorough cost-benefit analysis, Friend A determined that the benefit didn’t outweigh the cost.

Continue reading “Spontaneous Napa Adventure”

Stuffed bell peppers

The finished dish!

Stuffed bell pepper recipe

1 can whole tomatoes (15 oz)

2 Tbs dark brown sugar

1/2 tsp citric acid or 2 tsp lemon juice

Mix together to form tomato mixture.

4 bell peppers (my mom prefers green. Red, orange, or yellow ones might require less baking time.)

Cut off top of pepper, enough that you will be able to fit them into a covered baking dish. Remove pith (white stuff) and seeds. Microwave in a covered container with some water (start with 5 min for all 4 peppers), boil (3 min), or steam (10 min) until somewhat cooked – the peppers should not be floppy and should not have burnt edges. They need to be stiff enough to be able to stand up and be stuffed.

Make stuffing (see below for meat and veggie versions).

Cheese (my mom uses Colby or other cheddar)

Put the peppers in the baking dish. Fill the peppers, using all of the stuffing. Put a small amount of the tomato mixture on top of the stuffing. Put sliced cheese on top. Cover the baking dish. Bake for 75 min (1 hr 15 min) at 350°F. The tomato sauce should be brown around the edges. If it isn’t, bake longer covered. Then bake uncovered for 15 min to brown the cheese and slightly thicken the tomato sauce.

Meat stuffing (for 4 peppers)

1/2 onion (about the same amount as you have of the pepper tops)

1/2 lb ground meat (my mom uses beef, pork, or Italian sausage)

1 egg, beaten

1/2 tsp salt if using Italian sausage, 3/4 tsp salt otherwise

black pepper

rounded 1/4 cup uncooked rice (my mom uses jasmine)

2 Tbs cream or milk

1/4 cup bread crumbs (my mom uses homemade; optional)

1 tomato, chopped (optional)

Dice the pepper tops. Dice onion. Cook together in oil until softened. Mix with all other ingredients.


Veggie stuffing (for 4 peppers)

2 eggs, beaten

1/2 onion

1/2 cup uncooked rice

2 Tbs currants or chopped raisins

4 Tbs chopped almonds

1/2 cup bread crumbs

4 Tbs cream or milk

3/4 tsp salt

black pepper

1 tomato, chopped (optional)

Dice the pepper tops. Dice onion. Cook together in oil until softened. Mix with all other ingredients.

Modifications:

Add thyme or marjoram.

Add other veggies, such as diced mushroom or zucchini (cook either along with the onion and pepper tops), cooked beans, or corn.

Add crumbled tofu, ricotta, or sour cream to the veggie stuffing.

Use other grains, such as millet, quinoa, or farro. These all cook in about the same amount of time as white rice, so the baking time shouldn’t need to be adjusted.

Use brown rice. My mom doesn’t think that you’d have to increase the baking time, but I’m doubtful. Check if the rice is done after 75 minutes. It not, bake covered for an additional 20 min.

Draining fried food

Many people rely on paper towels to drain excess fat off of fried foods, like bacon, tempura, and fried tofu (the fried things that we make!). However paper towels aren’t ideal because they’re disposable, and must be purchased again and again. Instead, J and I drain fried food on a cooling rack, like what you would use for cookies. We place the rack over a pan or a plate to catch the drips.

Our cooling rack looks a lot like this and is ~12″ across.. $2 at Goodwill! Image from bbqgrillmesh.com.

Bonus tip: The cooling rack is just the right size to fit into our wok, so we can use it as a steamer insert too! I love items that do double duty.

Ciabatta

Based on this recipe, which has two major problems: wordiness, and calling for all-purpose flour.

Ciabatta

Sponge:

1 cup flour

1/8 tsp yeast

1/2 cup water

Dough:

2 cups flour

1 1/2 tsp salt

1/2 tsp yeast

3/4 cup water

1/4 cup milk


Combine the sponge ingredients until homogeneous. Cover and let rest at room temperature for 8-24 hours.

Combine the sponge and the dough ingredients. Knead with a stand mixer (~15 min until the dough forms a cohesive mass and is smooth and shiny) or by hand (basically using a series of cuts and folds, as detailed here). Cover dough and let rise at room temperature until doubled in size, about 1 hour.

Fold the dough over itself 8 times, rotating the dough a quarter turn after each fold. Cover and let rise for 30 min. Repeat the 8 folds and rise.

Divide the dough in half. One half at a time, shape the dough into a 12″x6″ rectangle. Fold the rectangle into thirds to form a squat rectangle. Let loaves rest seam-side down for 30 min on a floured baking sheet.

Using your fingertips, poke the loaf out to form a 10″x6″ rectangle. Spray the surface of the loaf with water. Bake for 25 min at 450°F.

Notes

You will get the best texture by using bread flour, however some amount of whole wheat flour can be added. In general, up to half of the flour can be whole wheat without significantly affecting the texture of a loaf. You can also add some amount of vital wheat gluten to lift the whole wheat flour.

Using a pizza stone (or unglazed tile or cast iron griddle or upside-down cast iron skillet) will improve the crust. Preheat the stone or substitute in the oven for at least 30 min. The loaves can be baked directly on a pizza stone or griddle; it is easiest to transfer the loaves on parchment paper. If using an upside-down skillet, place the baking sheet holding the loaf on top of the skillet. (This seems janky but totally works.)

Bread is best when left to cool slightly (usually for an hour) after baking. This helps the bread finish cooking, and keeps the crumb from being overly moist, which causes clumping during cutting.