
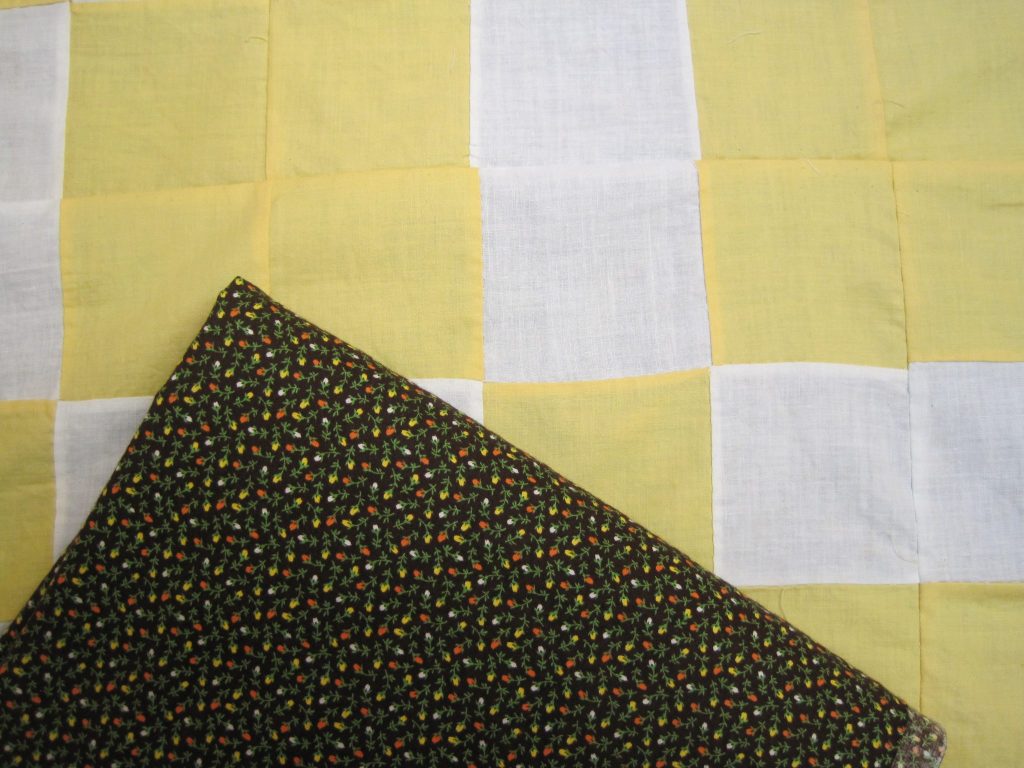
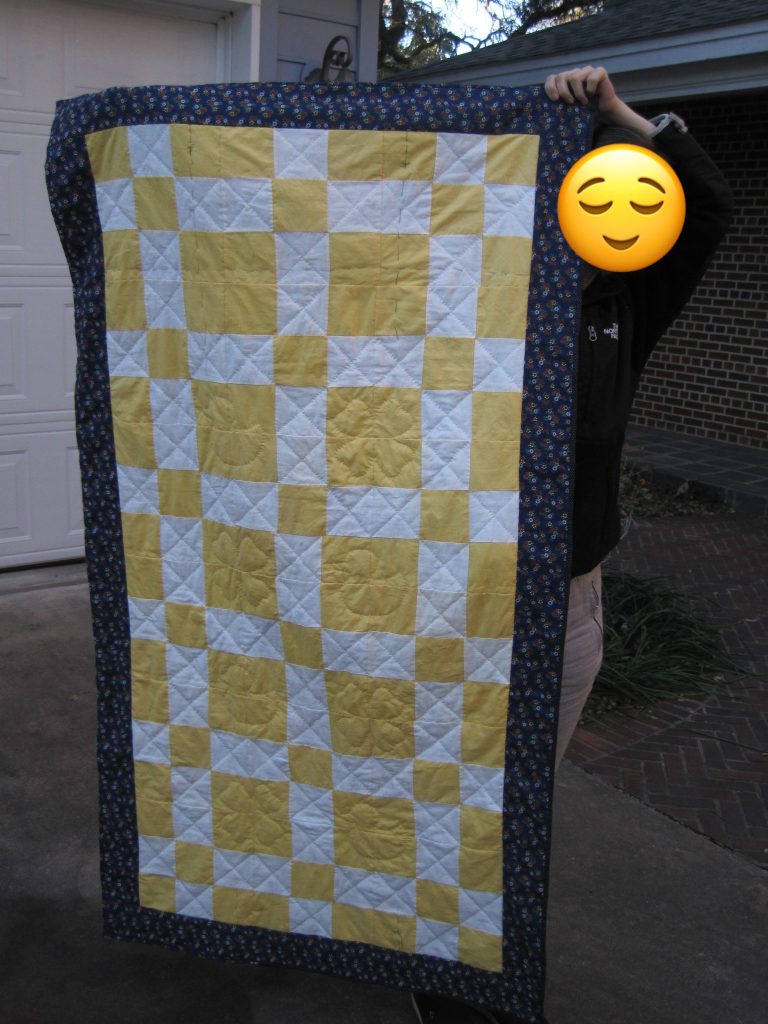
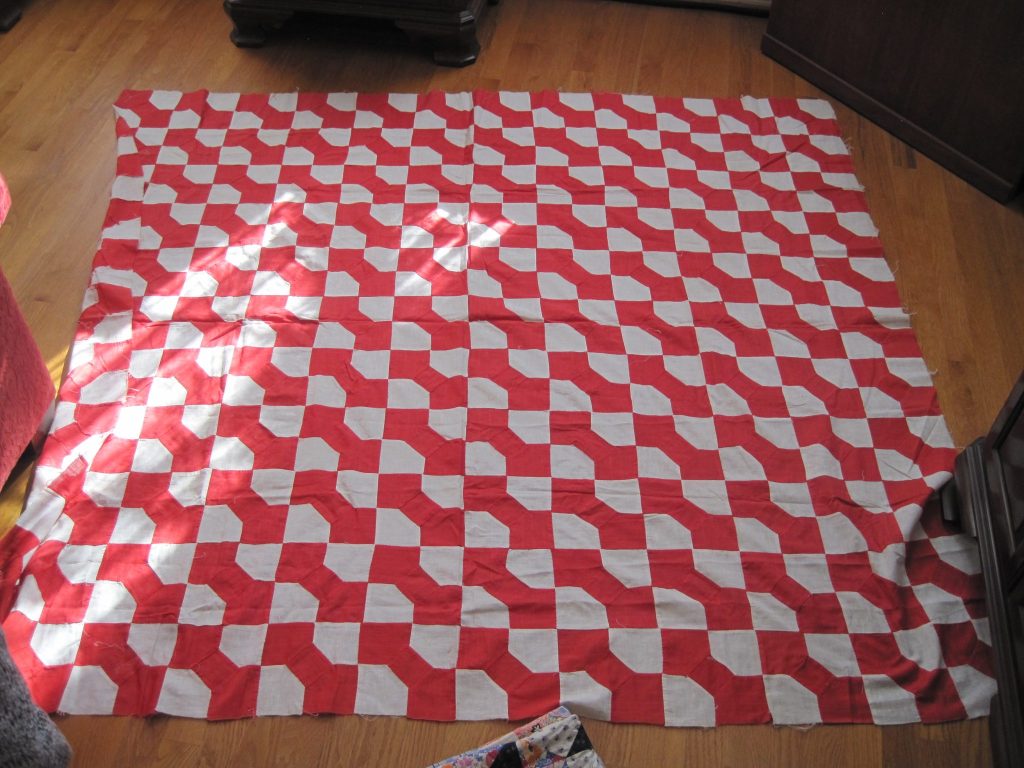
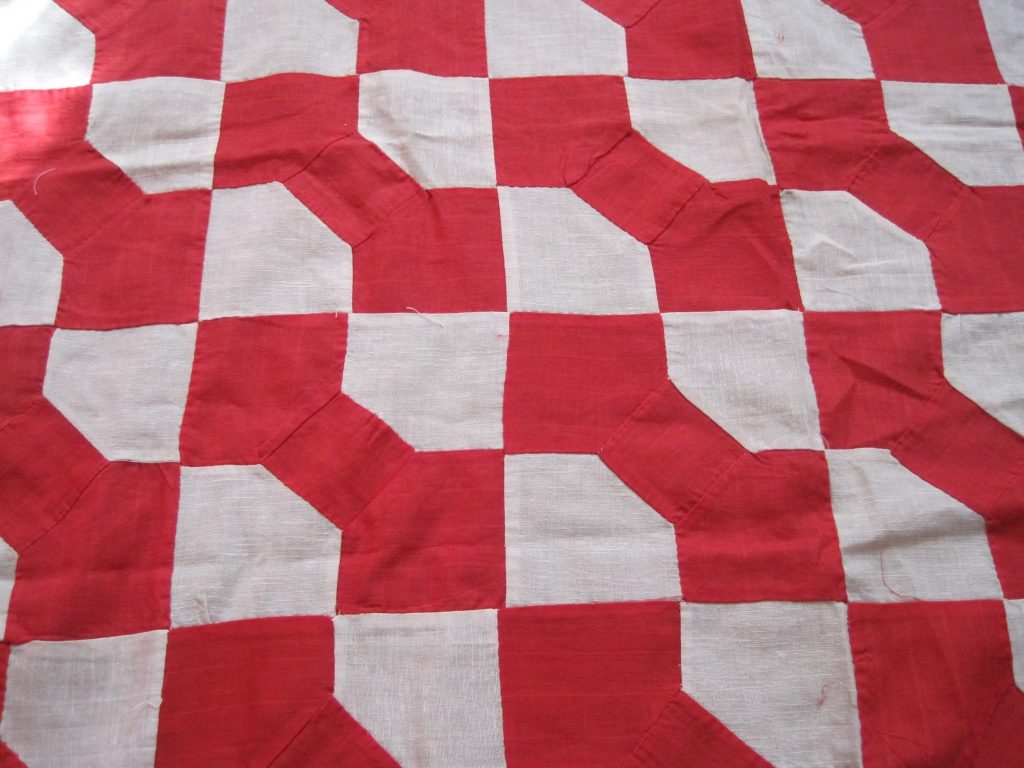
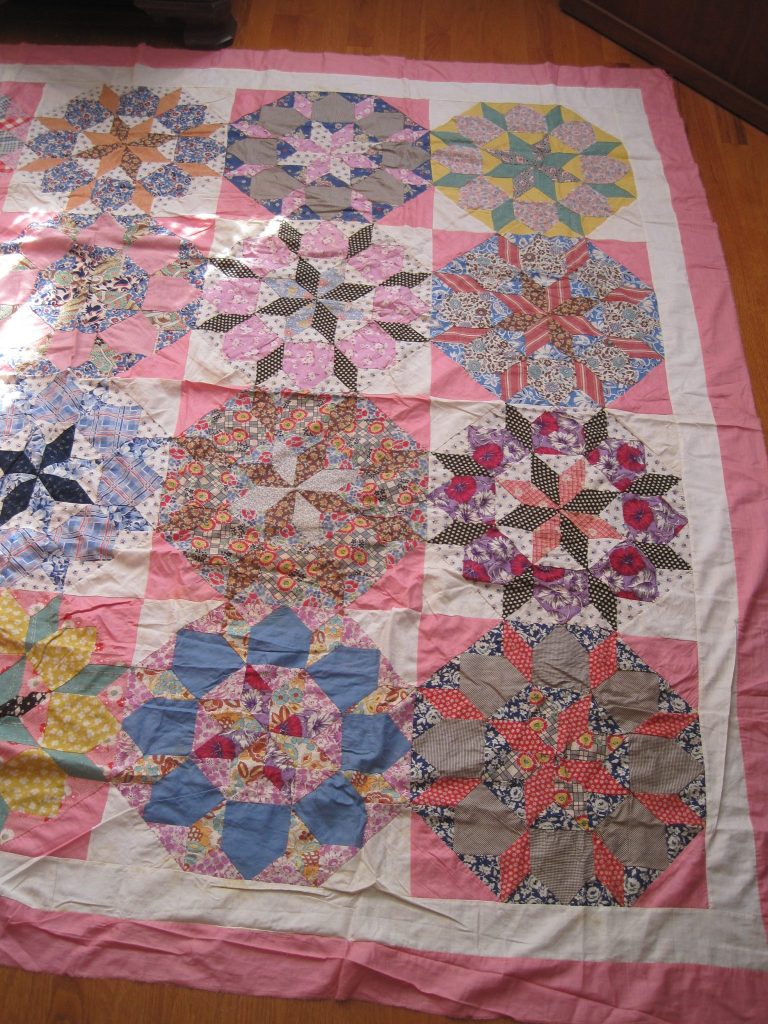
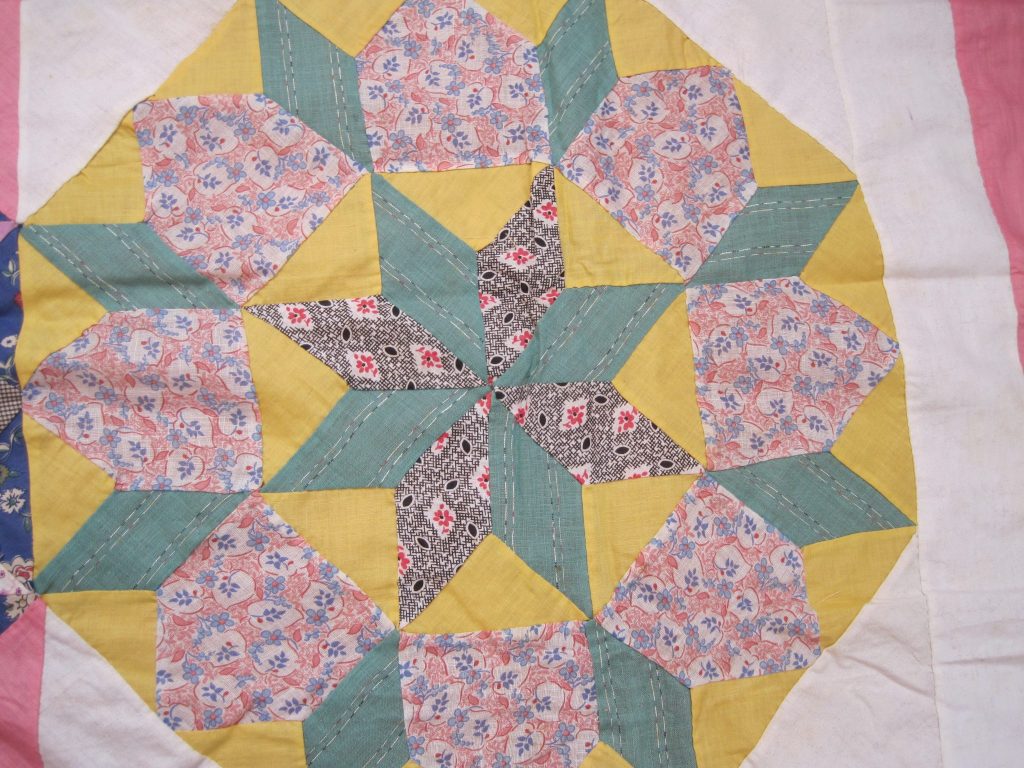
Besides the two already-assembled quilt tops, my grandma had a collection of matching quilt blocks. I turned them into a small quilt (my first!) last Christmas.
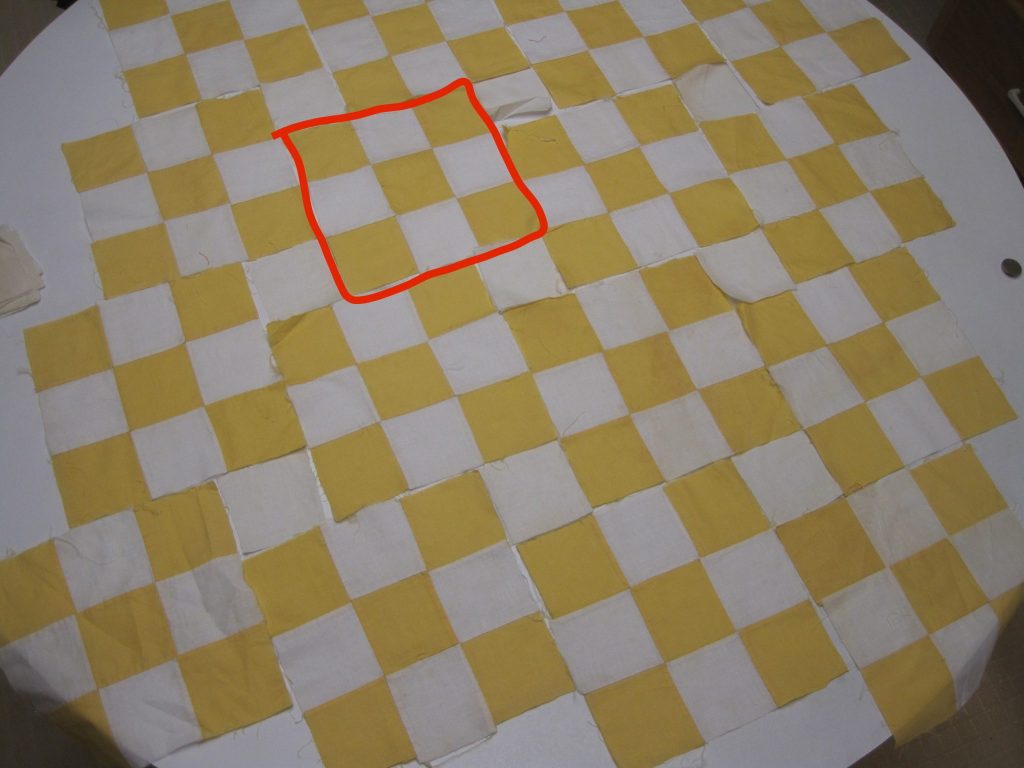
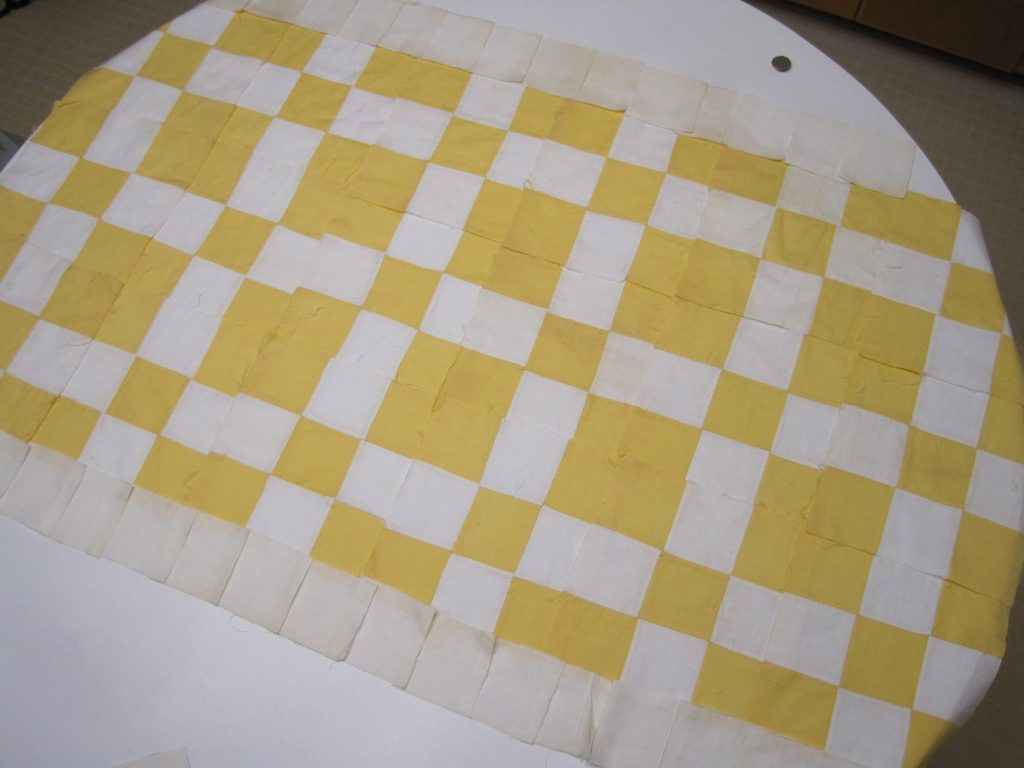
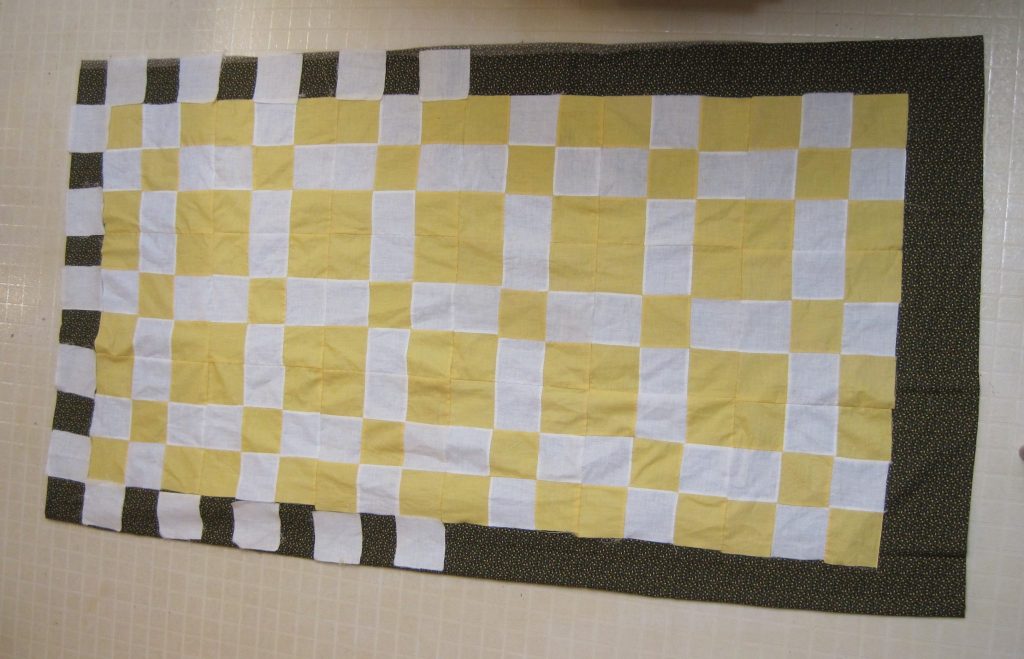
There weren’t that many blocks, though, only enough to make a lap quilt. Neither of the layouts I tried seemed particularly appealing (at first). I settled on the second since it wouldn’t require making additional pieces.
Every step of quilt-making is more laborious and time-consuming than you’d expect.
Before working on this project, piecing seemed like it would take the most time. You have to collect scraps, decide on a pattern, cut and sew everything pretty precisely, and iron everything. Often people use complicated patterns that have super tiny pieces or need some fancy geometry knowledge. Check out the quilting subreddit for examples of fancy quilting projects.
BUT it turns out that piecing with a sewing machine is the fastest part! Sibling C and I sewed the binding on and quilted by hand. It took maybe 40-50 hours between the two of us.
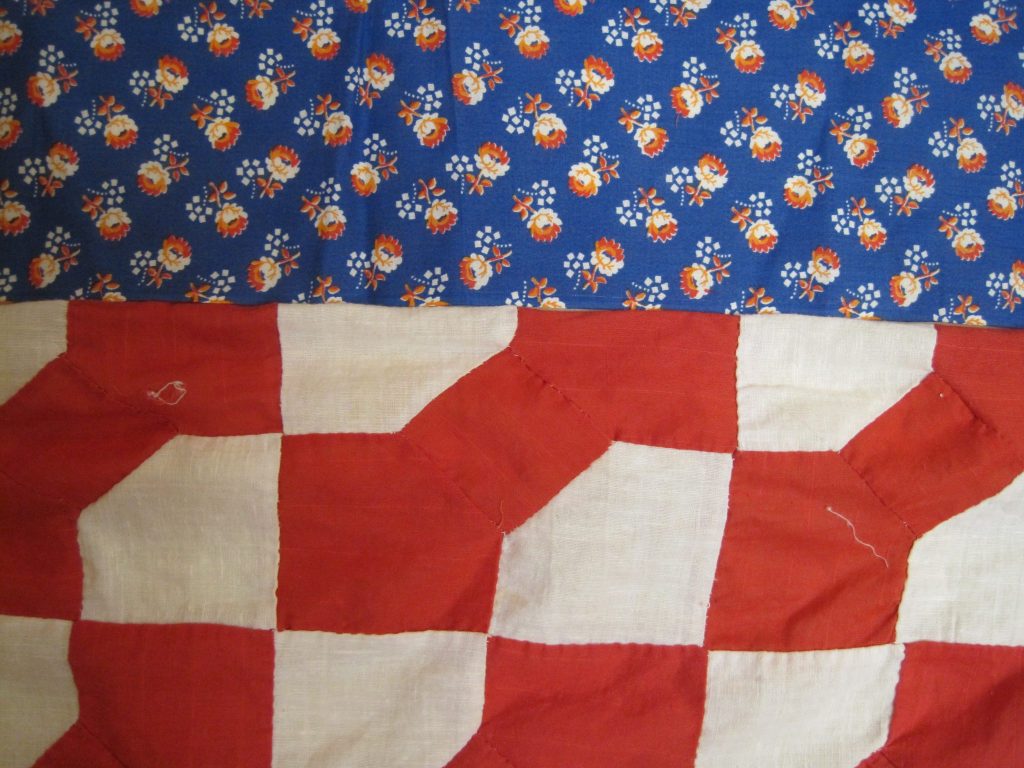
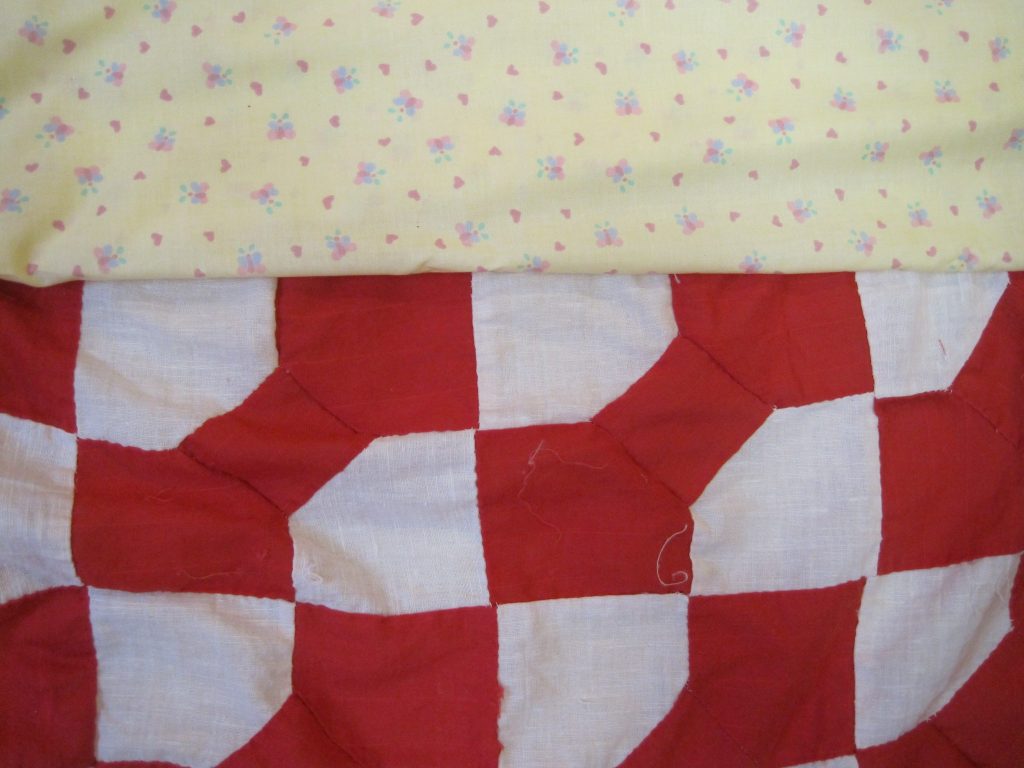
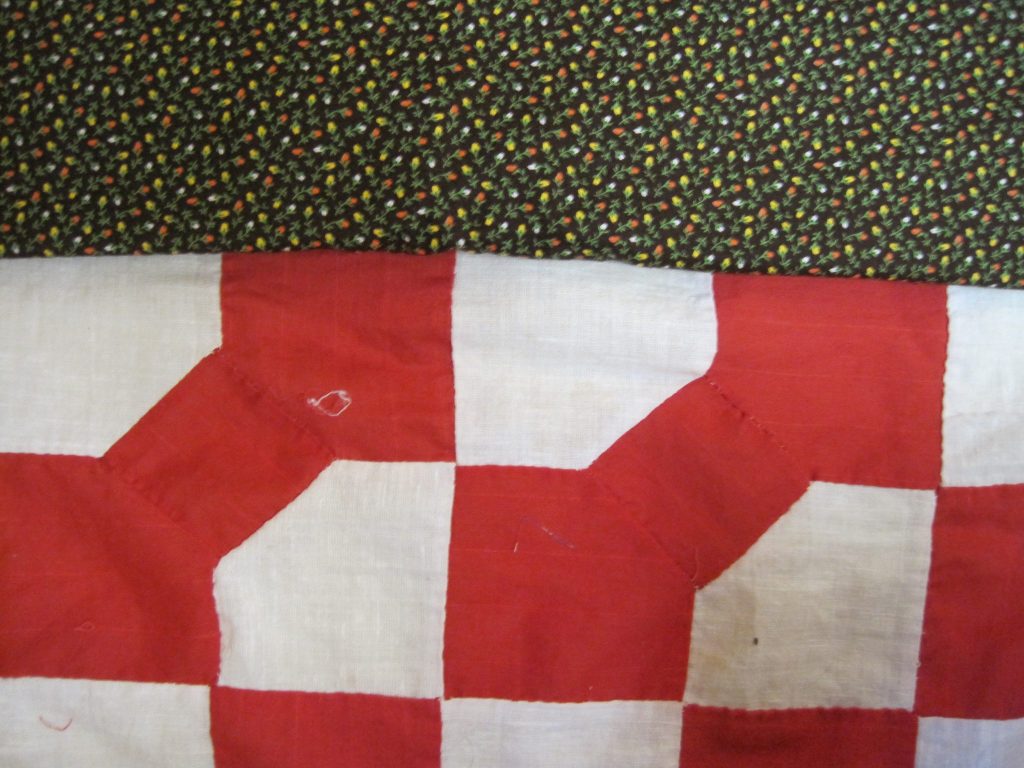
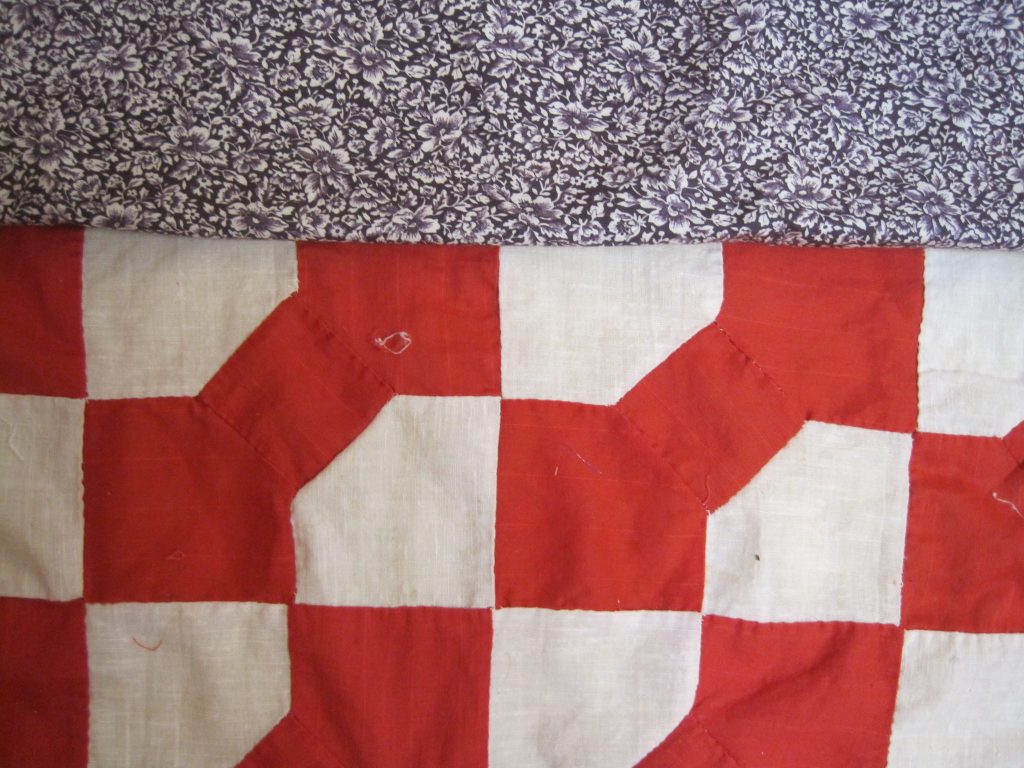
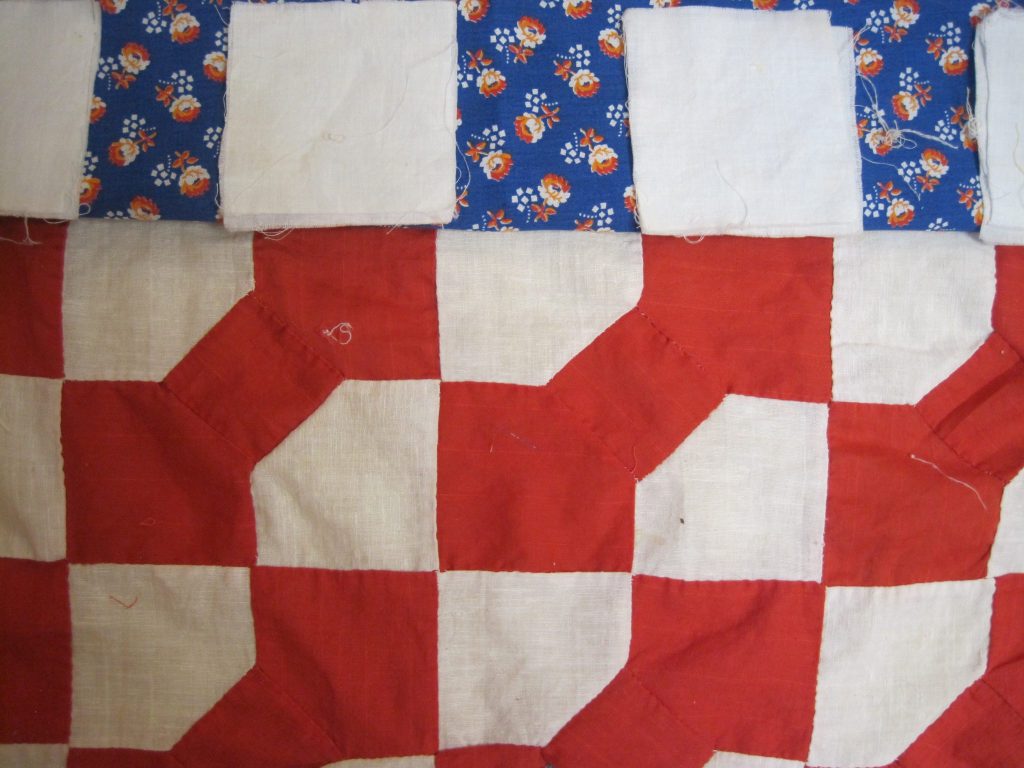
I’m not eager to work on the much-larger red and white bowtie quilt.


