Back when sibling C was visiting J and me in the Bay Area, C started off one day with CPR training (and took the light rail there!), and we were supposed to work on food or crafts afterwards, but… all other plans were overshadowed by fear of bed bugs!
Right before visiting J and me, C stayed at a hostel in Boston, where she got some bug bites. The bites weren’t particularly bad, and it isn’t that common for pests to be carried on people or luggage, so we weren’t worried (at first!).
Unfortunately, a couple days after arriving at our place, C got another bug bite! (While our first worry is always bed bugs, fleas and spiders are also possibilities. In any case, bed bugs are particularly safe – they don’t carry human diseases.) So we went on an emergency search for boric acid (couldn’t find it) or diatomaceous earth, which we proceeded to liberally sprinkle around the apartment.
It also became a major laundry and cleaning day. C and I ran her sheets and the mattress cover for her mattress through the dryer (high heat kills bed bugs), and we froze all the pillows for a few days. All of our efforts seem to have worked, ’cause no one got bites after that. I hear you have to go a year without any bites to be completely sure the pests are gone… Wish us luck…
And C is now using the rest of the diatomaceous earth for gardening!
I have Xfinity (Comcast) internet and, unfortunately, part of signing up is getting sales emails that are impossible to unsubscribe from. The emails include an “unsubscribe” link, but it sends you to a webpage with an “unsubscribe” button that doesn’t actually do anything. Maybe if you click the button a bunch you’ll forget that you’re getting unwanted spam…
I contacted Customer Service to try to get unsubscribed (and told multiple representatives that the Xfinity unsubscribe tool doesn’t work) – we’ll see how that turns out. I figure I can just keep bothering them until they finally get it fixed.
Let me know if you’ve managed to fix this particular problem! I’d be glad for tips!
Usaato is having an exhibition at the San Francisco Japan Town mall. It is going to be from 11am to 6pmon Saturday-Sunday October 6-7.
Natural fiber, plant dyed, and hand-woven clothing from the Usaburo Sato collection will be displayed and sold. Usaato clothing is made from cotton, hemp, and silk fabrics woven and sewn in farming villages in Laos and Chiang Mai, Thailand. It is Usaato’s mission to support sustainable agriculture, respect village traditions, and bring a healthy economy and quality life to these villages.
This morning, I saw a (small) herd of goats on campus. I was quite taken aback for a moment, then figured they must be there for landscaping purposes. I don’t know what exactly they were eating – this particular hill is mostly covered with vines and invasive-looking trees (which the goats were chewing the bark off of…).
It turns out there was a news feature on the goats!
For those of you in the Bay Area, Usaato is having an exhibition!
Place and Time: San Francisco Japan Town, 2nd Floor of Kinokuniya Book Store Bldg, Saturday, September 1, 2018: 11am to 6pm, and Sunday, September 2, 2018 11am to 7pm.
In the email advert I received, Usaato described itself as:
Making fully handcrafted artisan fabrics using sustainably grown cotton, hemp and silk: hand spun, hand woven, plant based dyes
Using high quality designer-spec construction and seamwork: durable, long lasting
Using an innovative fair trade model
“USAATO clothes are made in specially selected villages in Thailand and Laos practicing sustainable agriculture and known for their traditions of spinning, weaving and plant based dyes. The fabrics are mostly handspun and hand woven by their traditional weaving machines from cotton, hemp and silk with natural dyeing by artisan women in various areas of these two countries.
USAATO clothes are sewn by individuals and groups in worker friendly environments in Chiang Mai Thailand. These beautiful fabrics are unique to the various villages which is further reflected in the individuality of Usaato designs.
It is the Usaato mission to support sustainable agriculture, respect the village traditions and to bring a healthy economy and quality life to these villages. We would like to invite you to be a part of this Usaato movement.”
On sibling C’s socks, I had to redo the bind-off around the cuff. The previous edge was so tight I couldn’t get the sock over my heel! I redid the edge using this bind-off. It works great!
Tonight I washed and blocked the socks, so they should be ready to go tomorrow!
I’ve been without a microwave for a few weeks and it’s been difficult! I like making a lot of food and eating leftovers for a few days afterwards, but not many things heat up well in a pot or skillet. I am of course loathe to buy anything so I was lucky to find a free microwave beside a dorm dumpster. It works! It was even pretty clean inside.
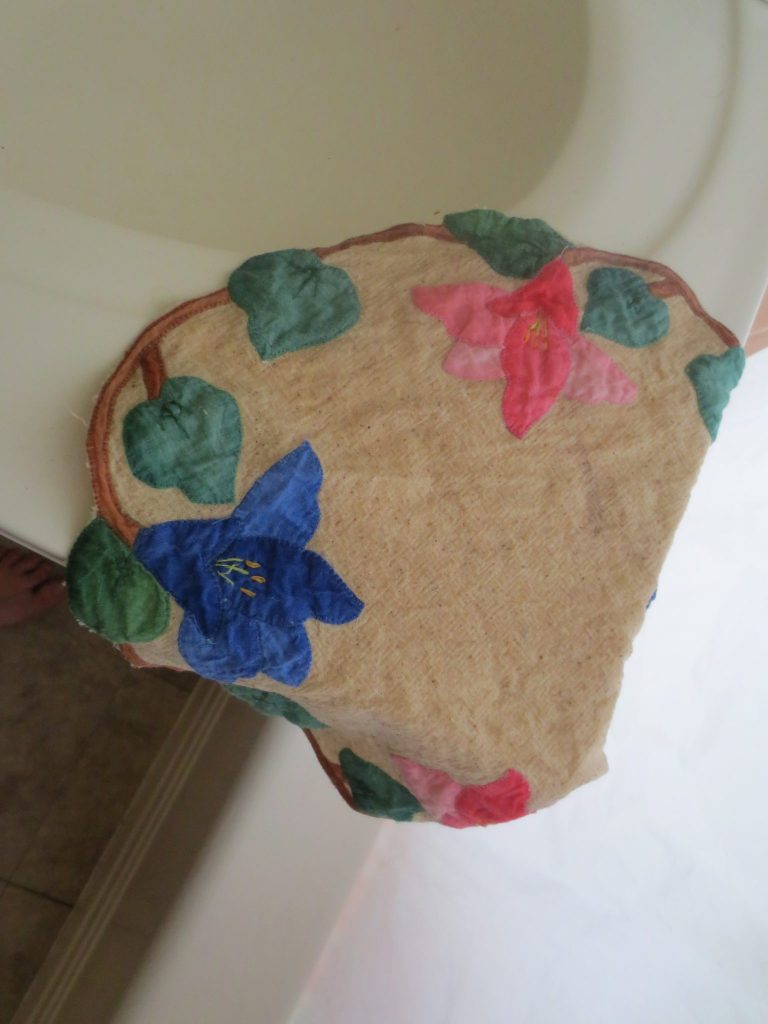
I found the university’s free pile, where you can leave stuff and take stuff as you please. It’s pretty small considering the number of students. Maybe people don’t know about it. I’ve already gotten some good stuff! Handmade doilies, sunscreen, earbuds (they need a little glue, but still).
Currently being washed. I even found a matching pair, several weeks apart.
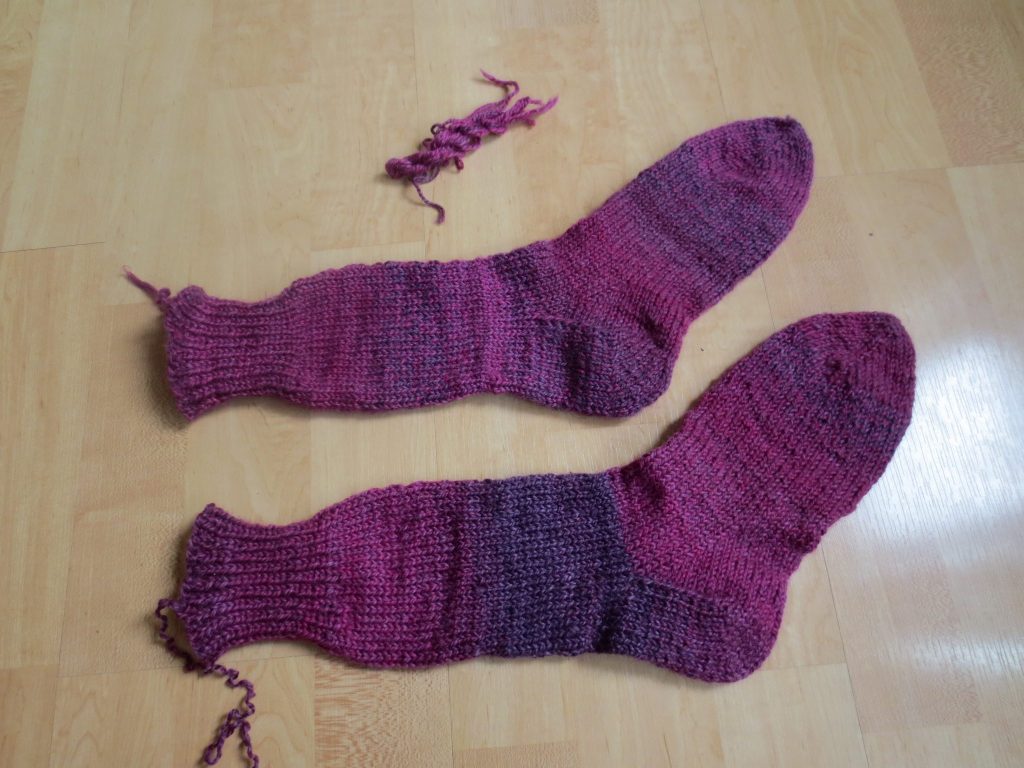
The apartment is a little less neat now. I got started on a craft project, so knitting supplies are (sparsely) strewn around the room. I’m making a pair of socks for sibling C! It’s my first pair of socks and I have to say they’re not as difficult as people make them out to be. Socks are certainly fast to make. The main difficulty is getting the two socks to be the exact same size.
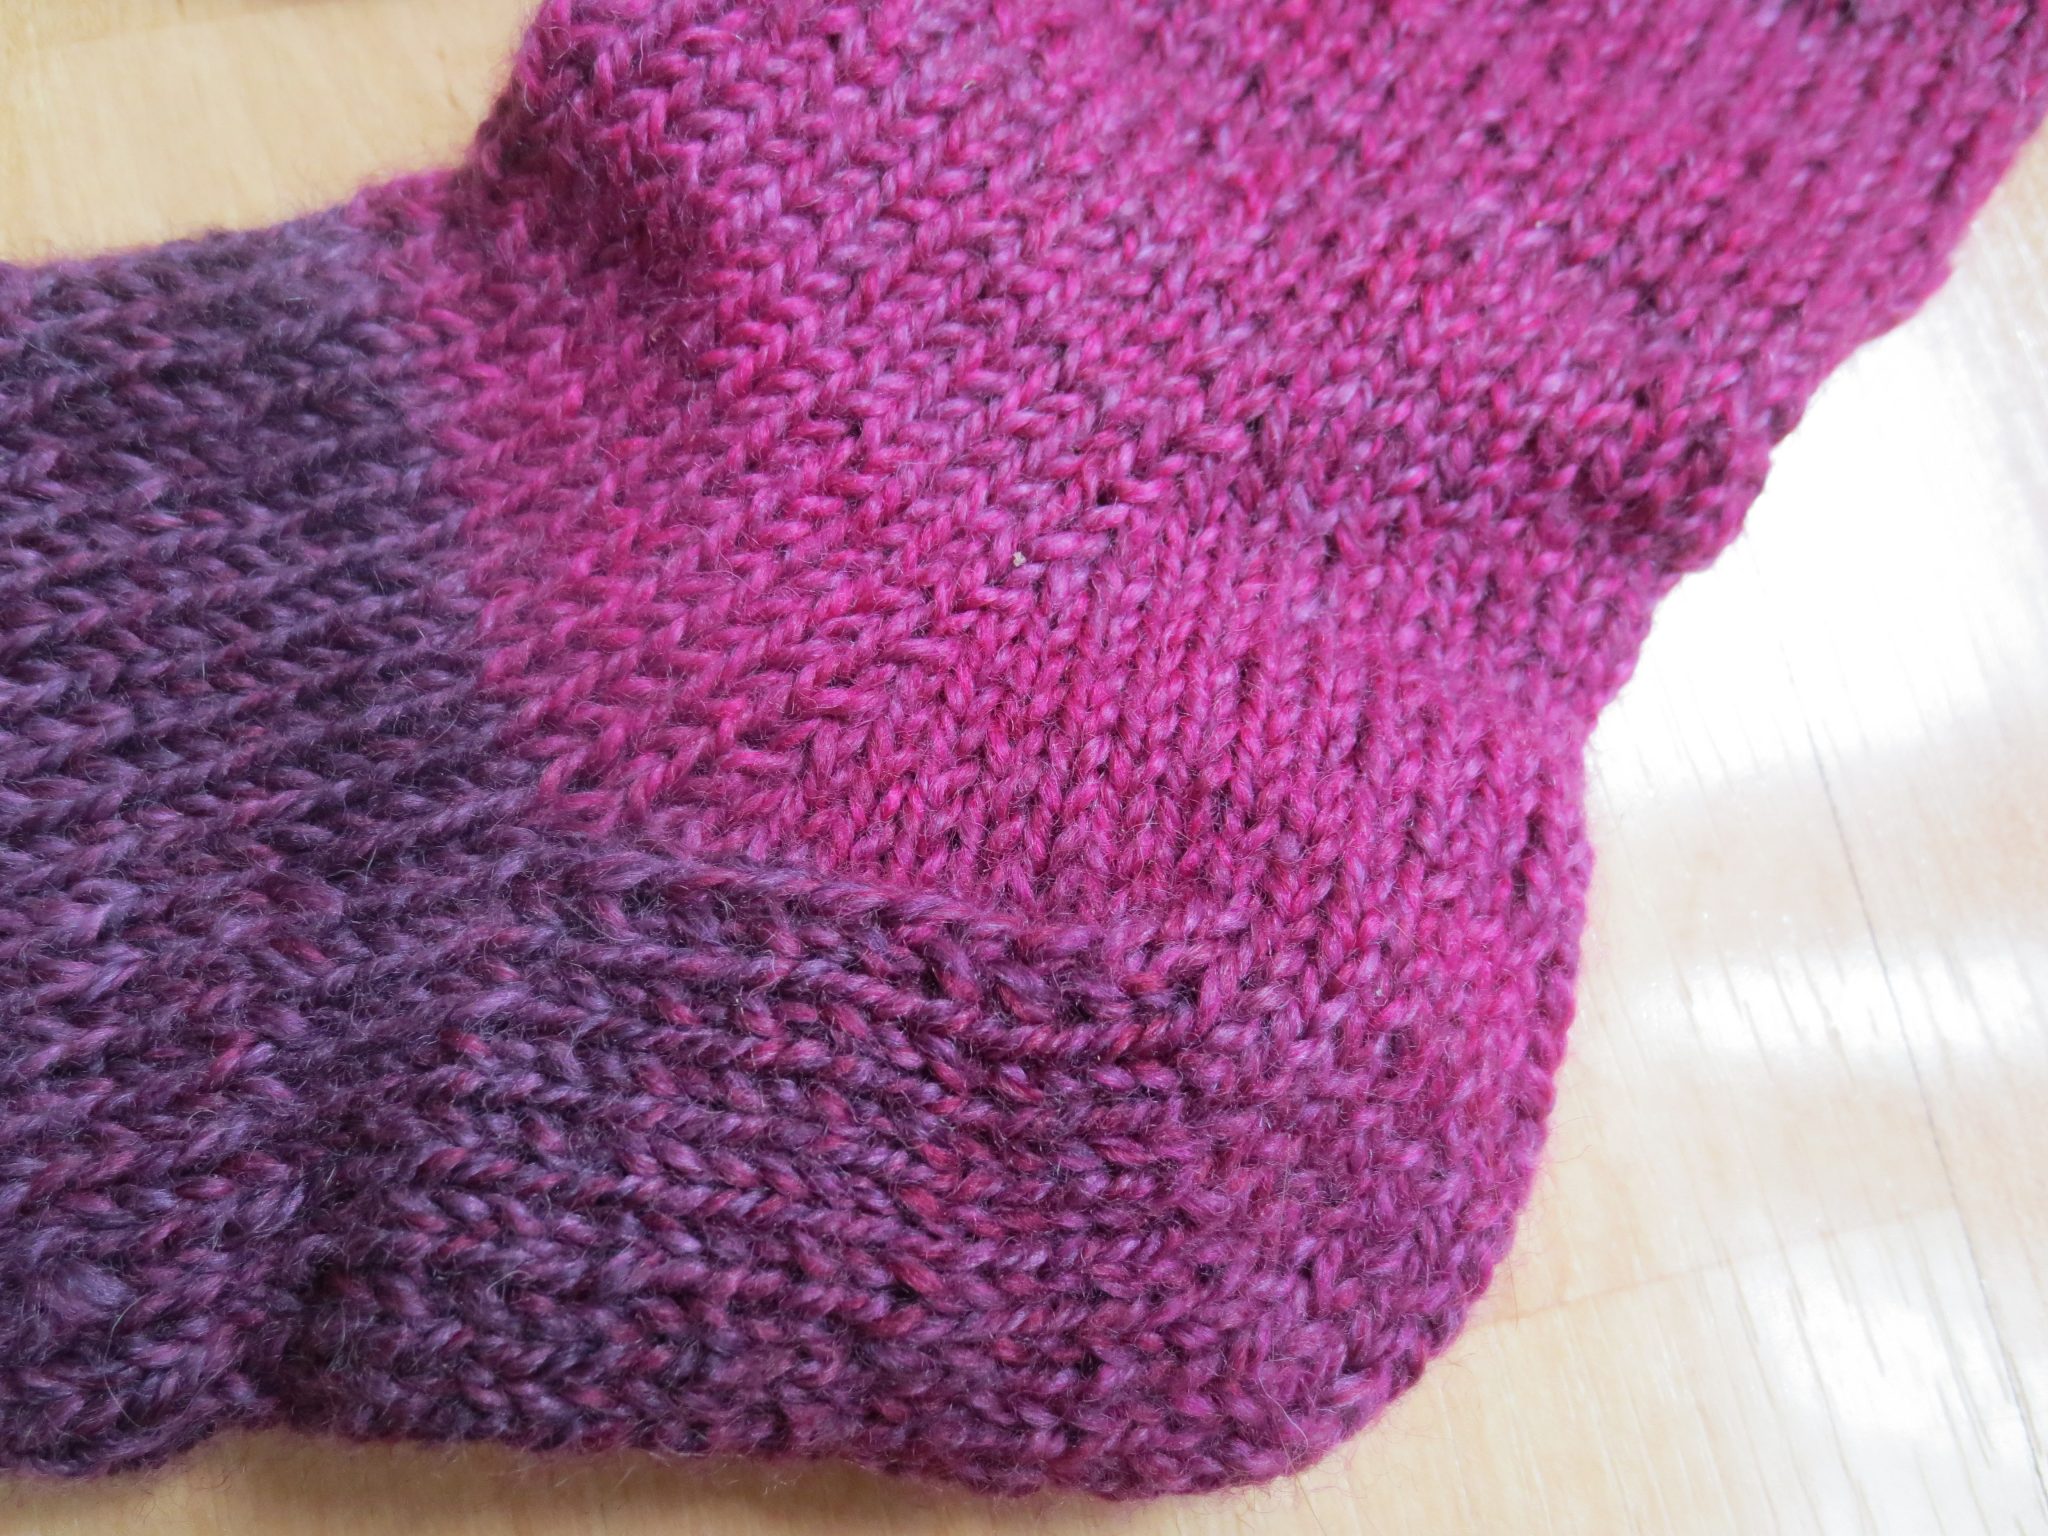
See? The bottom sock is slightly larger (although not so large as it appears in this picture; some of that is from perspective). Usually your gauge relaxes as you knit more, so it’s to be expected. Hopefully the difference in size isn’t noticeable when wearing them. They look like they might also be too big for C’s feet, although they’re too small for mine. The yarn was a freebie from friend S.The heel flap construction.
Sibling C wanted the socks to be around 11″ tall, but I wasn’t sure I would have enough yarn so I knit the socks toe up using these instructions, with some modifications due to differences in gauge (see sock calculations). I used the Middle Eastern cast-on, gusset-heel flap for the heel, and bound off in pattern using 1×1 ribbing. If the cuff isn’t stretchy enough, I’ll have to use a different bind off.
My goal this year living alone is to produce as little trash (meaning stuff that isn’t recyclable or compostable) as possible. I’m doing well so far. I scouted out a few compost bins in the area, so I don’t need to pay for the local compost service, Shadyside Worms. It costs $20/month which, while reasonable, provides much more service than I need. They pick up 5 gallons of compost every week; I produce maybe a half gallon on a cooking-heavy week.
There are a number of bulk stores in the area, so I’m all set on that front.
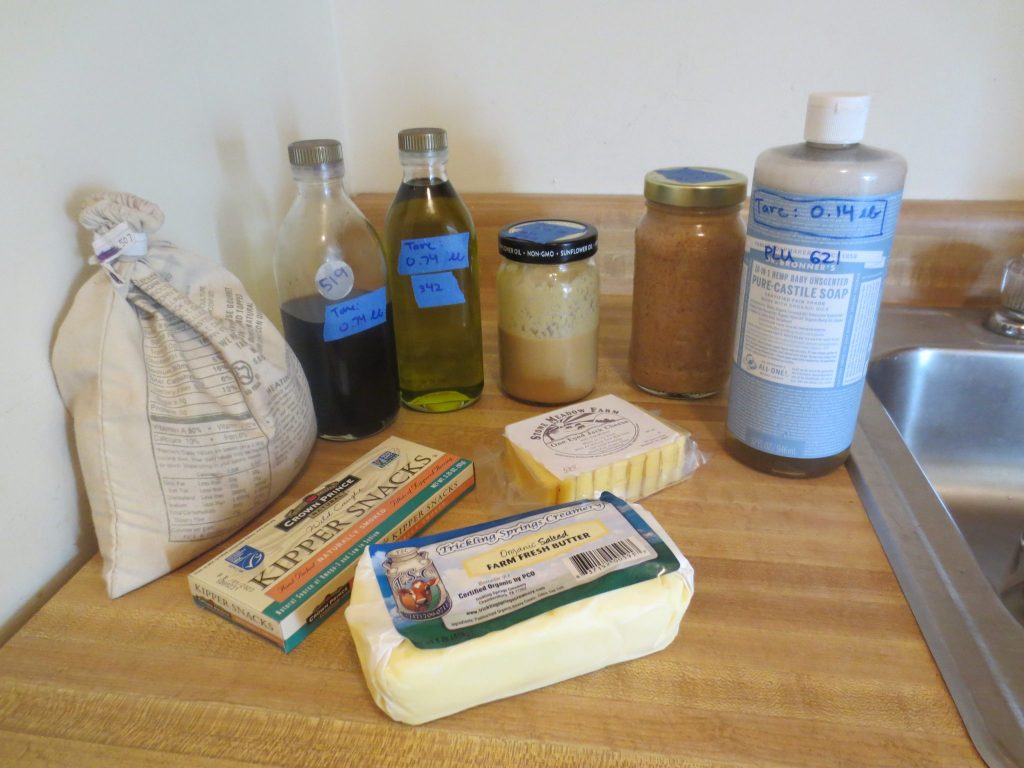
My first bulk haul. From left to right, bread flour, soy sauce, olive oil (Mediterranean, unfortunately), tahini, almond butter, castile soap, kipper snacks (bad! don’t buy that brand), local cheese (also bad, it was really bitter, like it was going bad even when it was fresh), and local butter (in compostable paper).
I picked up a few more kitchen items from Goodwill: a non-aluminum pot for tomato sauce (I only brought an aluminum one with me), a wooden cutting board, glass jars for food storage, and a mesh strainer. Goodwill has 25% Tuesdays for students 😀
Since J and I only have one chef’s knife, I was planning on buying a new-to-me knife for using here. J wanted a cleaver to make processing meat easier, so it seemed like a good idea to get a cleaver to use as my everyday knife. Before committing to a purchase on eBay, I “shopped” my parents’ house for knives. I turned up a couple of really dull, low-quality cleavers that didn’t seem worth salvaging. I sharpened one anyway and it’s been pretty good! A bit uncomfortable to hold, but good enough for a year.
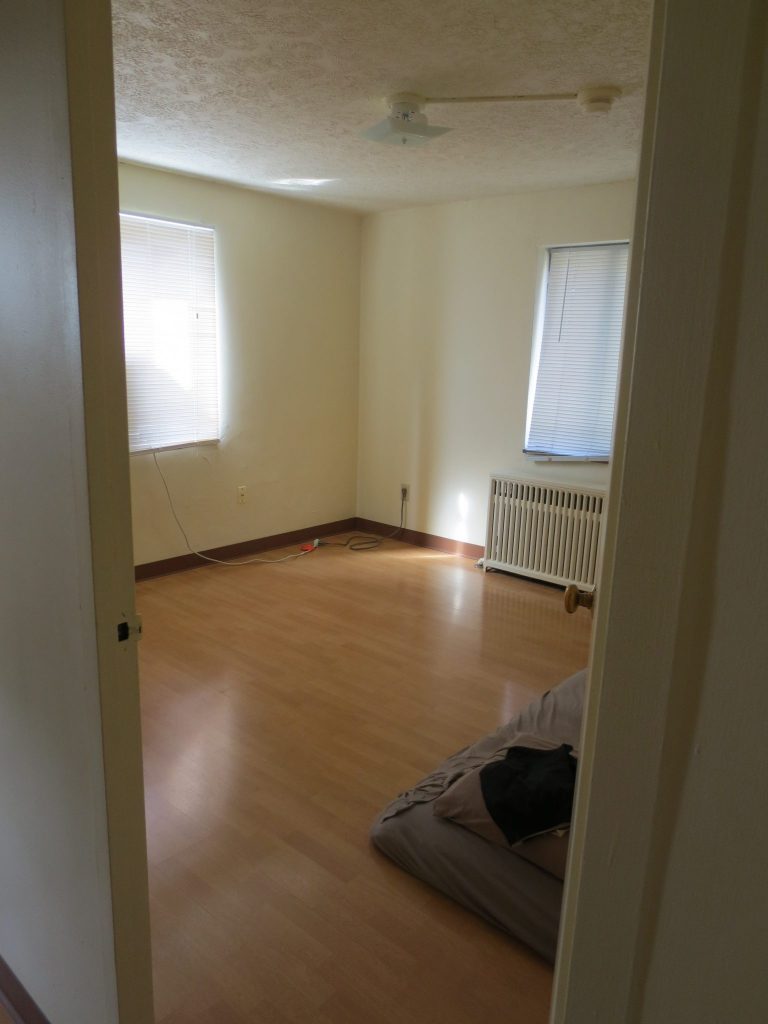
As many of you know, I will be attending grad school for statistics in Pittsburgh. I arrived about a week ago and have since gotten all set up in my apartment!
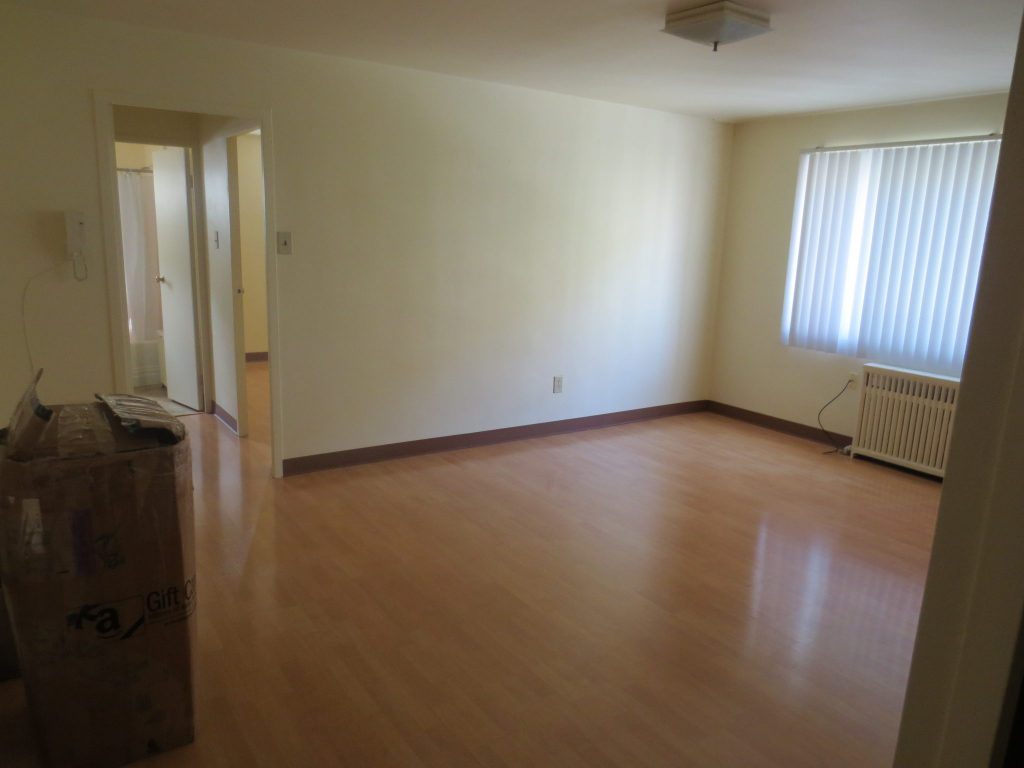
I’ll give you a nice tour 🙂
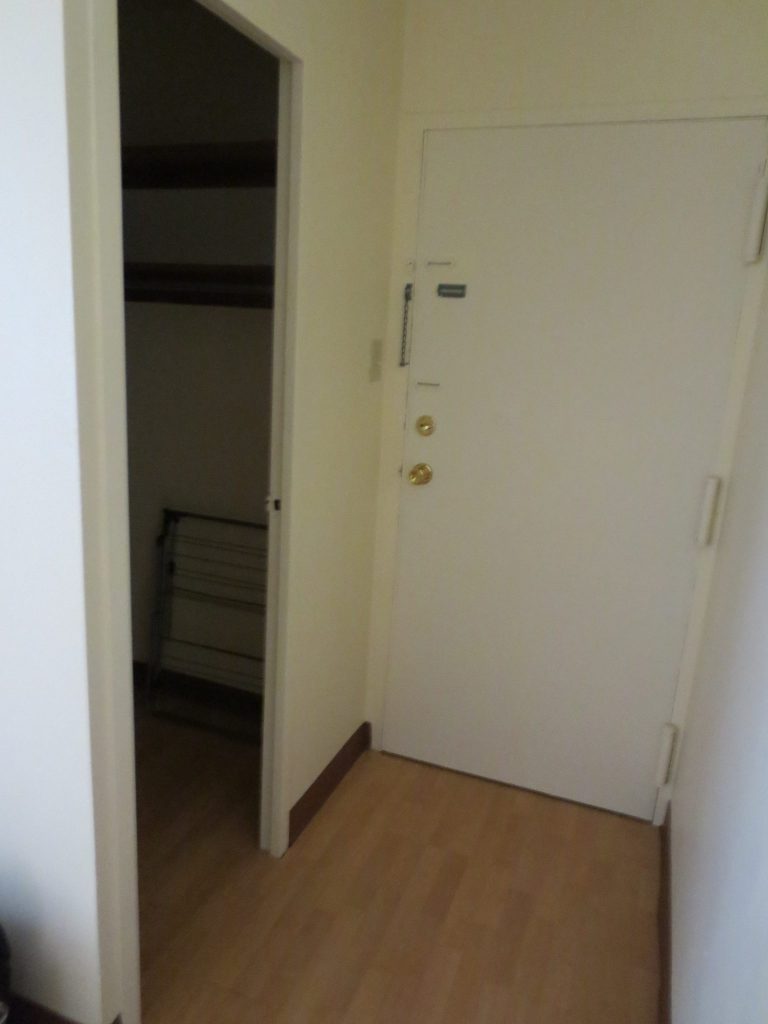
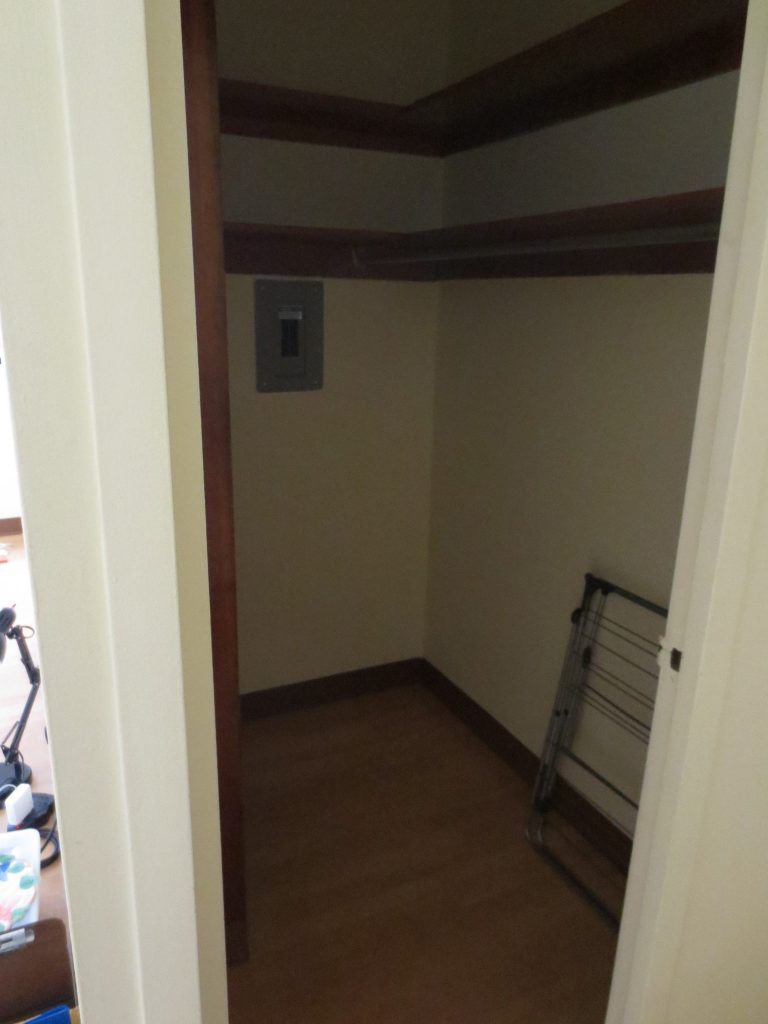
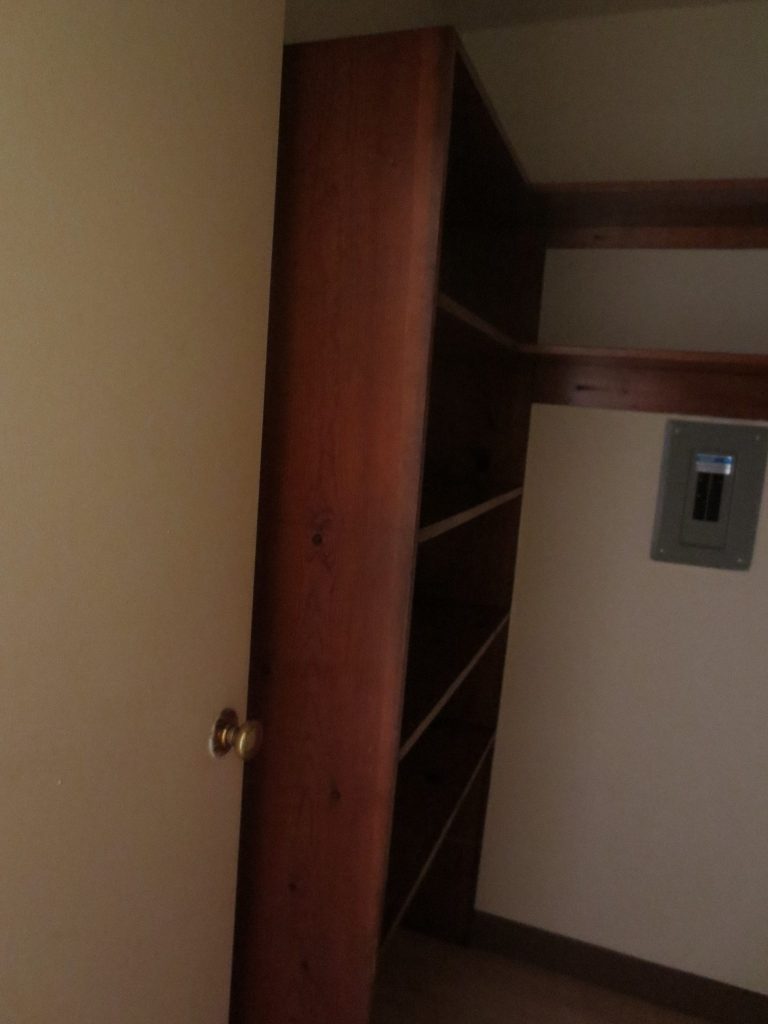
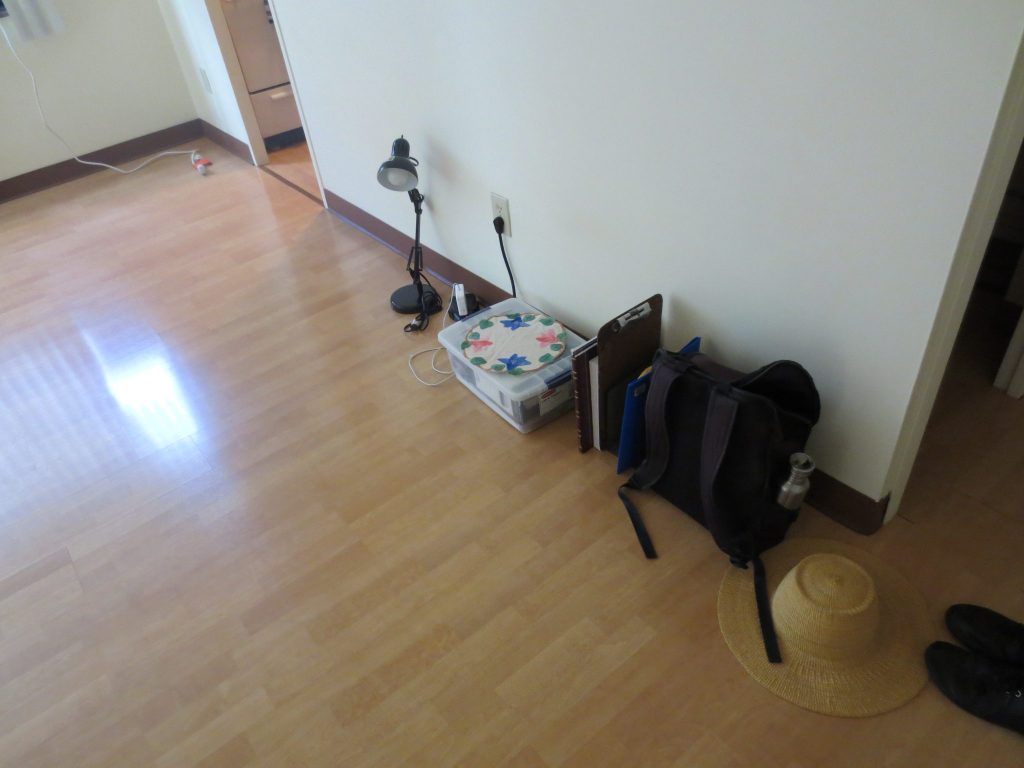
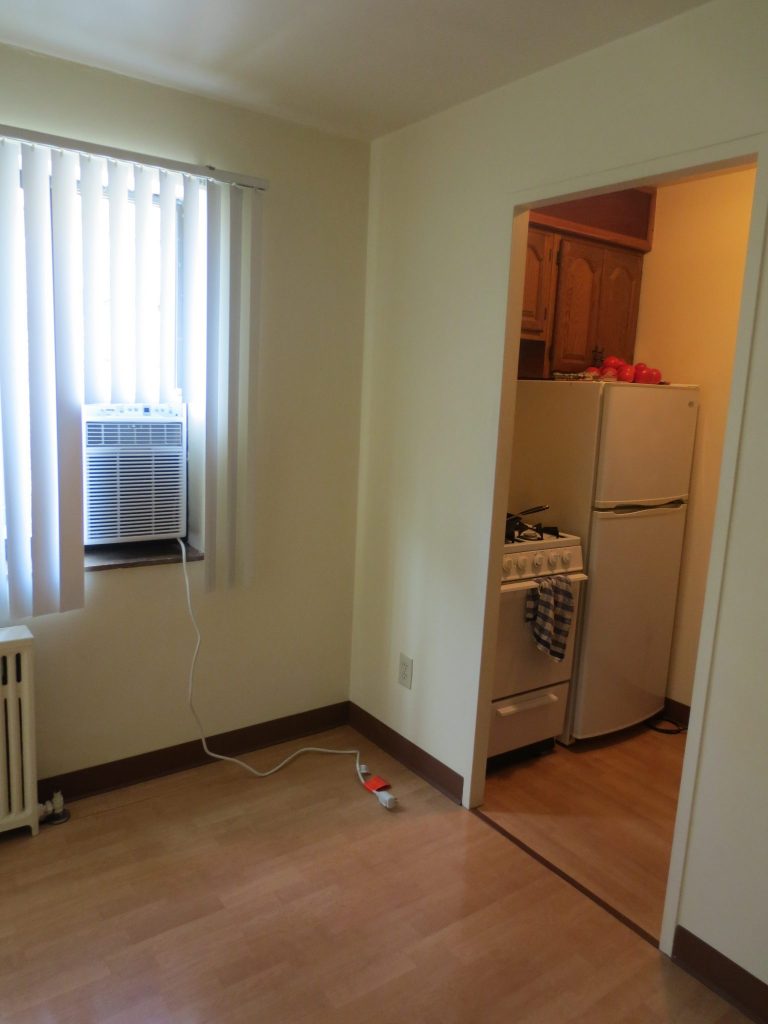
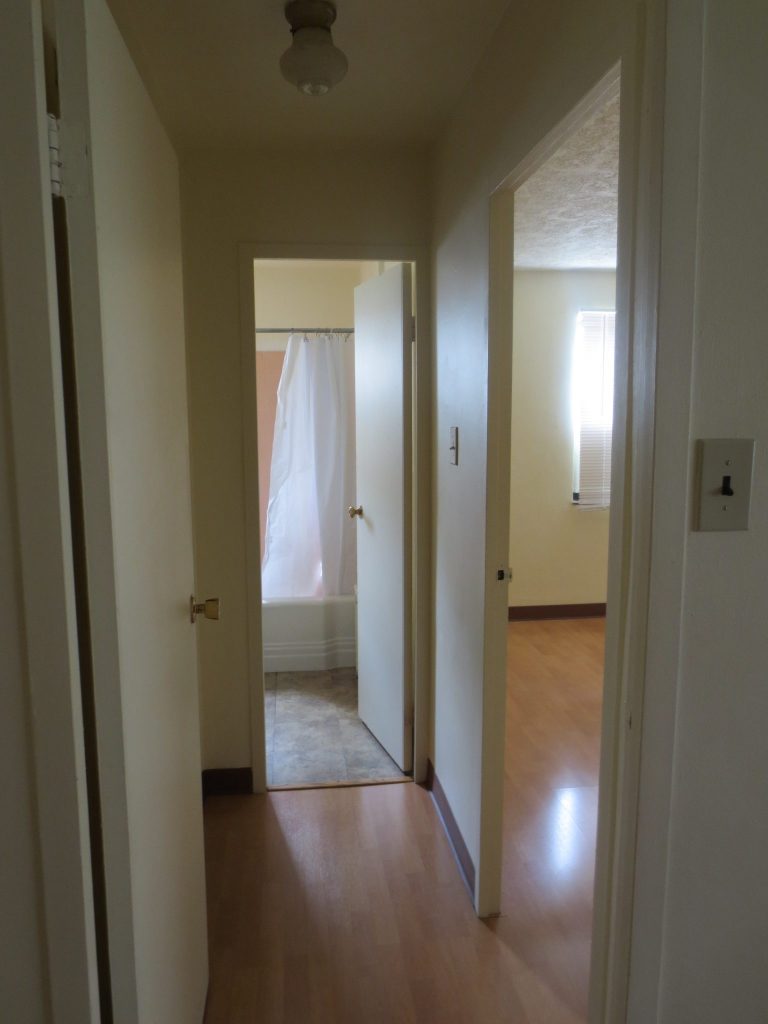
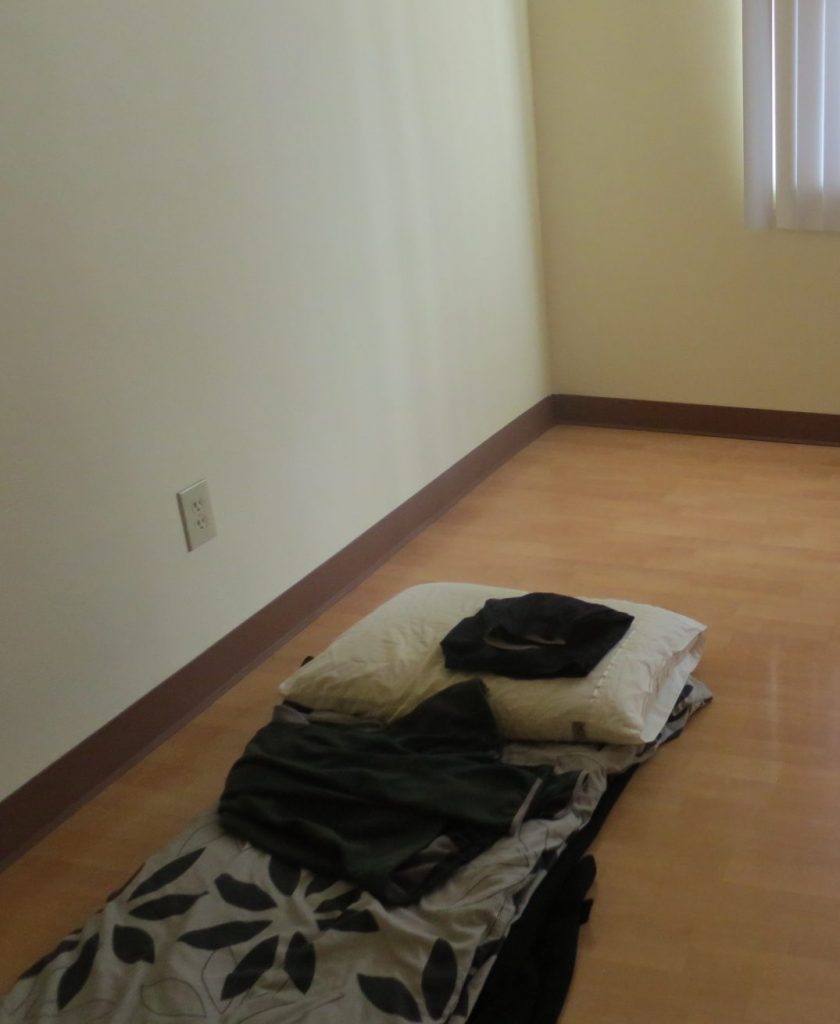
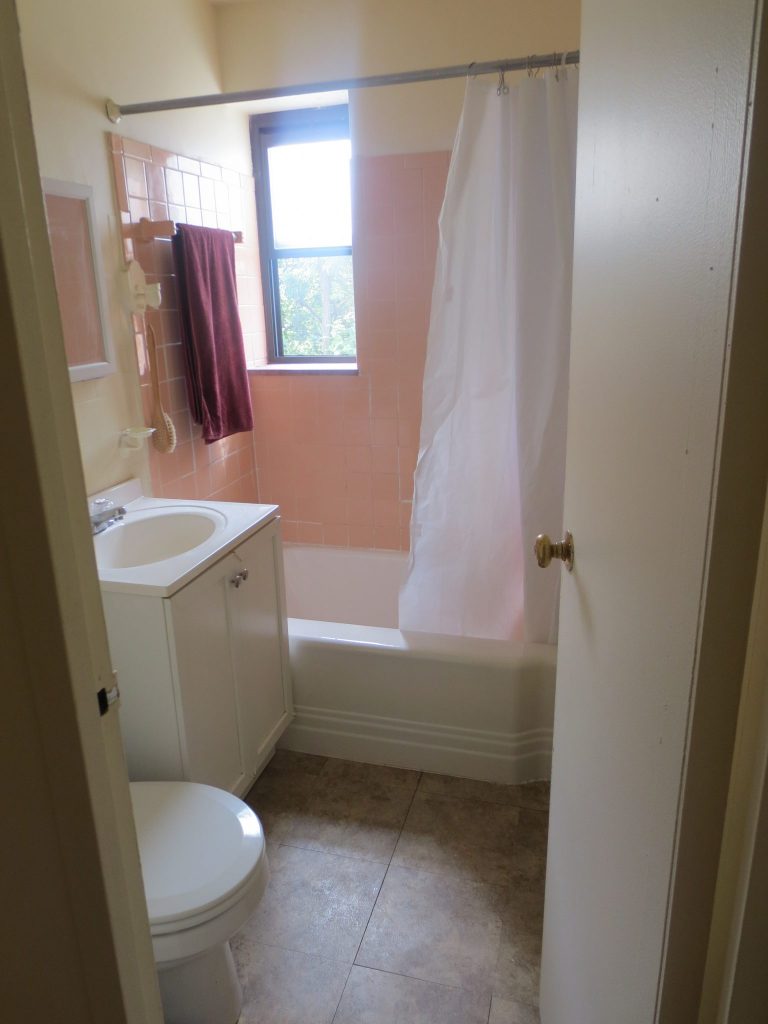
Entryway with a walk-in closet on the left. Unfortunately, the light doesn’t have an on switch, so it’s pretty dark in there.Dark 🙁But convenient built-in shelves!The main living area.My office setup, from left to right: desk lamp, mobile desk containing office supplies, upright organizers (from the free pile at the university!) for mail and notebooks, backpack.Kitchen with janky stove. It’s gas and has pilot lights lit all the time, so it’s about 90° in there, I measured.Cutting board and stockpot from Goodwill!Hallway off of the main room. To the right is the bedroom, to the left is a closet, and straight ahead is the bathroom. The apartment is on the corner of the building, so I get two walls of windows!I sleep in here to distance myself from the very warm kitchen.Made my mattress the other day. I had unstuffed it for easier shipping.It’s a lot more comfortable than the makeshift sleeping pad I was using.Previous bed: winter coat, duvet, with jacket as a blanket. Later layers included sheets, blankets, and towels.The second closet, also with very nice built-in storage, containing all my clothes.Bathroom! This room gets the best breeze, so when it was quite warm a few days ago, I would lounge in the bathtub and look out the window.
Pittsburgh is very appealing so far. My neighborhood is very walkable, has lots of fancy old houses, and has lots of buses. Plus the food coop, Goodwill, and Whole Foods are nearby 🙂
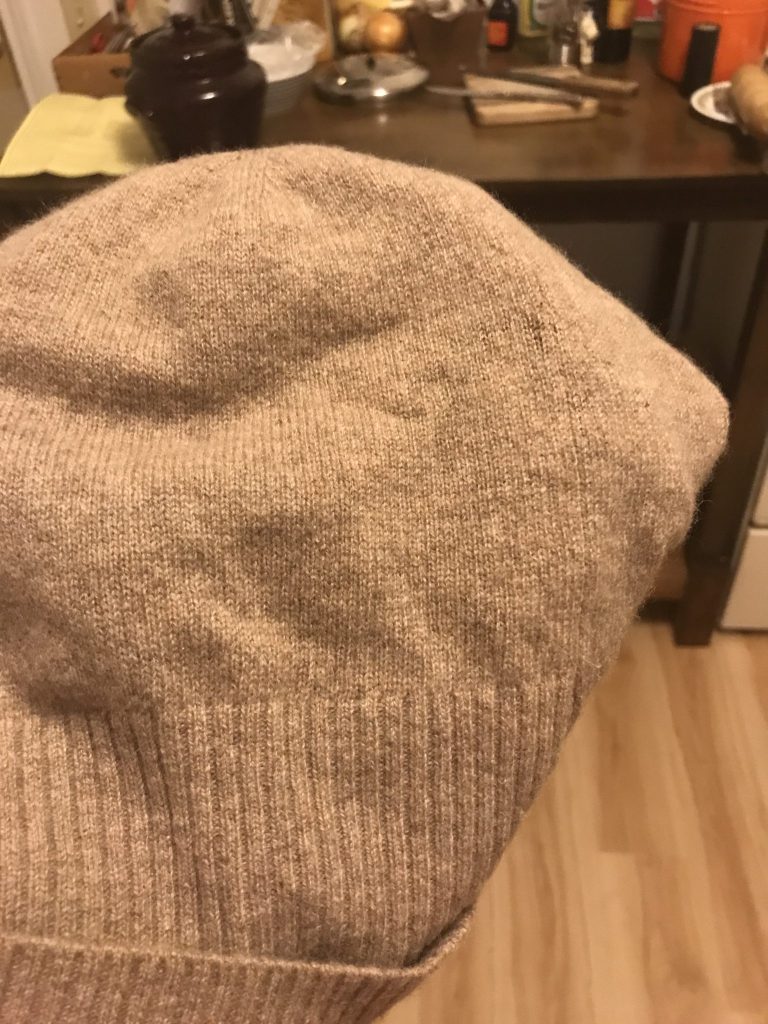
Sibling C got a holey cashmere hat from a friend who didn’t like it enough to want to repair it.
The hat in question. The crock on the counter in the background contains recently made miso! Now it just has to age for a year before it’s ready to eat 🙂
C wanted to repair it, but didn’t have darning yarn in the right color. So… I spun some for her!
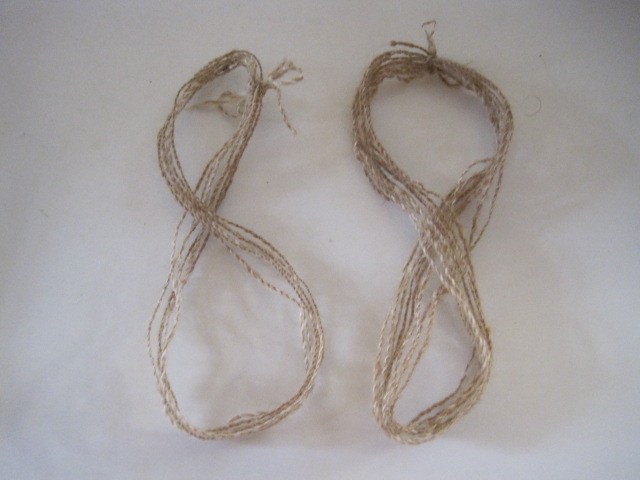
The finished yarn, my drop spindle, camel hair, and white/light gray Shetland wool. The yarn is worsted-spun so that the fibers are aligned. This makes the yarn stronger, shinier, and less prone to pilling. I combed together camel hair and wool to make a lighter tan color.Two tiny skeins of yarn! It’s about 18 ft in all.