Melt butter. Add milk, salt, flour. Beat well. Add eggs and beat. Letting the mixture sit may help with flour absorption and lumps.
Heat small skillet (nonstick or cast iron recommended). Lightly butter. Spoon about 3 Tb of batter into the skillet and spread evenly. Cook until nicely browned. You may want to flip each crepe to cook on the other side as well, but it isn’t necessary.
Crepes can be stacked until ready to fill. If you have trouble with sticking, separate with wax paper.
I couldn’t for the life of me figure out how to get the free pasta rollers to work. Each one came with a roller portion on a stand, and a separate cutter portion. Without a stand, the cutter is nigh impossible to use.
Hold the cutter in your hands. Have a friend feed the pasta dough into the cutter, and have your other friend turn the crank.
Maybe you’re supposed to take the stand apart and replace the roller head with the cutter head? Except that the stand doesn’t come apart, and the head cross-sections are different. I thought that there were missing pieces, until…!
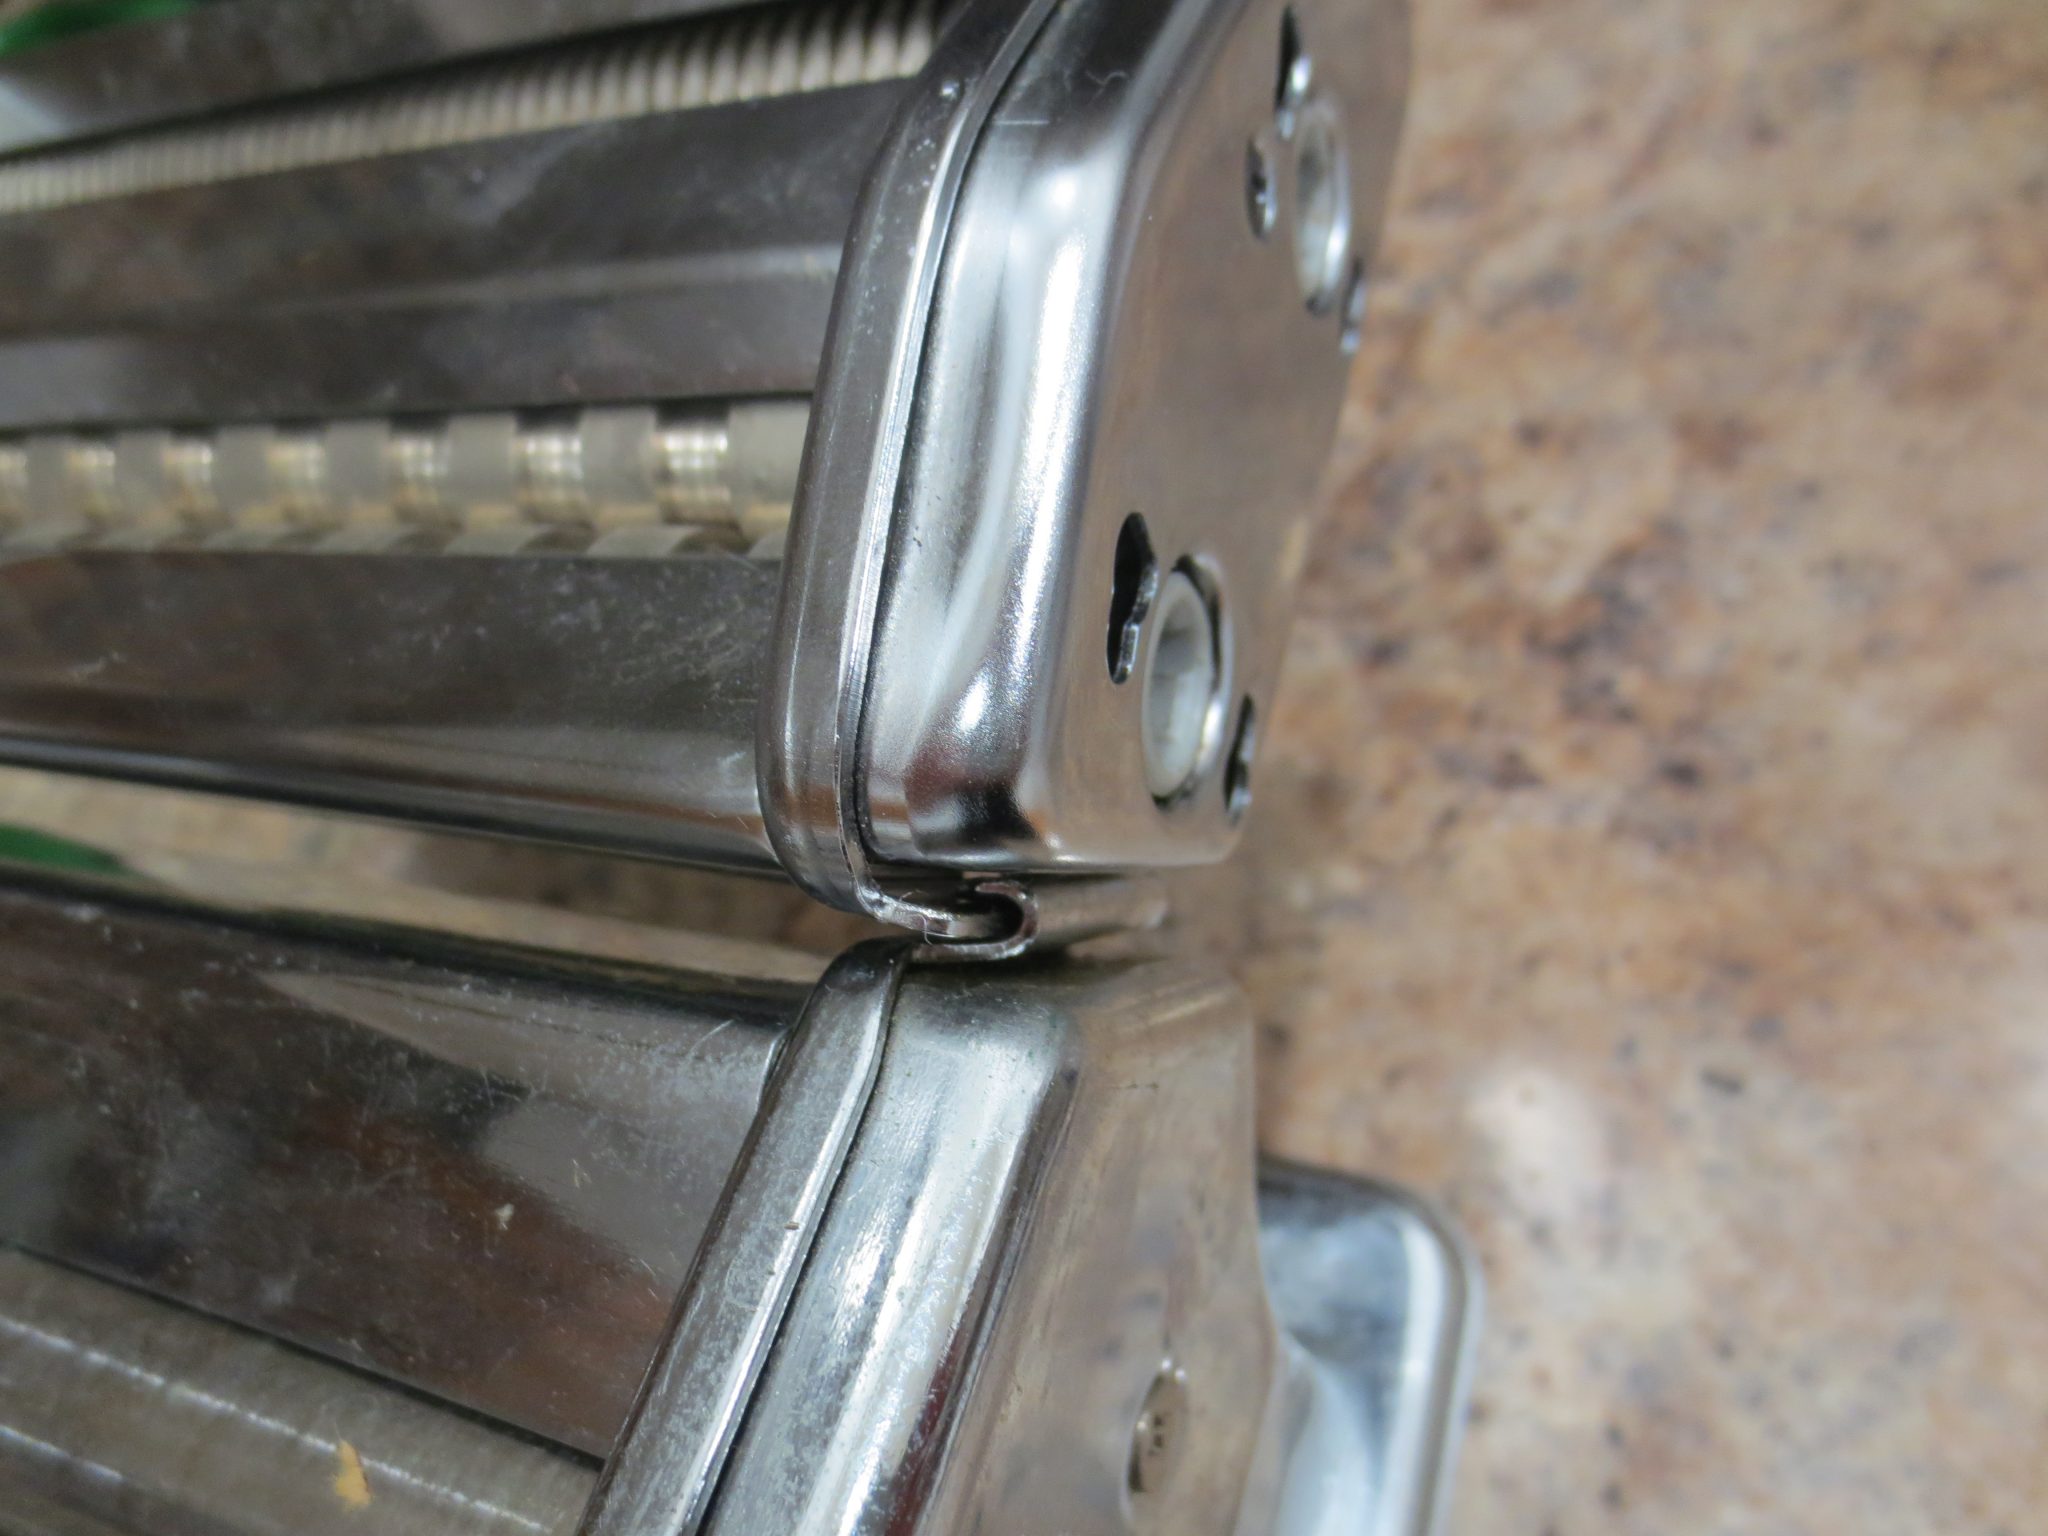
I was Googling pasta rollers last night (to verify terminology, e.g. “pasta roller” vs “pasta machine”) and discovered that some models let you mount the cutter on the side of the roller.
Indeed, it worked!!There are these little tabs that slide together.
Wow! Now I only need one friend to help me make pasta.
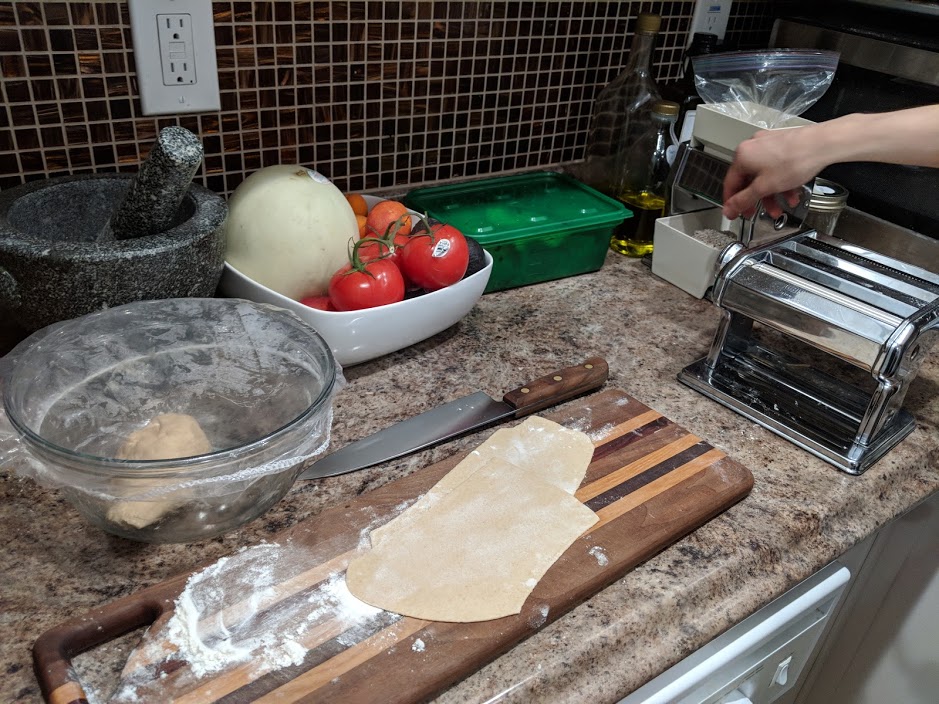
A while ago, I acquired three manual pasta rollers for free on Freecycle. I kept one, I gave one to sibling C, and the last is in need of a home. The biggest issue with the pasta rollers is that they were previously used for polymer clay…
With C, the homemade noodle enthusiast, visiting, it was the perfect time to get out the noodle machine! We made two big batches of noodles with the fancy Grist and Toll flour + 00 flour to smooth out the whole wheat.
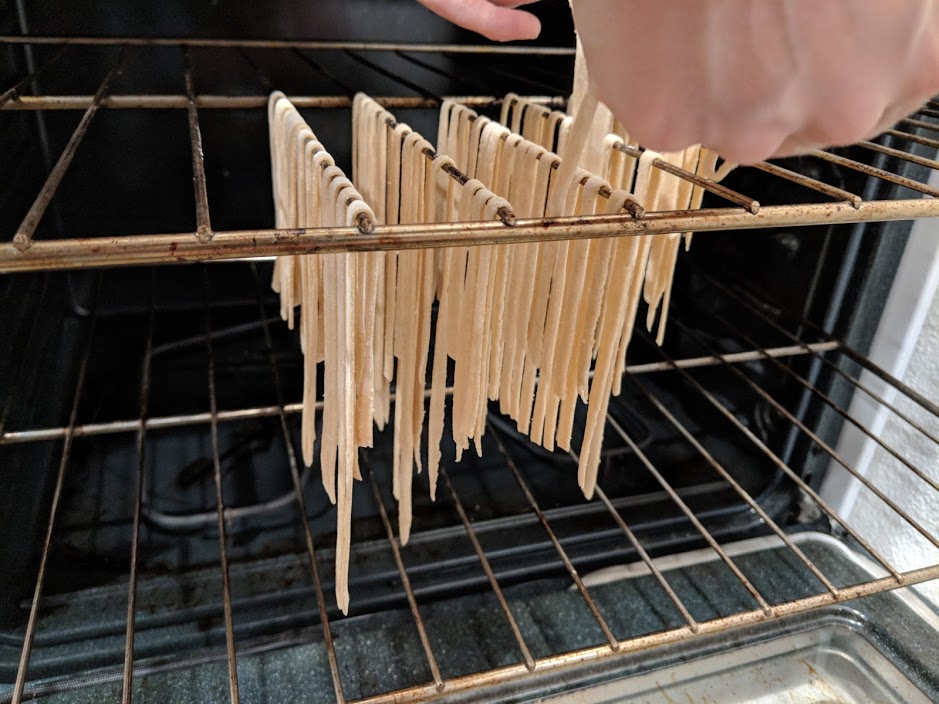
Rolling out the dough. Occasional clay bits appeared in the dough.Hanging the noodles to dry in the oven, although they can be cooked and eaten immediately. Once dry, the noodles can be stored at room temperature!
The day after the park walk, C and I went to San Francisco via the Caltrain, of course.
First we went to Rainbow Grocery to check out the bulk selection. We were actually too starved to shop, so first we ate our picnic lunch on the bench in front of the store.
Then we went to Cookin’, a mid-century-European-cookware thrift store.
(stand for food mill, wok spatula)
Cookin’ was very impressive! They have a large selection of very niche items – not just one canning food mill, but 5! – and a large selection of vintage and non-electric cookware (e.g. hand-crank egg beater). The store is organized by type, so that all the wooden cooking spoons are together within the larger implement section, the copper pots are together within the larger pots and pans section, etc. Not everything is displayed, so ask if you’re looking for something specific.
I bought a canning food mill stand, which I haven’t even been able to find on eBay. C bought a wok spatula, which she’s been looking for at thrift stores for ages.
Cookin’ is kind of expensive, but the prices are worth it for those hard-to-find items. The prices for popular items (vintage Le Creuset) are on-par with eBay, but the low demand items seem too expensive (worn plastic spatulas for $0.75). The store specializes in European cookware, so you won’t find a lot of specialty Asian items, e.g. (although C did get to choose between 3 different wok spatulas).
Darning eggs are used to stretch knit fabrics to make them easier to repair.
Oddly, they were selling darning eggs as pestles. They do look a bit like wooden pestles (see canning food mill picture above), but the owner obviously doesn’t do crafts. At least I know where to find darning eggs now 🙂
As some reviewers note on Yelp, the shop is like a display of the owner’s personal collection of cookware. The inside is an organized hoard – leave large bags and hats at home to avoid accidents! Enjoy!
Sibling C and I went on a nature walk along the in Shoreline Park, a public park and nature preserve for endangered animals. It is build on an old landfill (and had problems with methane fires a few decades ago…) along the San Francisco Bay and provides habitat for burrowing owls, among other animals.
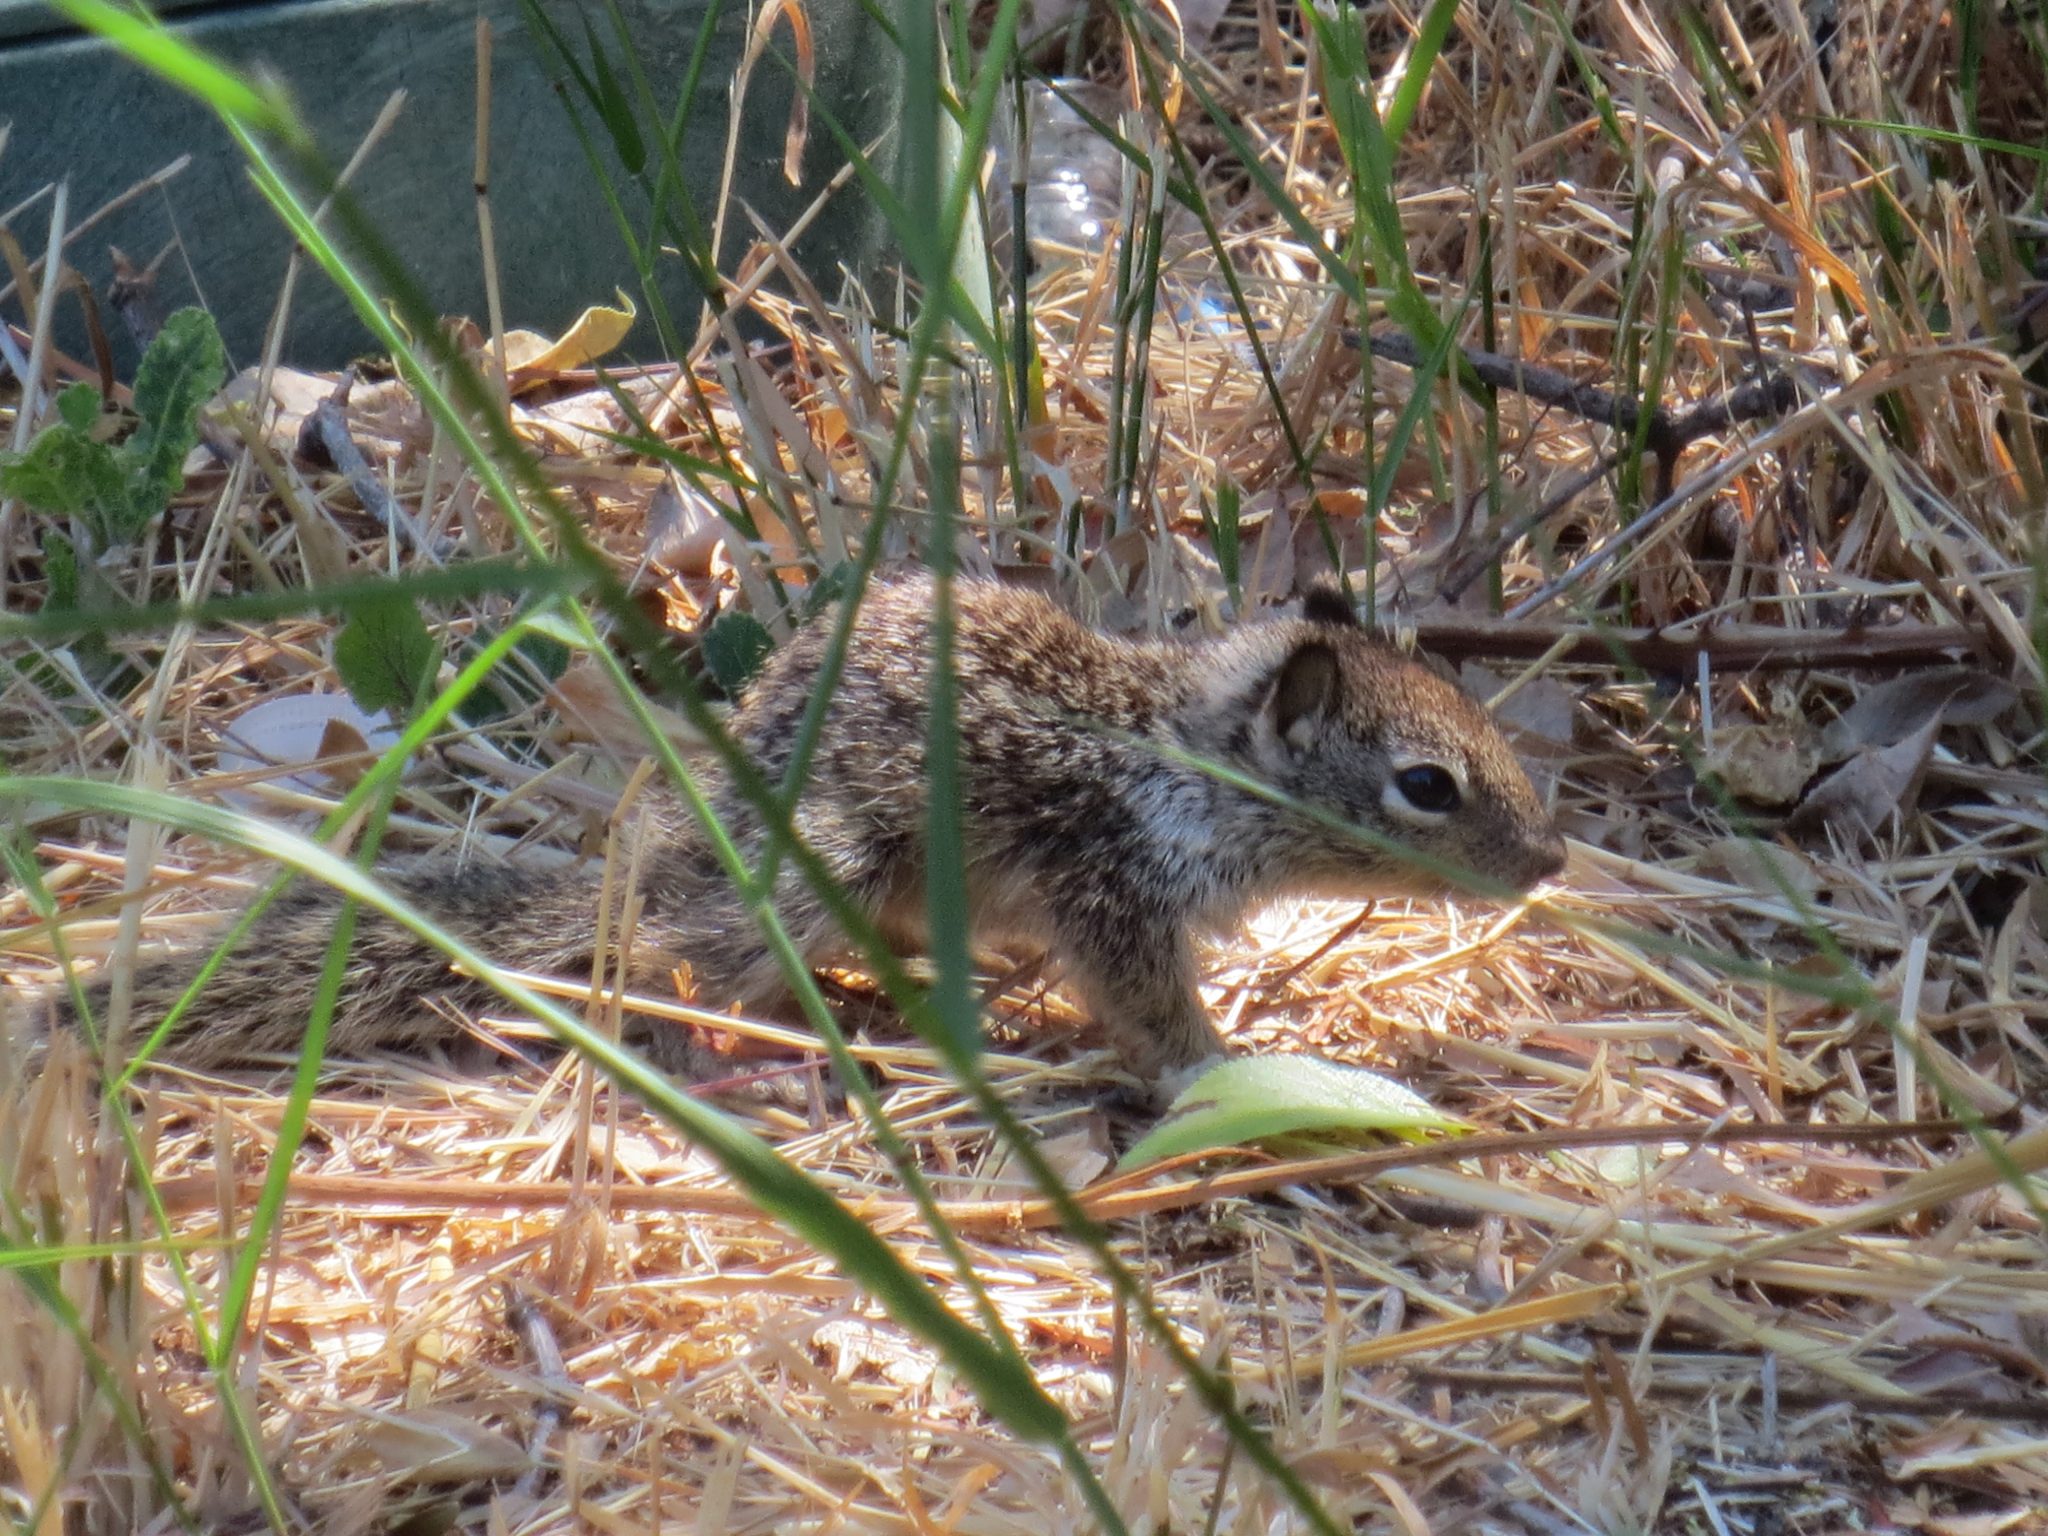
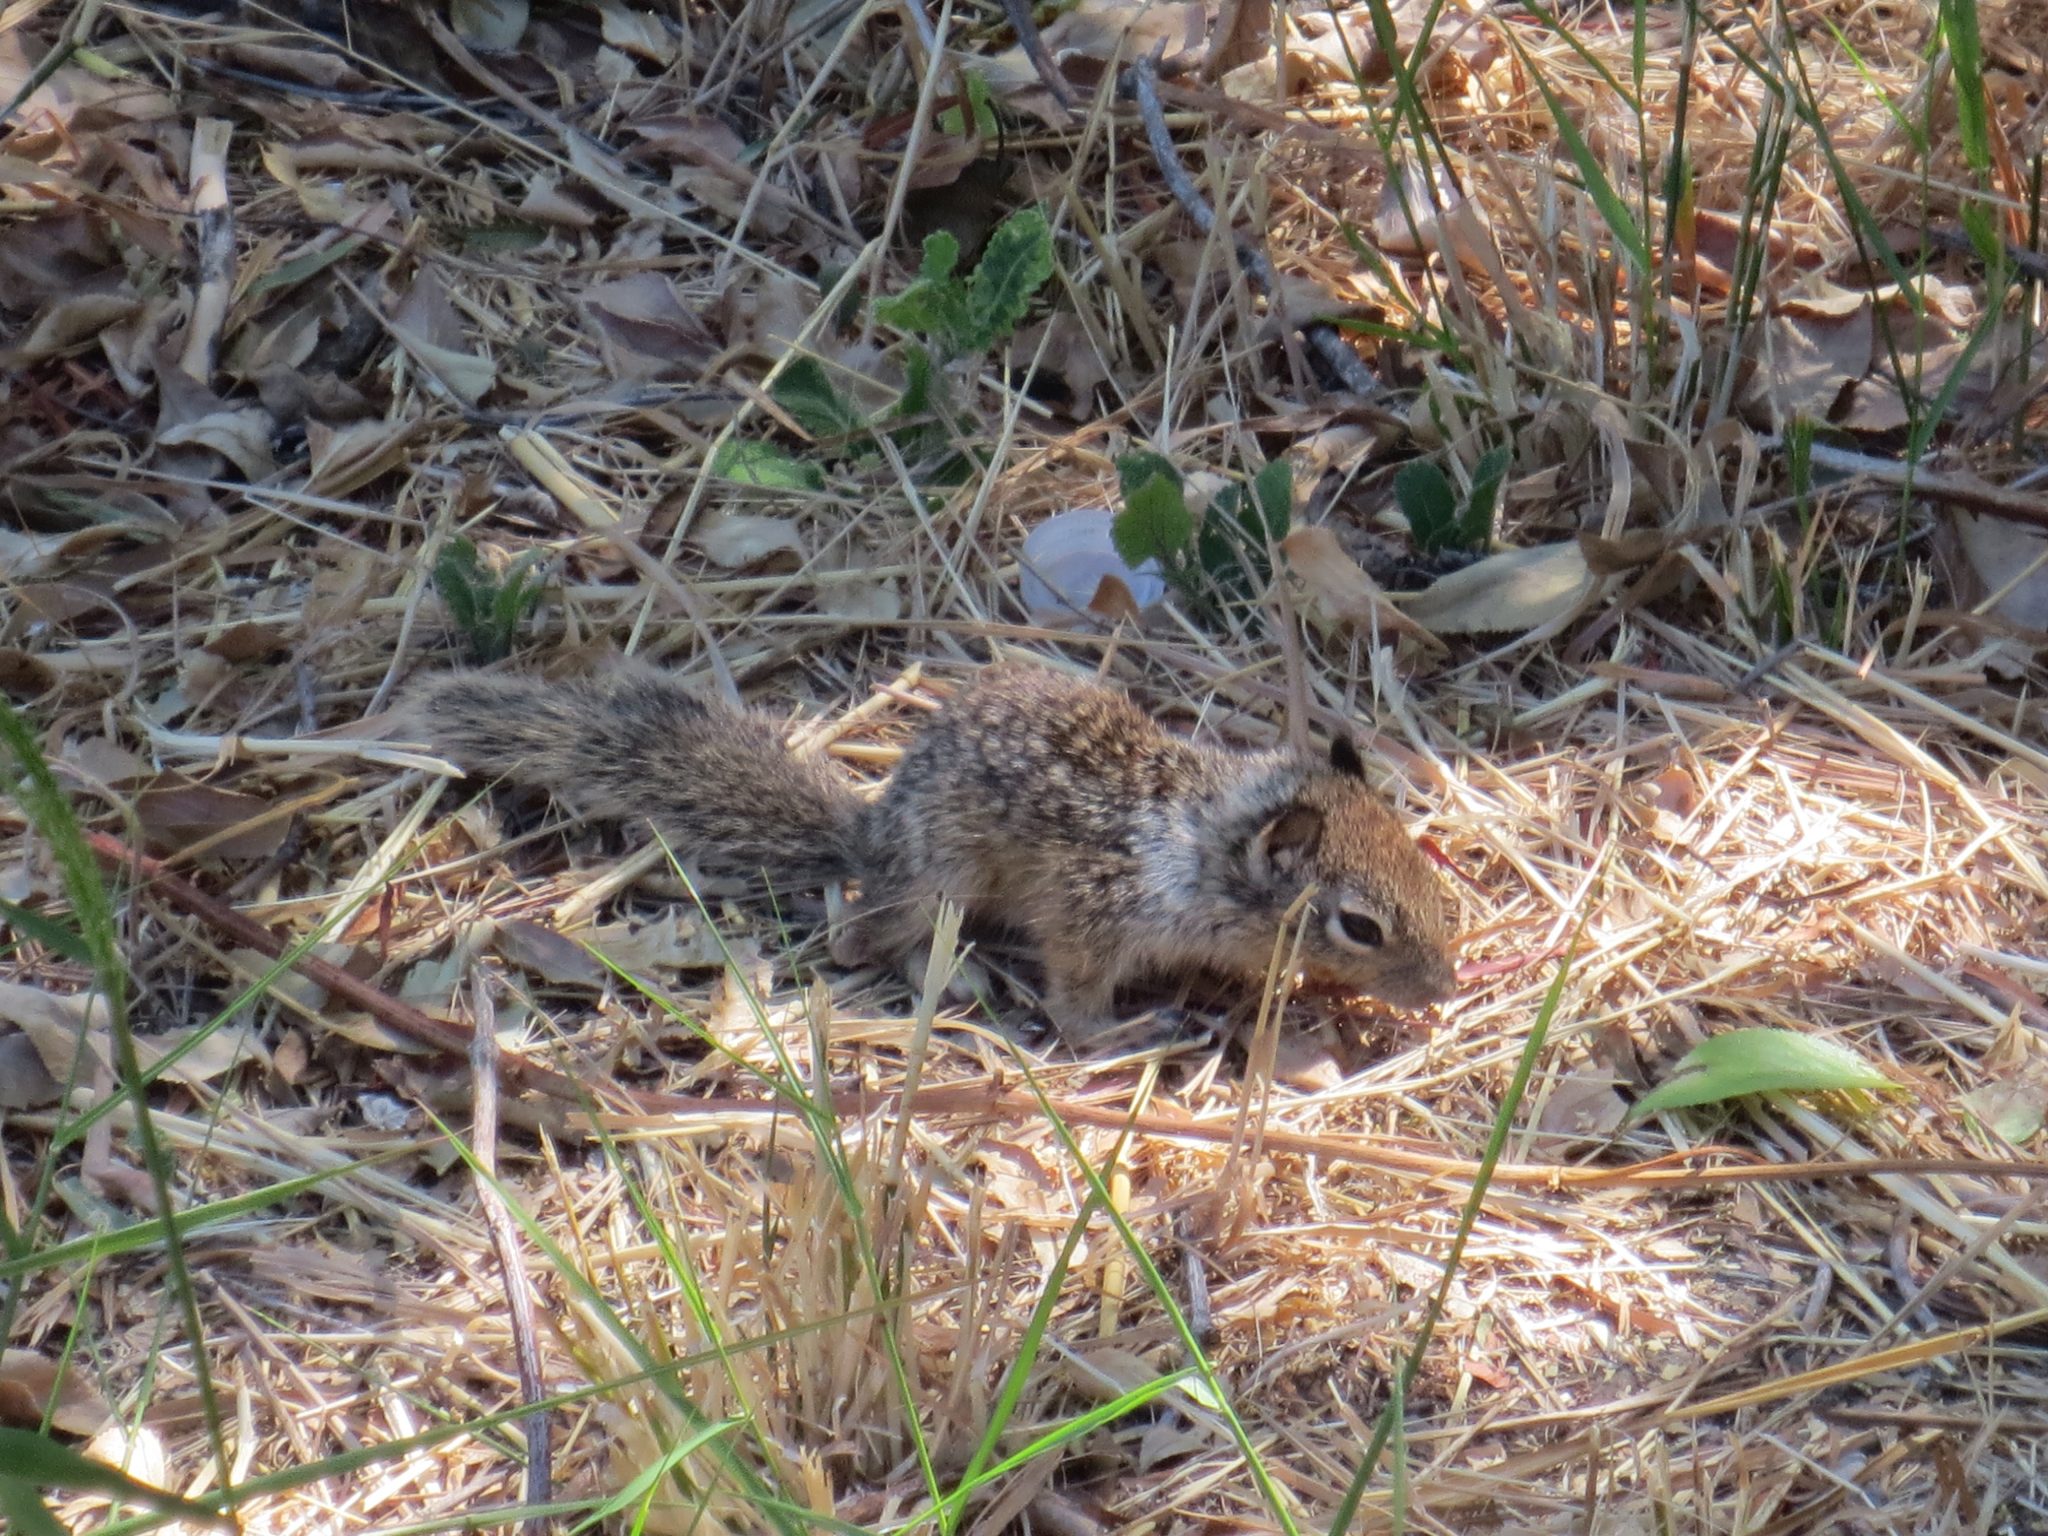
The main feature of the walk was a pack of baby ground squirrels on the side of the trail.
At first, we thought the babies were some type of tree squirrel, but they acted funny. They seemed really slow and dumb, for example. Great for photo shoots!
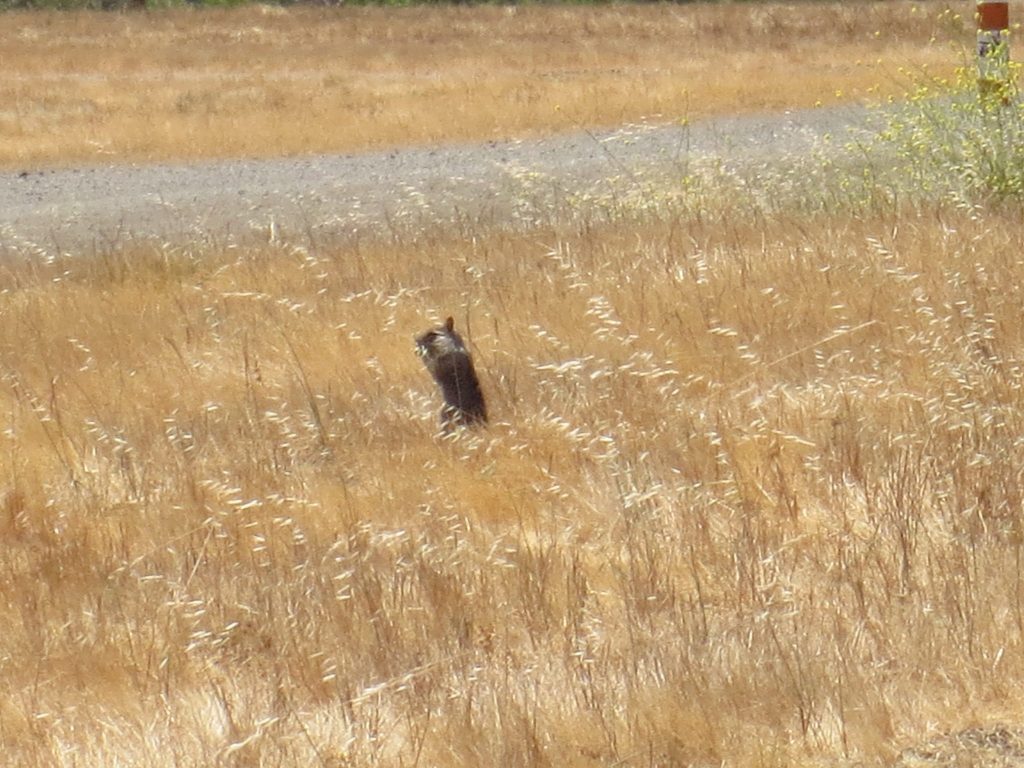
Ground squirrels are not quite as cute when adult, looking like a cross between normal squirrels and rabbits (I’ve seen what I think are black-tailed jackrabbits in the area too).
An adult ground squirrel we saw at the park.
We also saw ducklings!
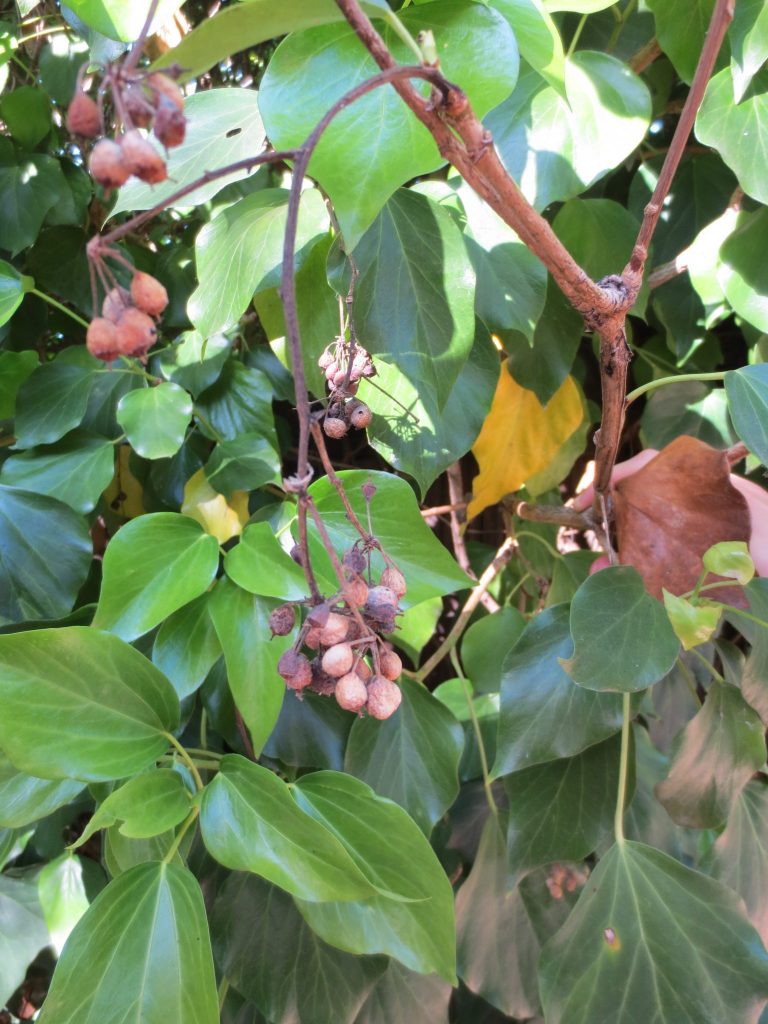
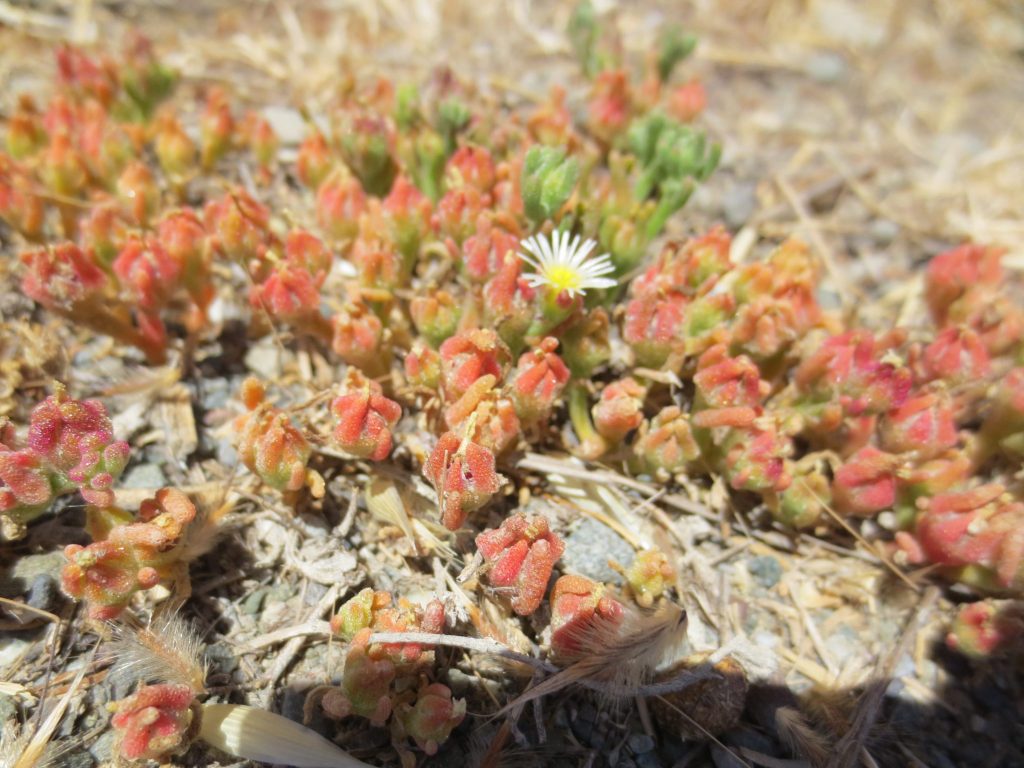
C also took a lot of plant photos to try to identify via iNaturalist. iNaturalist features a plant and animal-identification algorithm that guesses the species featured in uploaded photos. Most of the suggestions are spot on! Other users can also help with identifications.
A generic lizard, for example.And invasive English ivy.Cute sedum-thing.
After the walk, we ate dinner out and visited a nearby rooftop garden (big enough for a basketball court)!
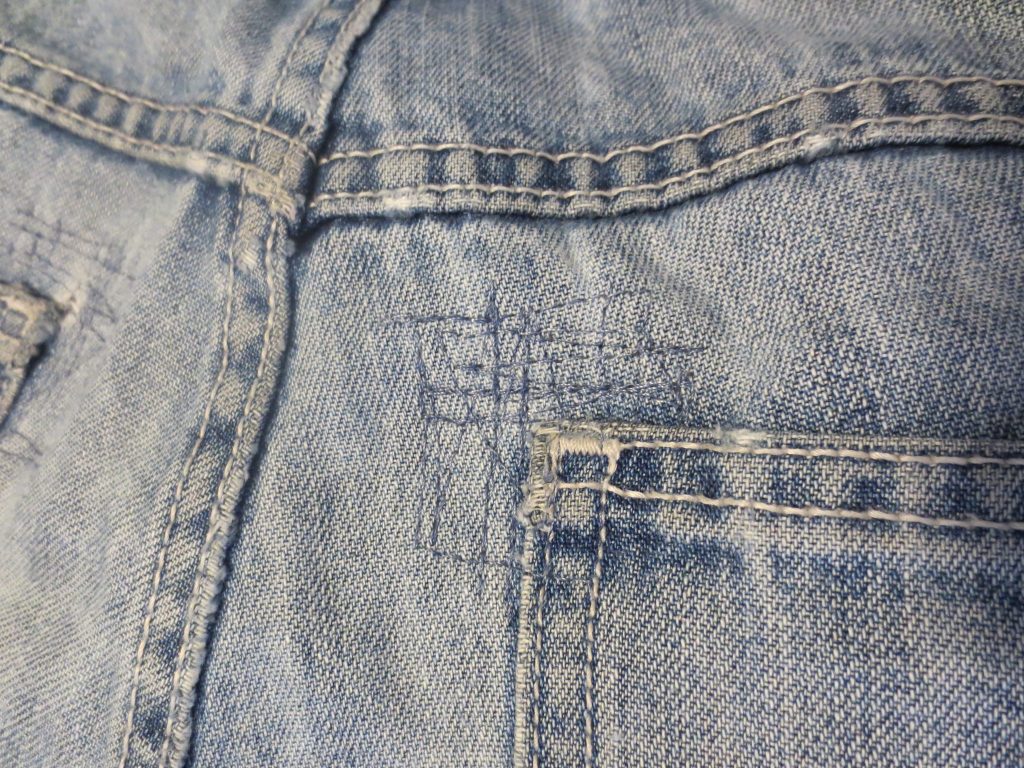
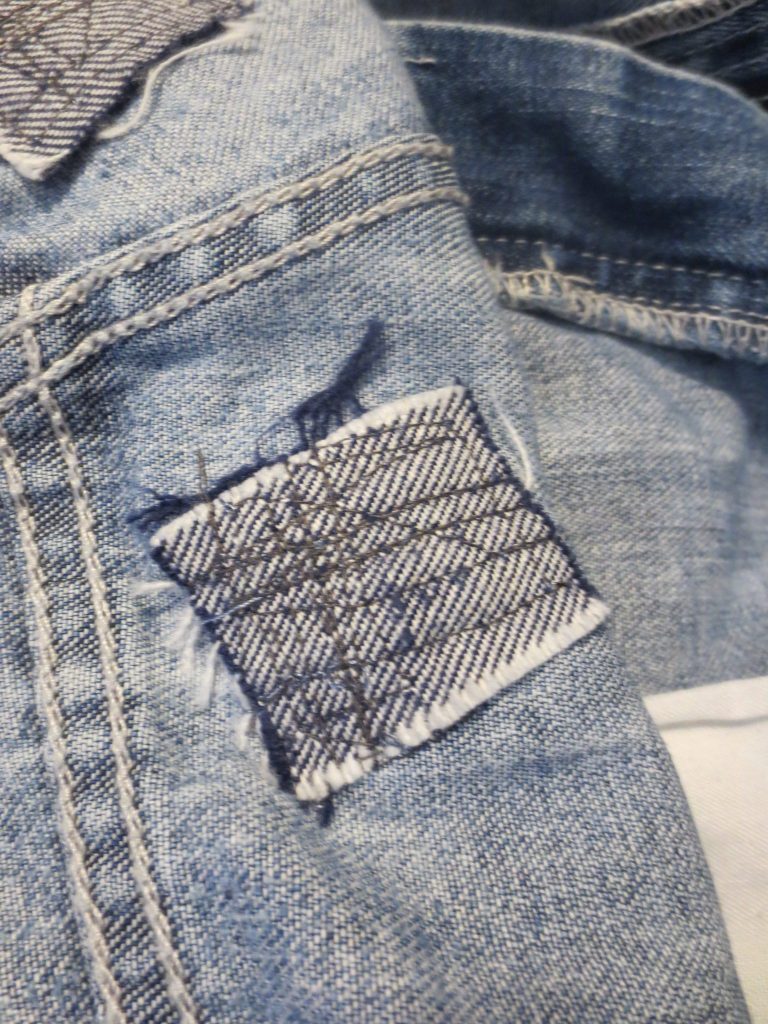
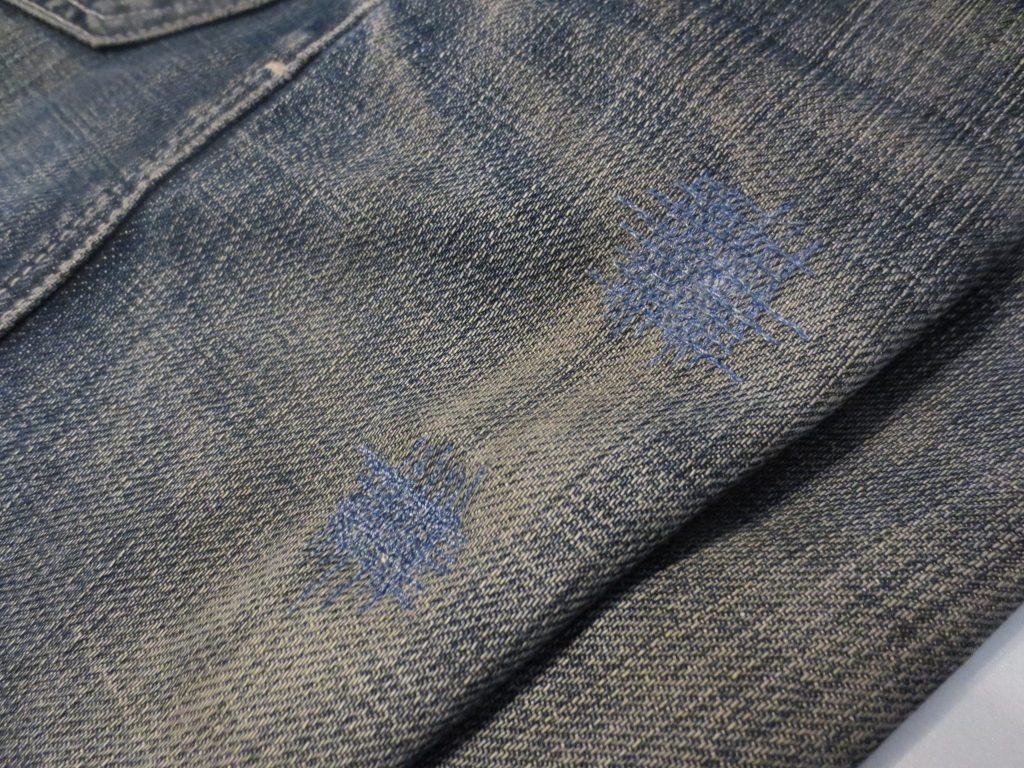
My older sibling C visited a few weeks ago. We did tons of cool things, starting with… the public library! It was sewing night, so I worked on the never-ending supply of holey clothing. Here are some of my recent patches!
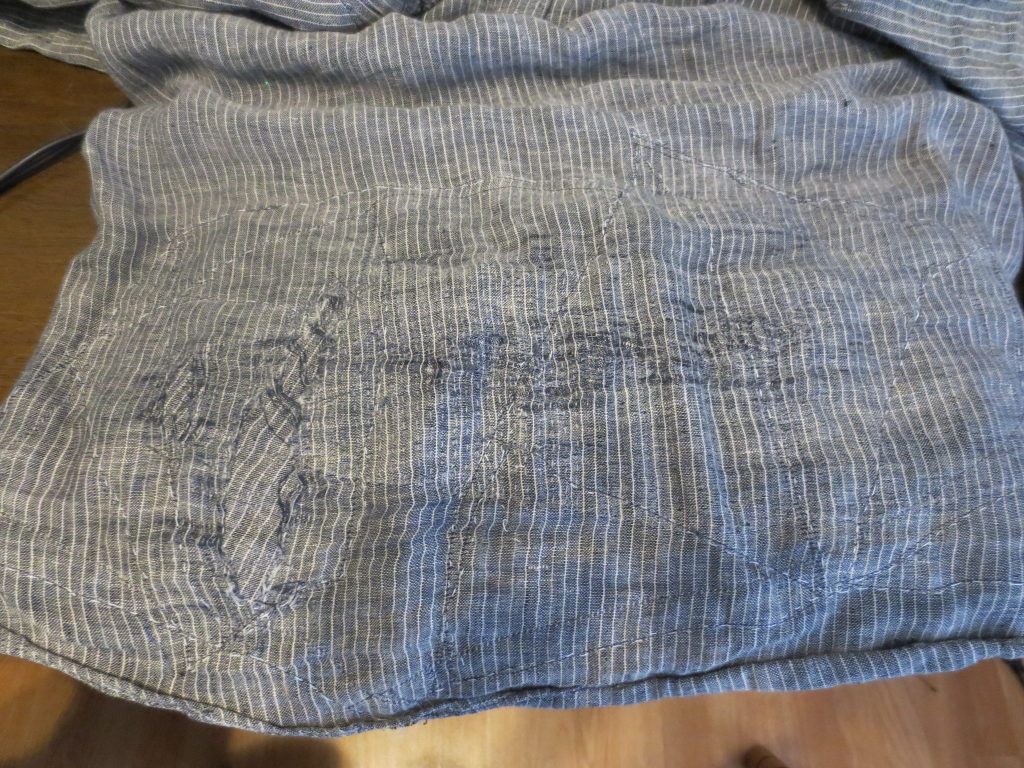
Pocket was tearing off.Back of patch.Highly sophisticated machine darns where the corners of my wallet have started to wear through my jeans. I discovered that setting the stitch length to be the same length as the carries in the weave makes the patch blend in a lot better.That linen shirt (homemade!) that continues to fall apart. I patched a huge worn spot where my backpack rubs.Inside of the shirt. I’m trying to use up scraps of cloth first.
While I was patching, C looked at books, getting cool ones like:
J had the rest of his wisdom teeth and second molars removed yesterday. (Keep your wisdom teeth after removal – apparently they contain stem cells!) They were all impacted ’cause J’s mouth is tiny. J is in much better shape than I had anticipated.
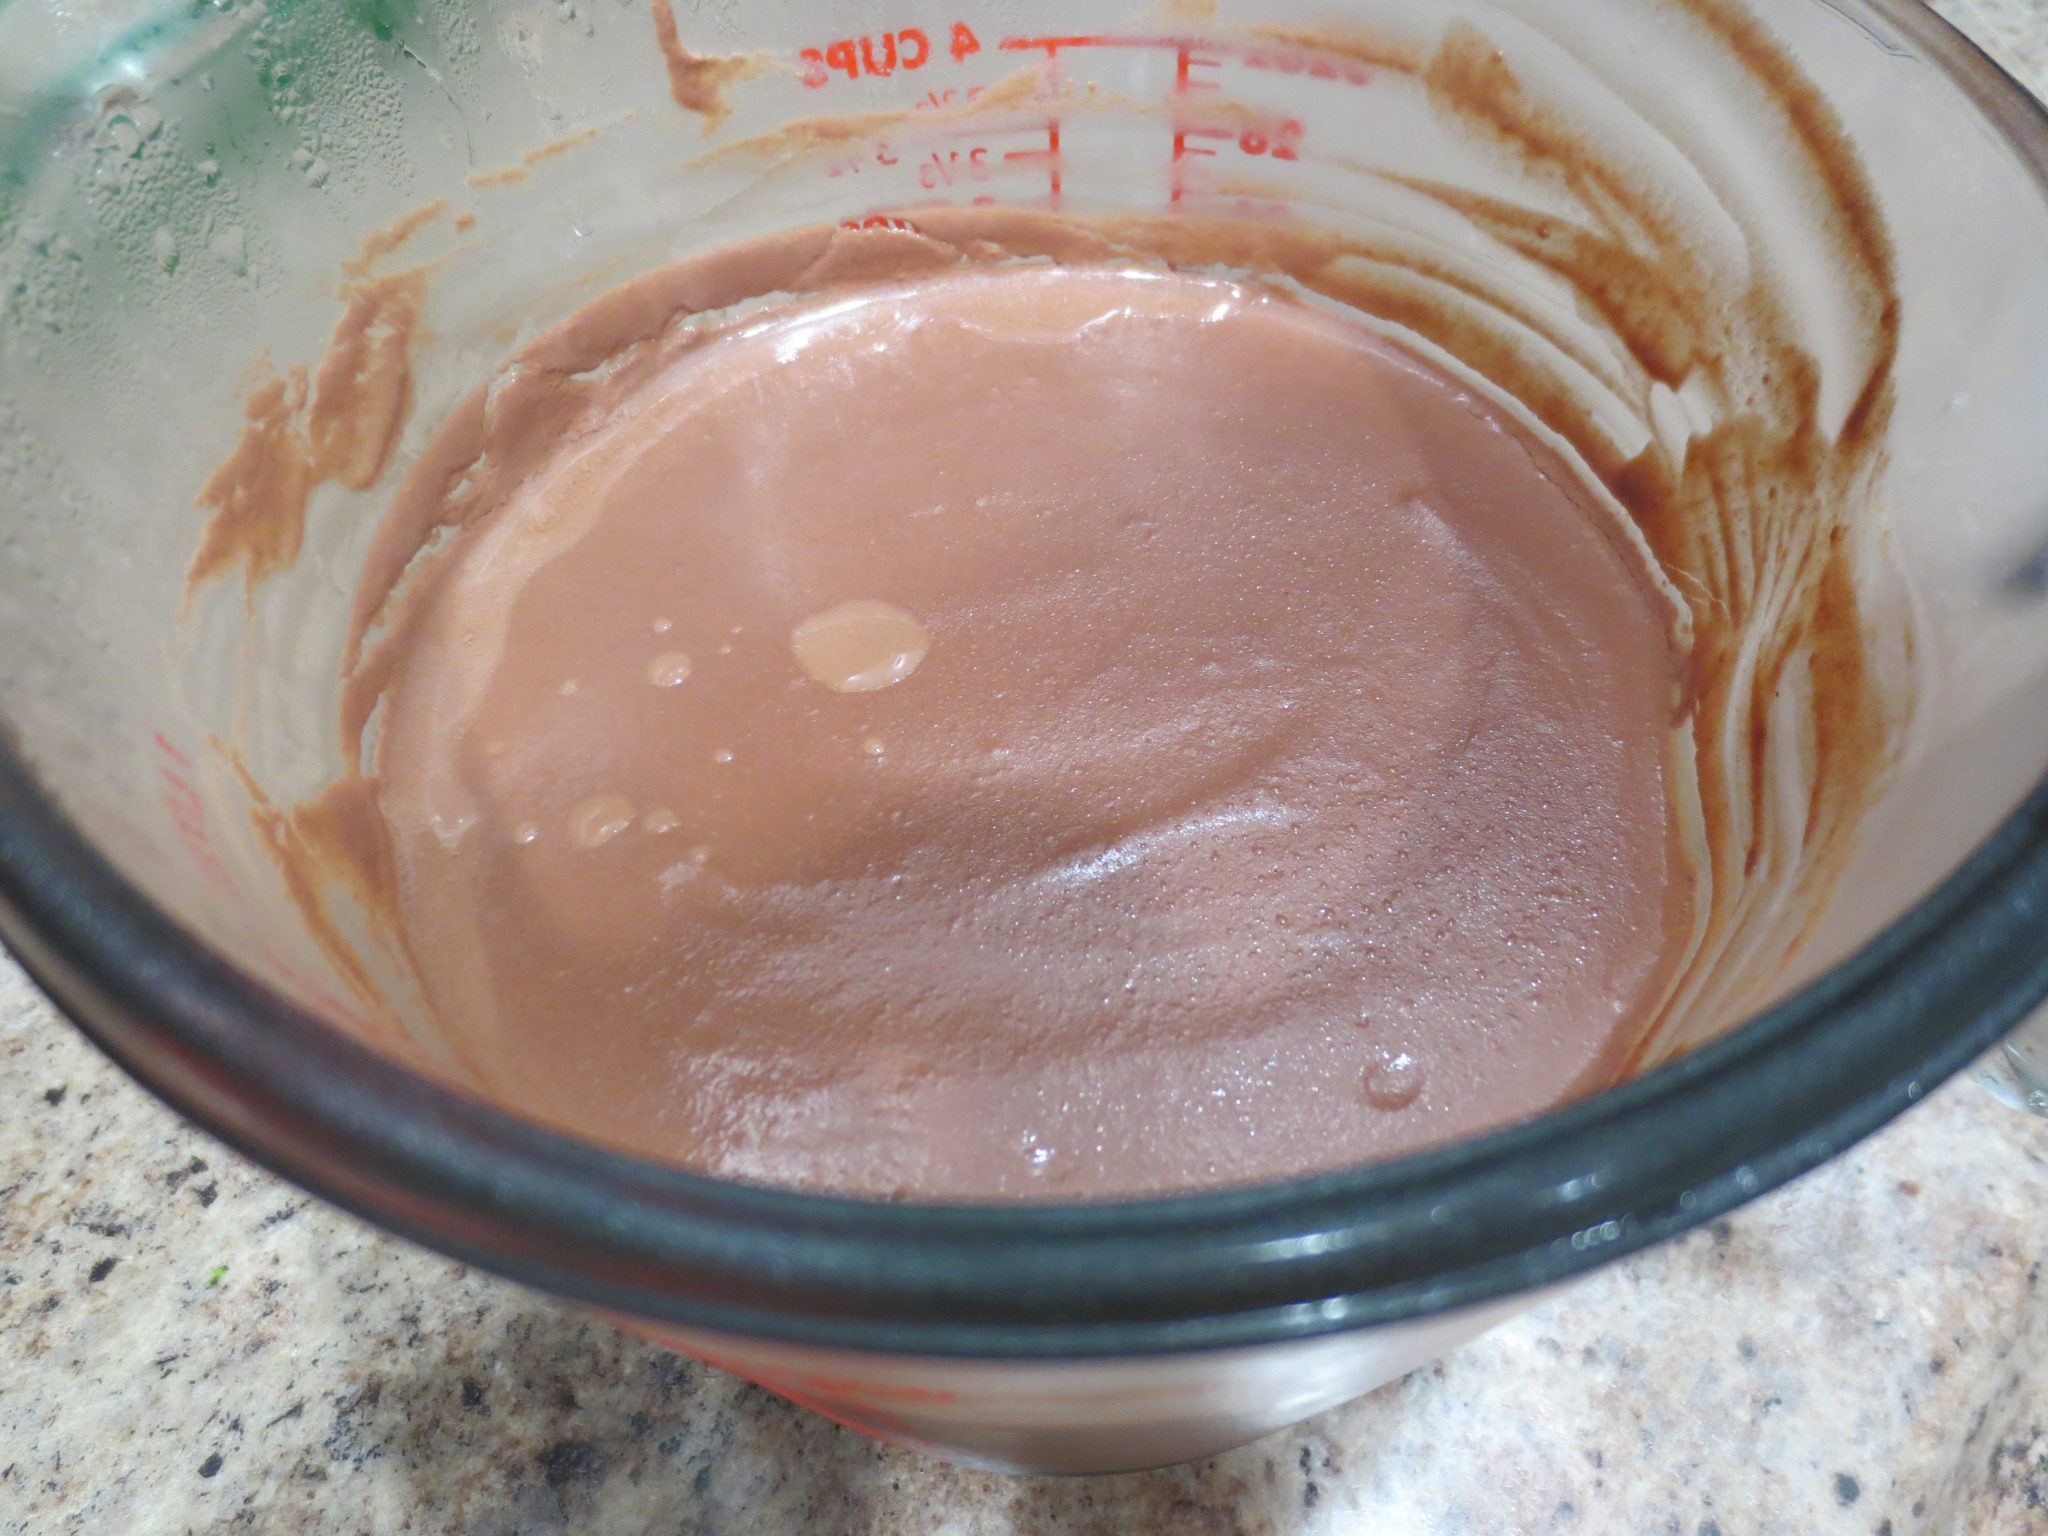
Since J is supposed to eat soft foods (only Soylent and Pedialyte so far), I took the opportunity to make chocolate pudding! I’m probably going to eat it all myself, since J doesn’t like pudding…
I used this recipe in combination with this recipe. The main change I made was to decrease the amount of bar chocolate and increase the amount of cocoa powder, which we have in abundance.
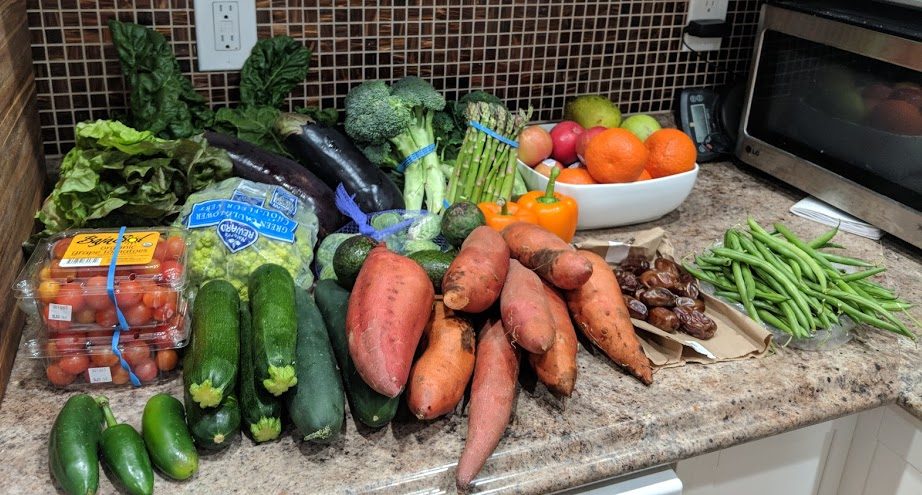
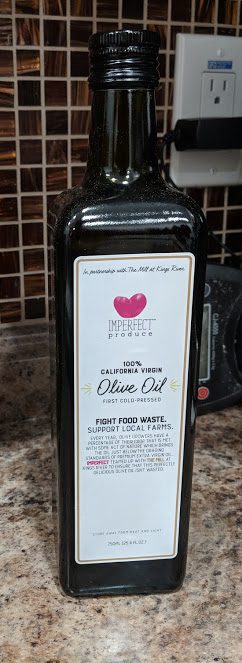
Content of one veggie delivery. Besides produce, Imperfect Produce also collects and sells reject pasta, dried fruit, short-coded snacks and chocolate, and…Reject olive oil. It seems that the oil’s acidity was too high to be sold as extra virgin, and “virgin” is much less valuable.
AT&T offers these apps (smartphone only) to help block fraudulent calls and phishing attempts.
PaperKarma is an app and associated service that help stop junk mail. You take a picture of the address label on junk mail and the app magically unsubscribes you from it. The app is free to download, but the actual service costs $2/month. So, save up your junk mail for a year and unsubscribe from it all at once?


 (stand for food mill, wok spatula)