I’ve been thinking of taking a ceramics class. I got my feet wet during college, and really enjoyed it. It’s amazing to think that you can make all your cups, plates, bowls, and more yourself! You could even make your own toilet.
I’m especially interested, though, in making onggi, which are traditional Korean fermentation vessels. Here’s a video on how they’re made.
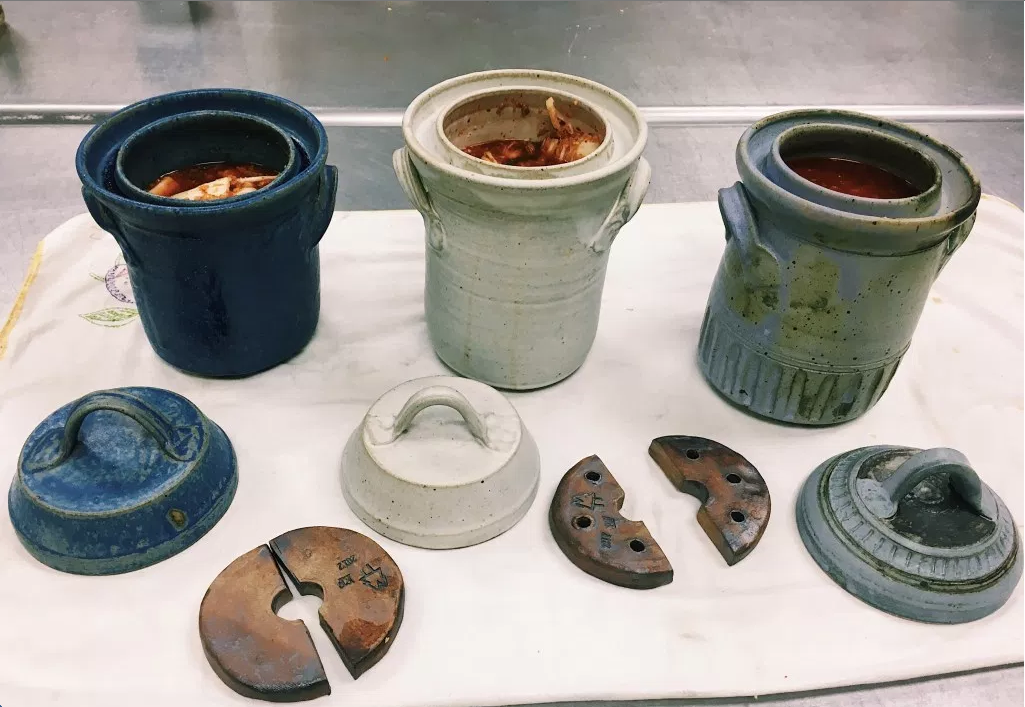
Apparently the type of clay is very important, and detailed information is probably only available in Korean. I’d be satisfied with something like these crocks, which are also pretty and functional.
I worked in a research lab in South Korea for a summer during undergrad. I’m thinking of contacting the grad student I worked with to see what he knows about traditional Korean food (and onggi!). Maybe he’d be willing to do some research for me (:
I also could make a donabe (see Toiro Kitchen for more info. The cookbook by Naoko Moore on donabe cooking is also quite good).
And, well, a ceramics class just sounds fun. I like learning new crafts!