There are some good foraging opportunities near my apartment. The best is a pear tree – I believe it is ornamental since the pears are small. It wasn’t clear to me if the owners were interested in the pears, so I just collected ones that had fallen onto the sidewalk, and made pear-sauce! I strained the cooked pears through a mesh strainer, and used the remaining fibrous matter to make alcohol.
There are also a ton of sugar maples. If I had tapping equipment, I could make maple syrup.
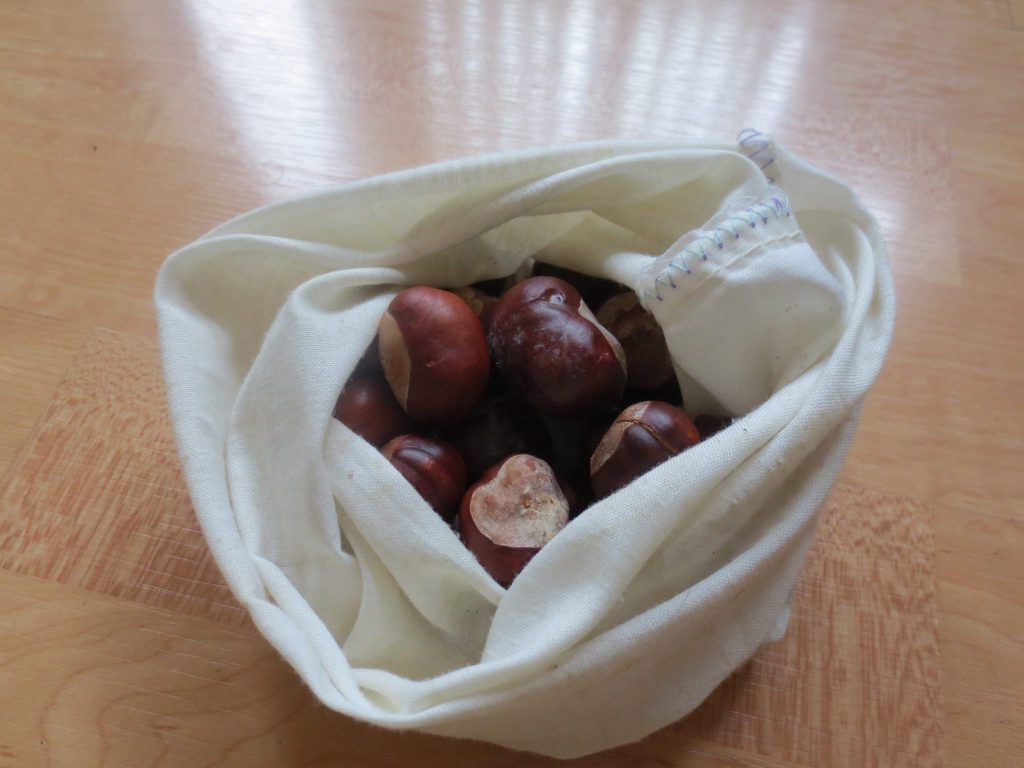
And lastly, there are a ton of chestnut trees. Unfortunately, they are horse chestnuts, not true or sweet chestnuts, which were largely killed off in the early 1900s by chestnut blight. The only trees that survived were those far enough (about 10 km) away from other chestnut trees.
Horse chestnuts contain high levels of naturally-occurring saponins, which make them taste really bitter. Apparently, they are also poisonous. Before realizing this, I collected a bunch. I was super excited to find chestnuts since they’re pretty expensive to buy.
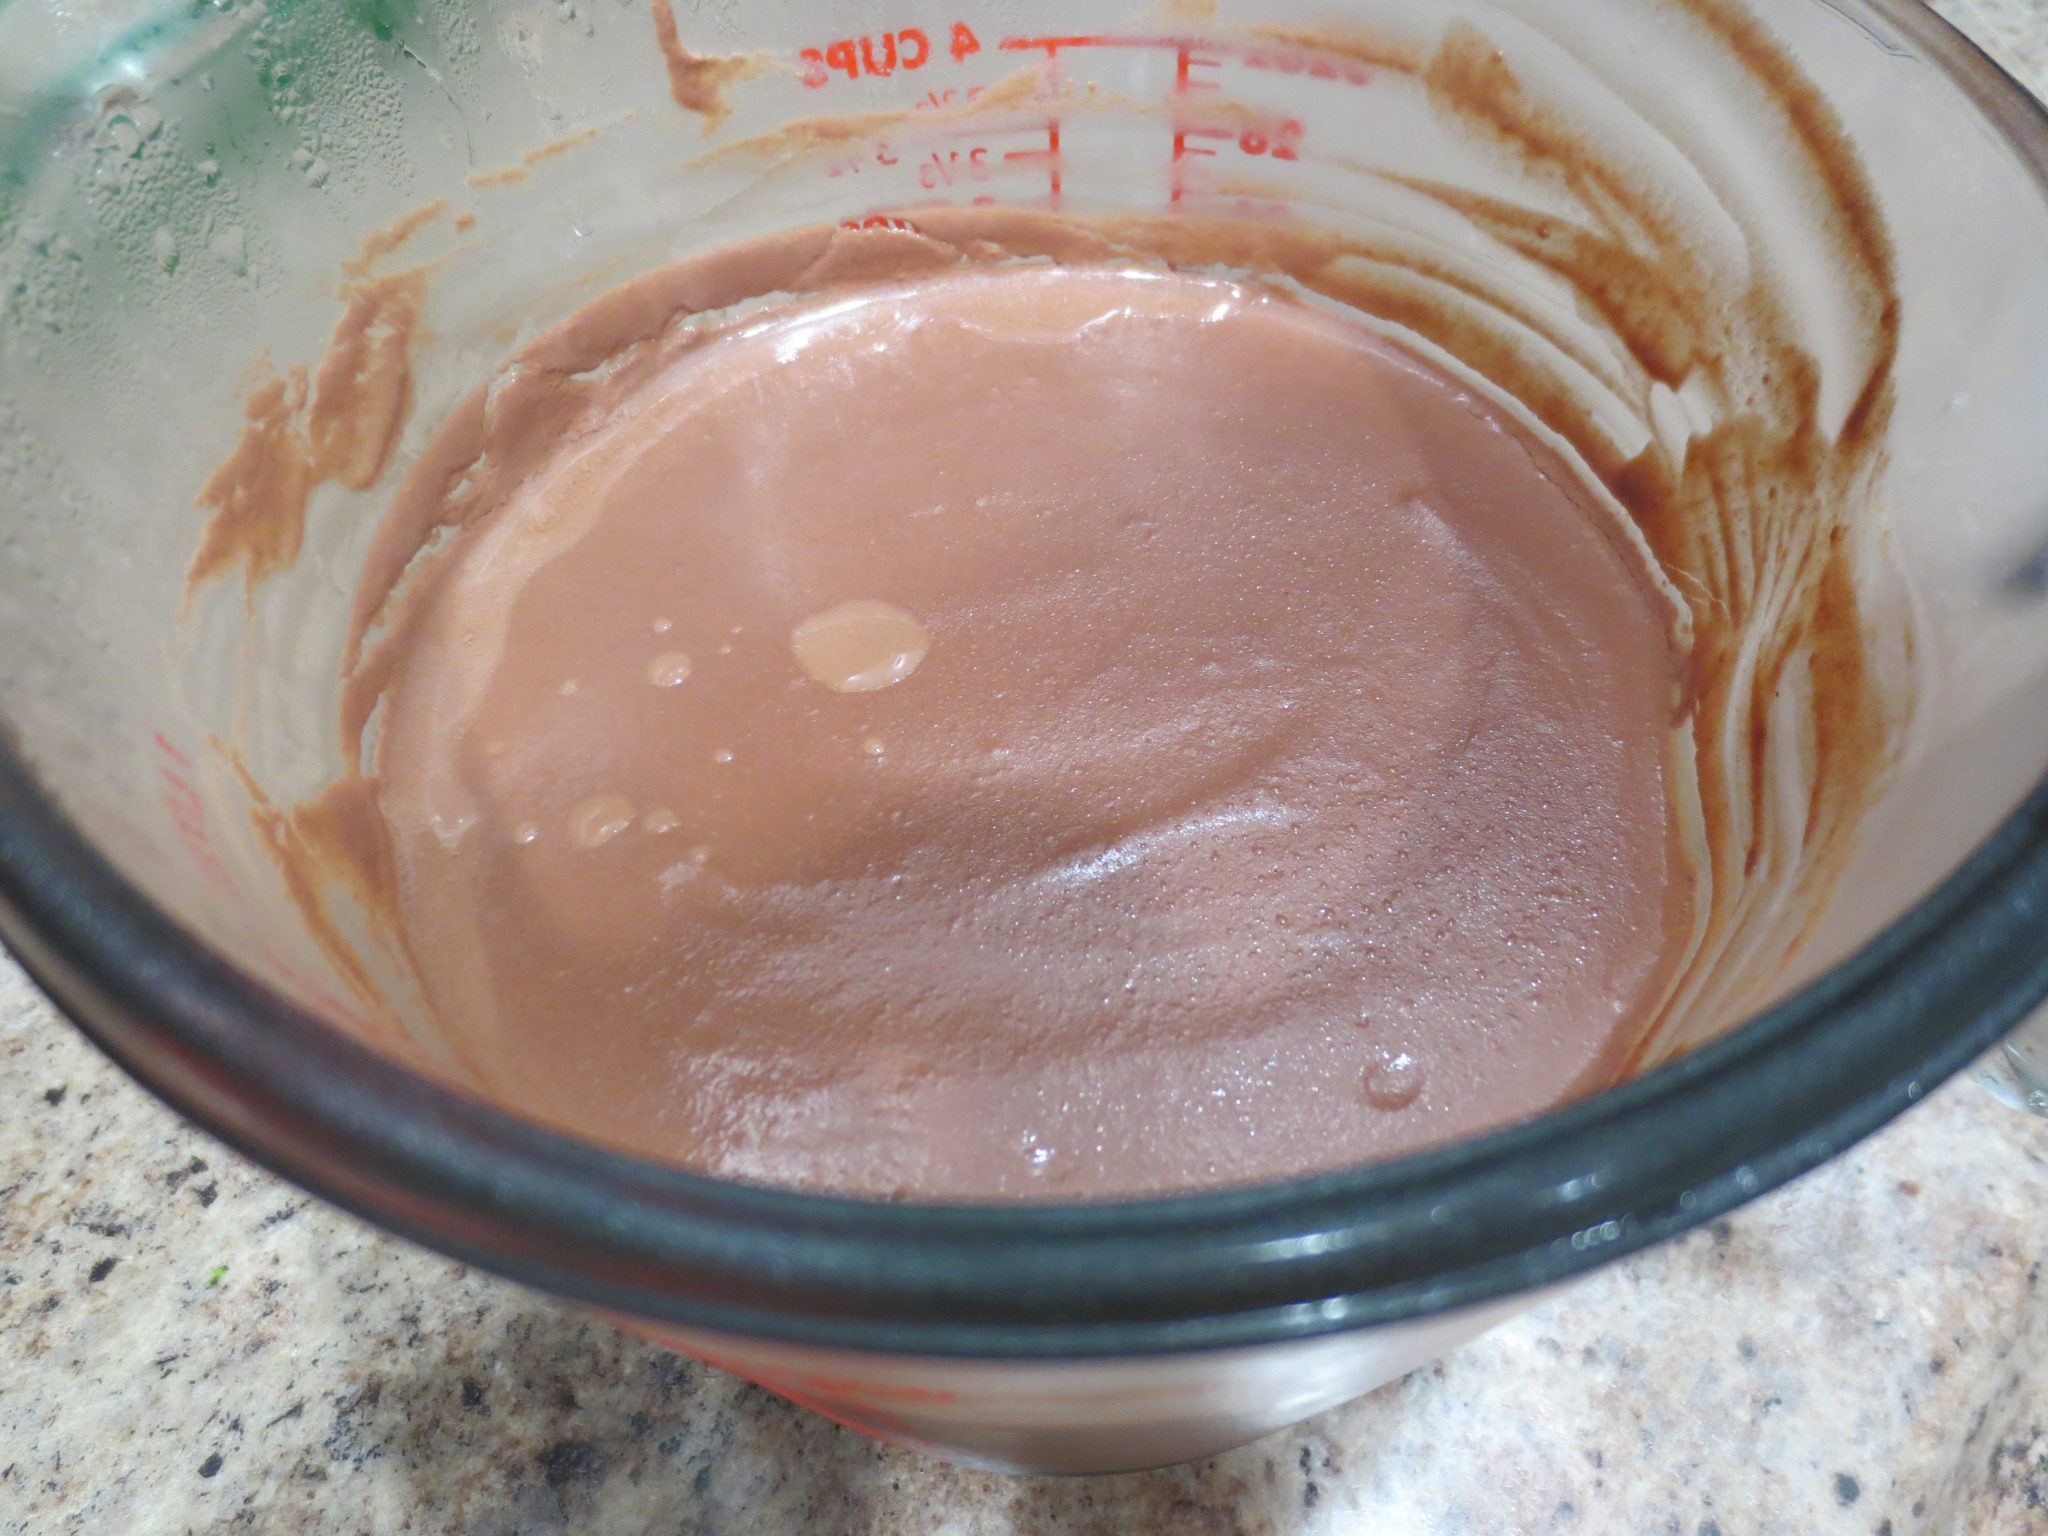
As far as I’m aware, horse chestnuts only have one use: making liquid soap! You can soak the nutmeats in water to dissolve the saponins, and use the soaking liquid as liquid soap or detergent.


 (stand for food mill, wok spatula)