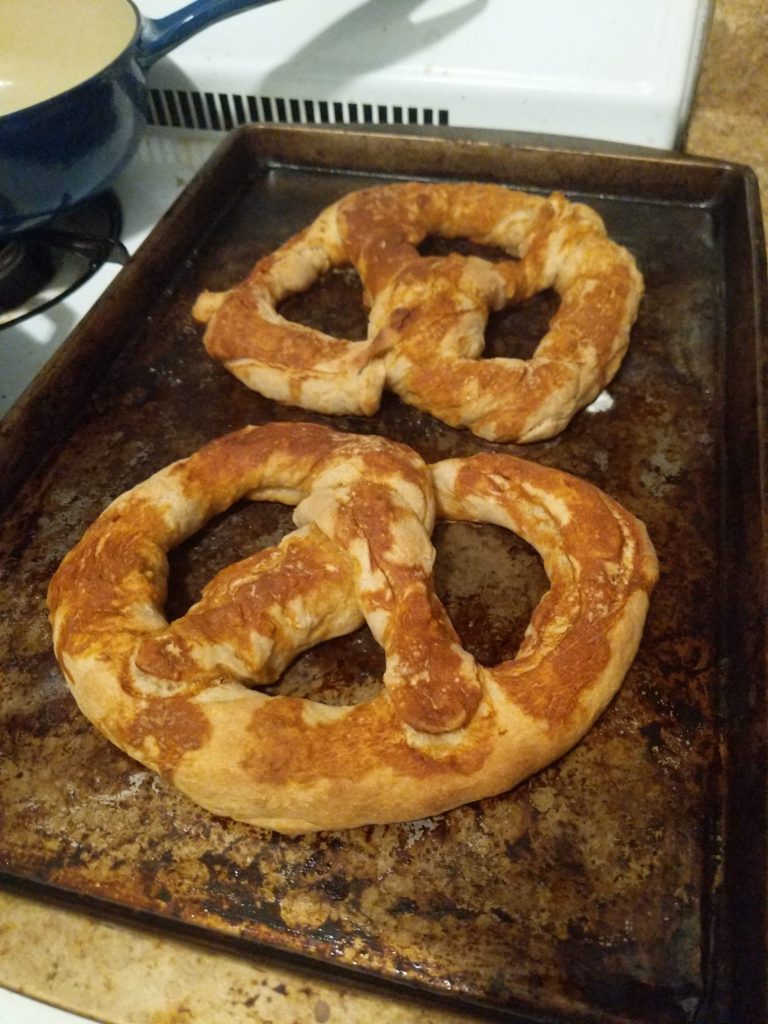
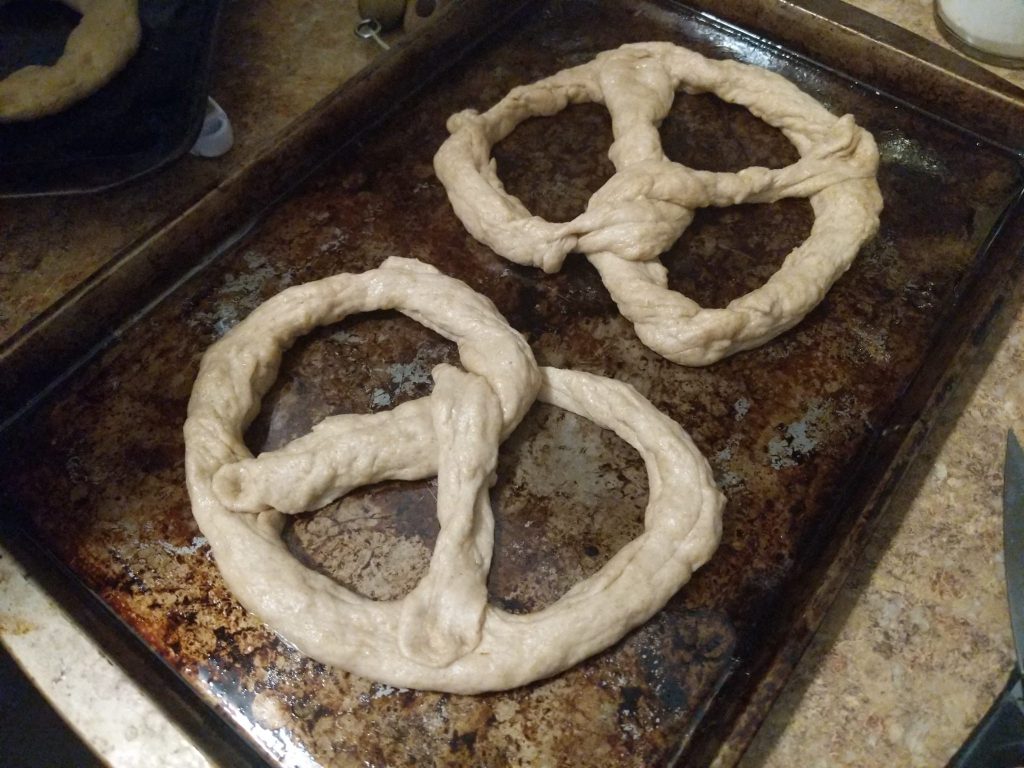
We made pretzels!Here they are prior to cooking. We had a lot of trouble getting them not to fall apart when we stretched them out.
Here’s the recipe (makes 4 pretzels):
240g (1 cup) milk
3g (1 tsp) yeast
32g (1/6 cup) sugar
28g (2T) butter
6g (1 tsp) salt
370g flour
Heat the milk, butter, and sugar in the microwave until warm (~1.5 min), and mix until butter is melted and sugar is dissolved. Let it cool to 95F (important so that the yeast doesn’t die), then add the yeast. Mix the dry ingredients and then add the wet ingredients. Knead. Let the dough rise for an hour. Divide the dough into four. Roll each into a rope about ~36in long (this was really hard) and attempt to make it into a pretzel.
Boil 4.5 cups (1080g) of water and add 60g (1/4 cup) of baking soda. Boil each pretzel for 20 seconds. Sprinkle pretzels with coarse salt.
Bake for 8 min at 450F.
If you do this, hopefully your pretzels will turn out better than ours. We skipped the baking soda bath (and instead just brushed baking soda water on them) and it didn’t turn out quite right. I think it’s probably important. Good luck.
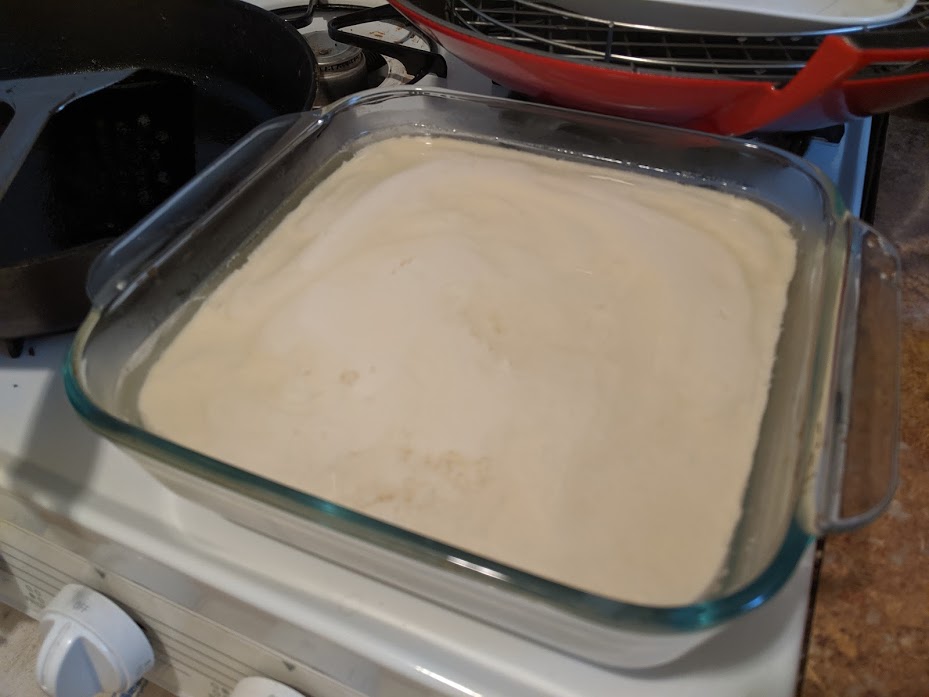
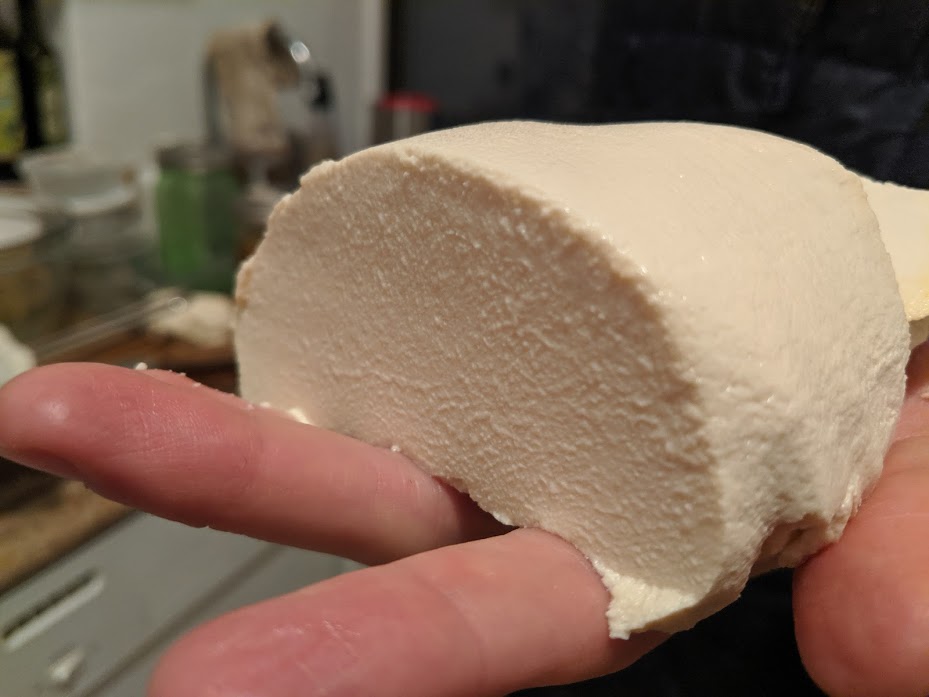
We tried making silken tofu, essentially a fresh, high-moisture cheese (think fresh mozzarella or ricotta) where you use soy milk instead of dairy milk. The coagulant is gypsum (calcium sulfate) – flavorless and a good source of calcium.
Looking good so far…But then it ended up with a ricotta-like texture. Not sure what went wrong 🙁
I really like this blog. The author has cool hobbies – veggie gardening, chickens, native plants, fiber arts, natural dyeing, beekeeping, vintage clothing making, and vintage “reenactment”.
The post that originally caught my attention was one about knitting a Fair Isle sweater from naturally-dyed yarn! It was quickly followed by another about a sweater vest. I can only hope to make such beautiful garments in the future!!
J and I moved to New York earlier this year (not a great time, I know). I was here alone for a few months, so I had the opportunity to expand my home furnishings collection! I think J and I might have different aesthetic tastes 🙂
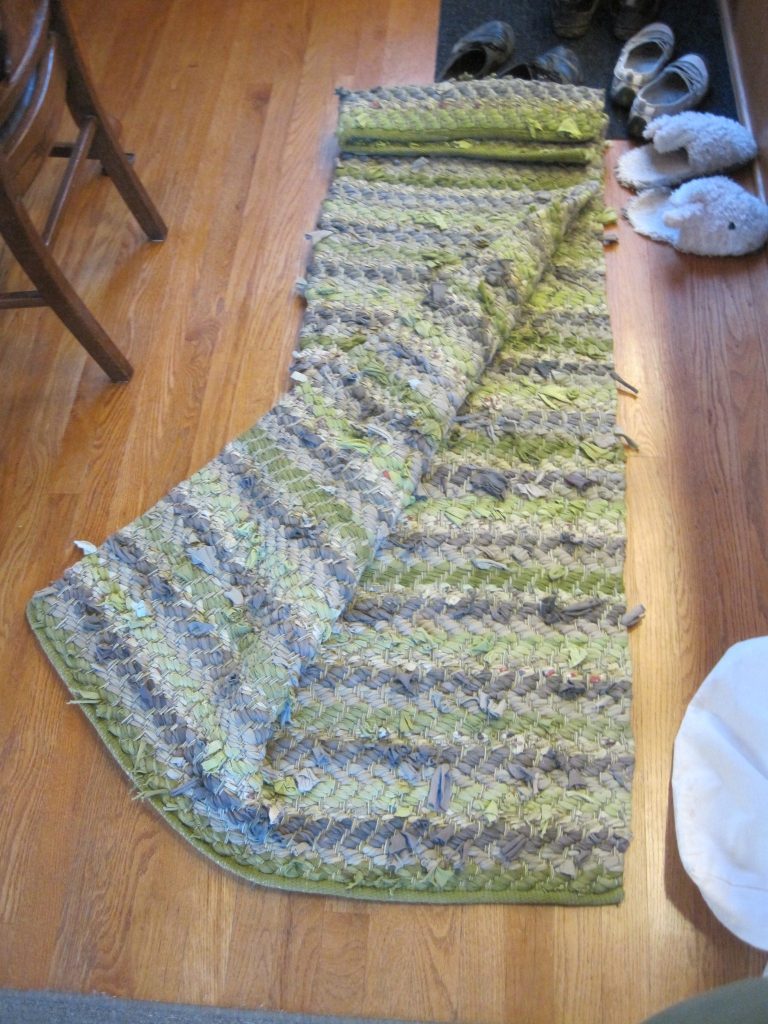
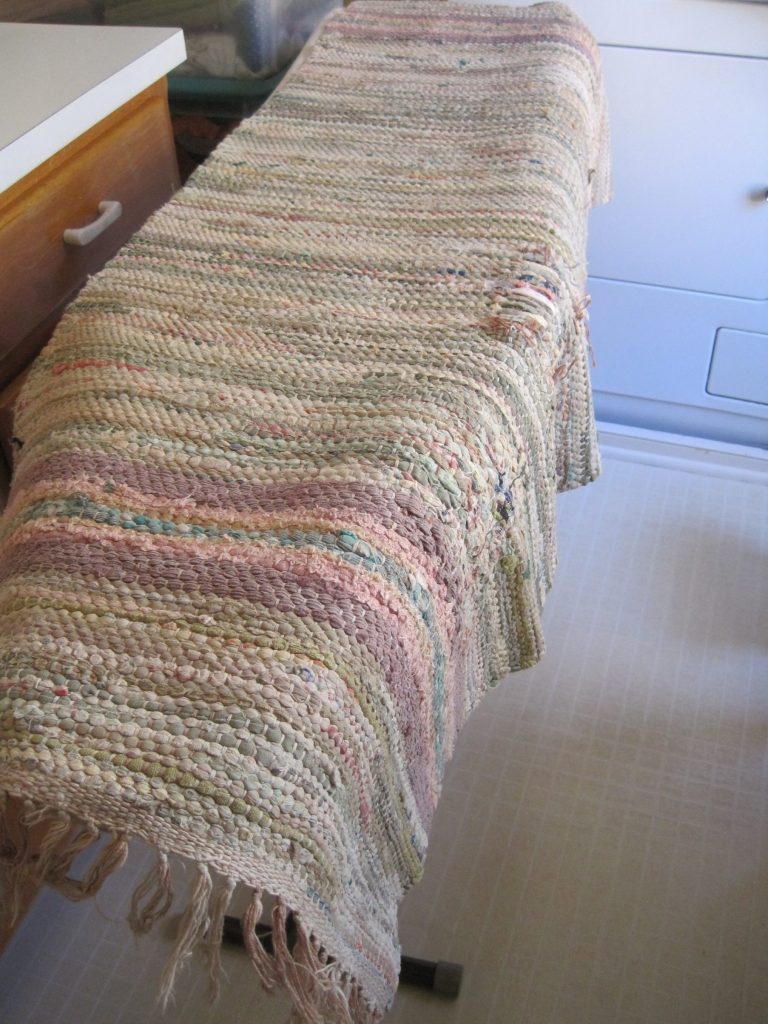
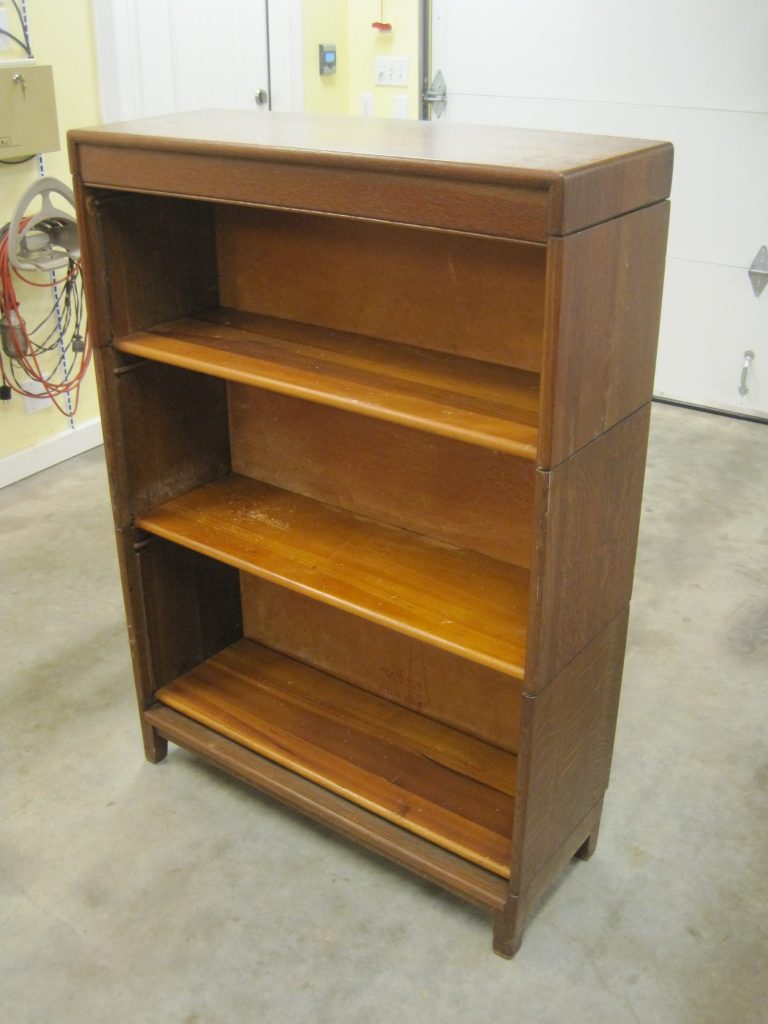
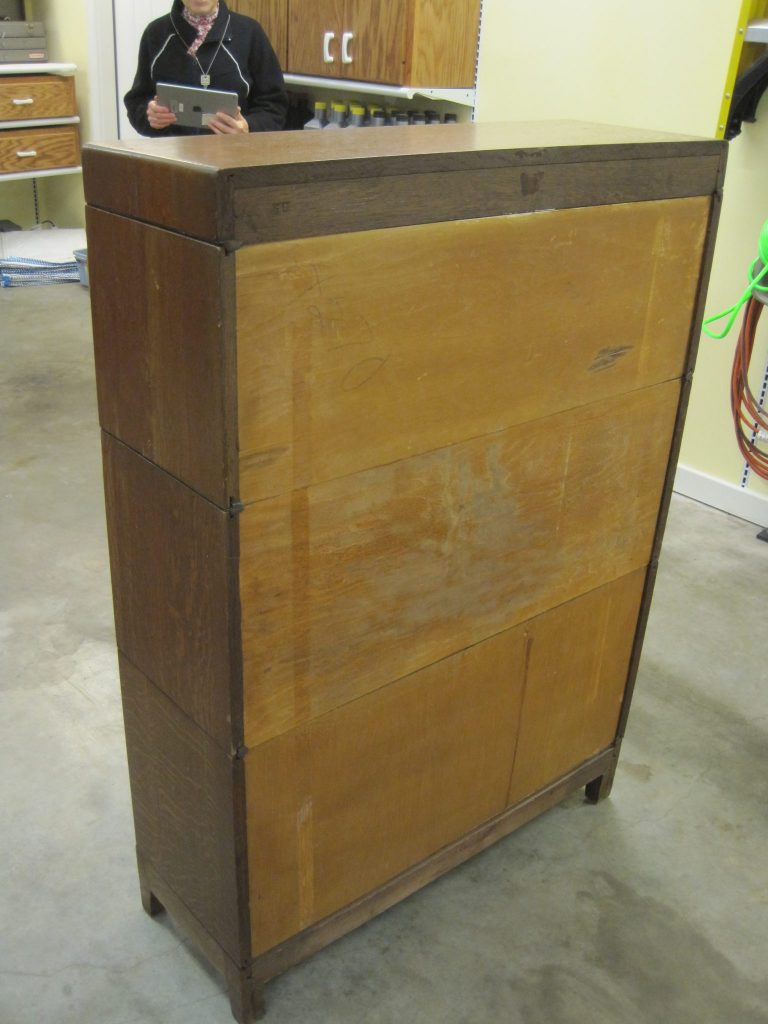
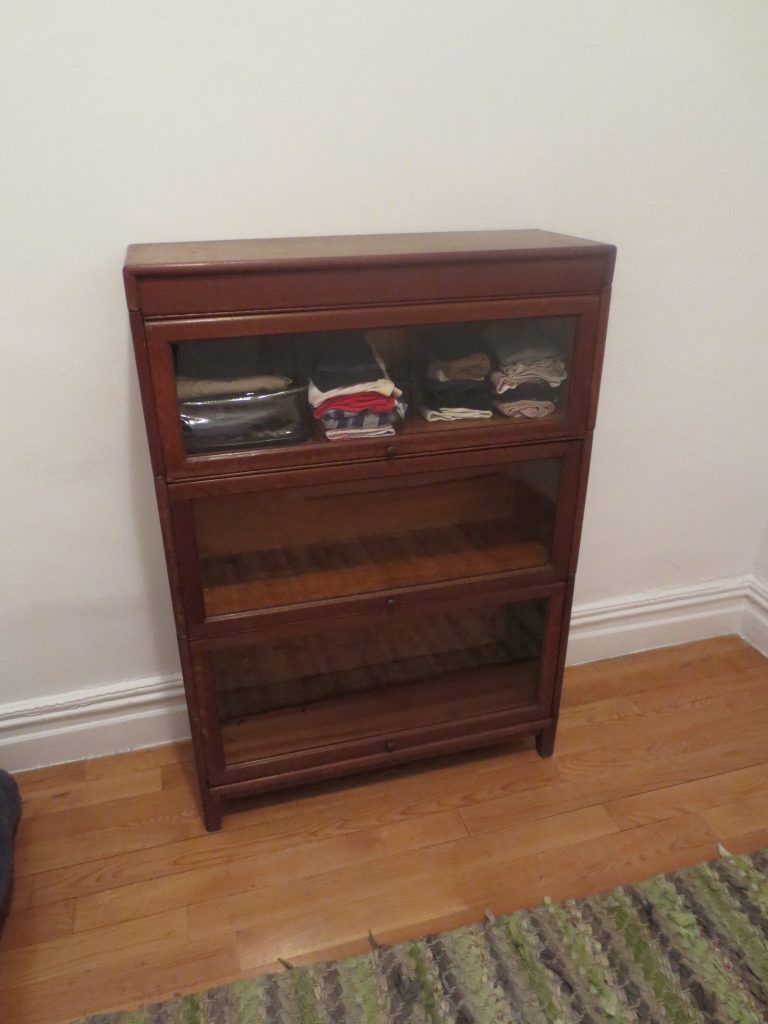
This is a herringbone-woven rag rug I found in Austin during one of my neighborhood’s bulk trash pickup days. You can find all kinds of neat things! This rug is really thick and cushy.This other rag rug was woven by my dad’s maternal grandmother! It was used as a car repair mat (e.g. for laying on) by my dad’s dad for a while and unfortunately had car battery acid leak on some spots. I washed it (it looks soooo much better now) and am in the process of repairing the spots that were partially dissolved by the acid. I’d love to have my dad’s grandmother’s loom, but it disappeared in the multi-generational inheritance process 🙁Free (only in terms of money, definitely not in labor!) bookshelf I got from my mom’s ex-coworker. This is a barrister’s bookcase made, as far as I can tell, in the early 1900s. The co-worker got it from her grandfather, if I recall correctly.
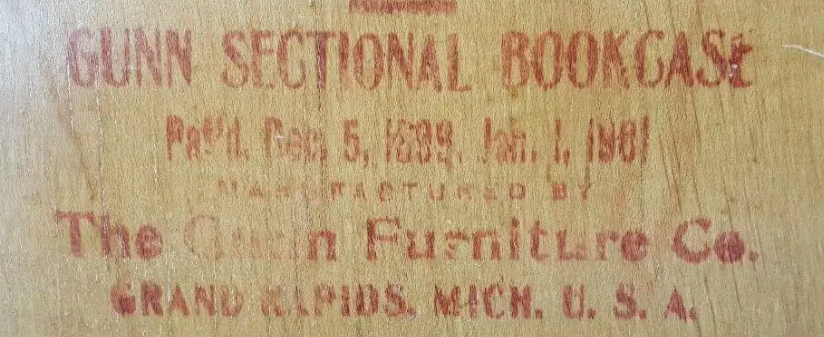
This bookcase (13″ Gunn sectional bookcase) was made by Gunn Furniture Co. in Grand Rapids, Michigan. The manufacturing information includes two patent dates, Dec 5, 1899 and Jan 1, 1901.
Company stamp
This is the 1901 patent, for “knockdown” furniture. I couldn’t find the 1899 patent (My mom later identified it as this patent. When issued, it was not shown as assigned to any company and the Gunn company may have licensed rights or bought the patent later). It would seem that this bookcase was made between 1901 and 1905, when the furniture company was granted an updated bookcase patent.
The top, base, and side panels are oak – according to other sites, quarter-sawntiger oak, which was particularly popular in the Arts and Crafts movement (1880-1920, so this bookcase fits right in).
Shelves are a little bunged up.The plywood backing was a big pain. The layers were warped and de-laminating, so my dad and I glued them back together and parked an RV on top of them while they dried.
The bookcase was in quite bad shape when I got it. Besides re-gluing the plywood and cleaning off lots of spider webs, my dad doweled and glued a split side panel. I disguised some dings in the finish by staining the wood, and tried to fill in chipped areas in the varnish by redissolving it with a solvent and painting it back on, but that didn’t work so well.
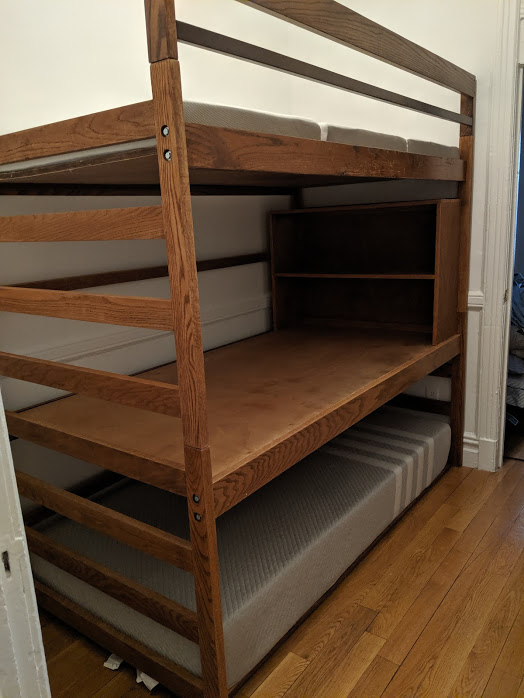
Doors installed. The top shelf holds my non-hanging clothes. One of the legs came off in shipping to New York, so I glued the pieces back on and “clamped” it with lots of rubber bands 🙂 My favorite bunk bed from college 🙂 Also oak. I sleep on the top.
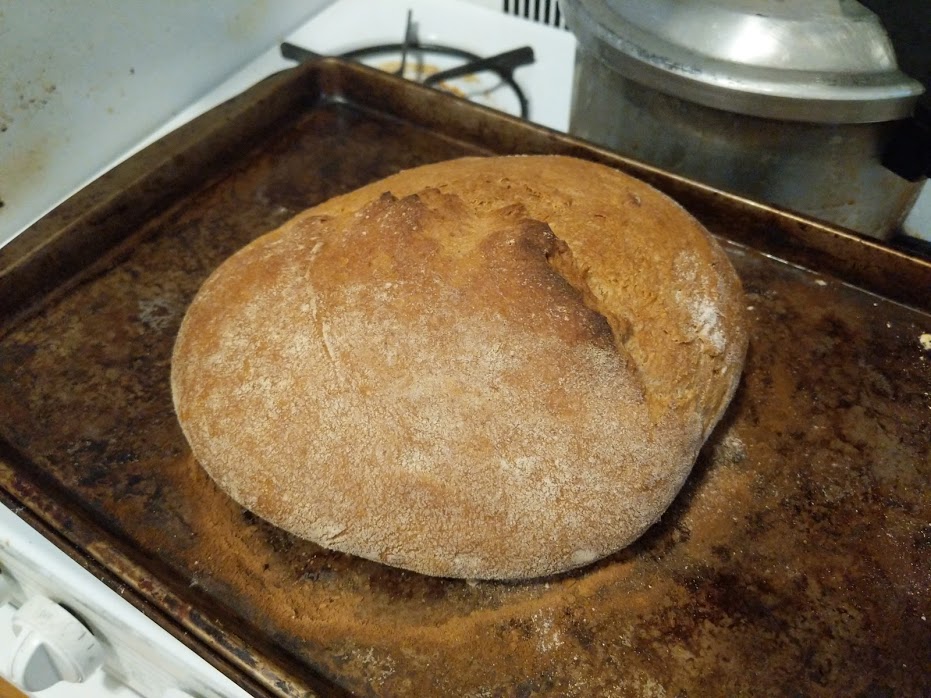
I made bread this week from a recipe recommended by (not-college) friend S, whom we met on a Japanese hike in the Bay Area! I share a lot of interests with non-college friend S, like homemade and fermented food, gardening, and sustainability!
This bread has a good neutral flavor – it’s not the most amazingly yeasty, savory bread ever, but it’s good for all your normal bread needs.
Bread
3 cups (390 g) flour
2 tsp (7 g, 1 packet) yeast
1 1/2 tsp (9 g) salt
1 1/2 cups (338 g) water
Mix dry ingredients. Add water. The dough will be quite wet. Cover and let rise in a warm place for an hour.
On a lightly floured work surface, gently stretch and fold the dough several times until firmed up into a loaf, being careful not to deflate completely. Cover and let proof for 15 min.
Swiss darning is like this. You can use it to fill in holes in a knit while still retaining stretch, unlike “sewn” (regular) darning.
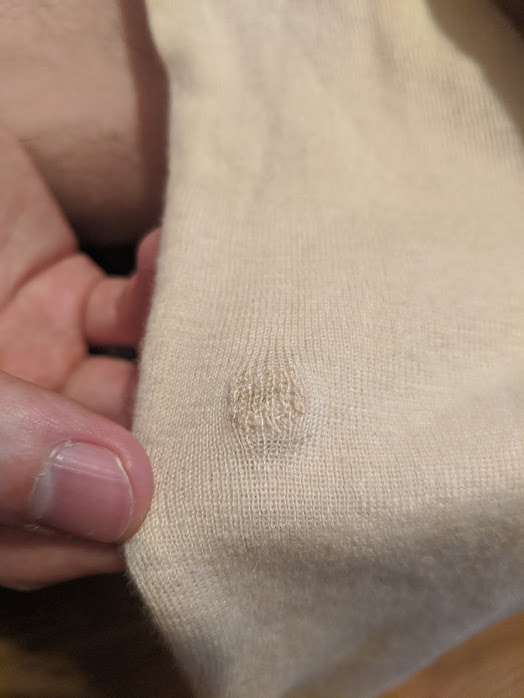
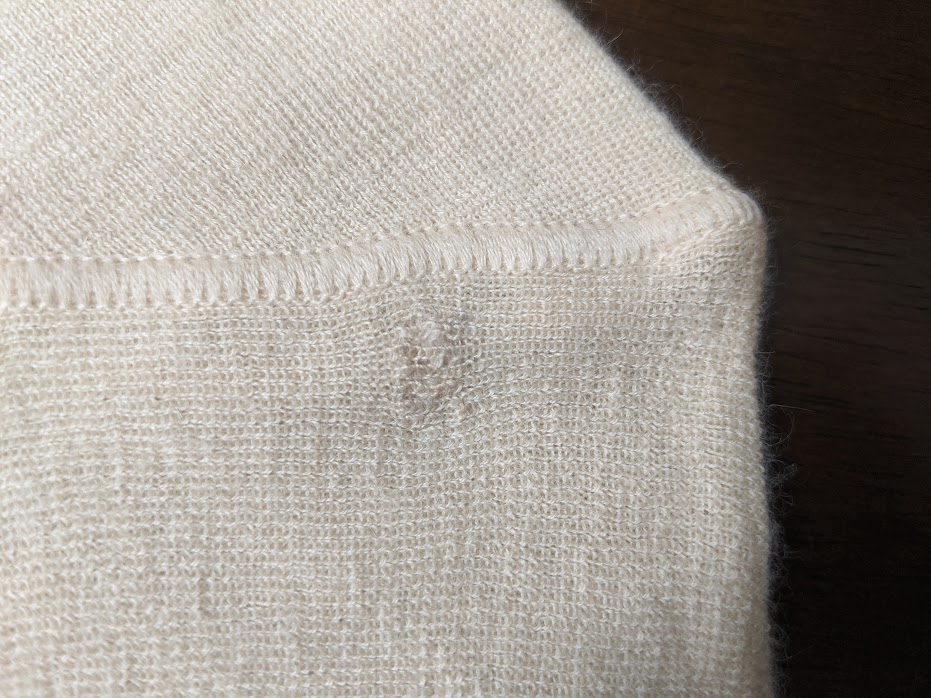
A few months ago, I found a cashmere Loro Piana sweater and a felted wool hat in the trash. To those of you with offended sensibilities, they weren’t deep in the trash, they were in a little paper shopping bag beside the trash. Although I like dumpster diving, I’m not up for rummaging through gross stuff. I mostly look for things on the top or left out on purpose (i.e. the person knows they are too good to get rid of but doesn’t want them anymore).
It seemed that the sweater had been thrown out because of a few holes – totally fixable, of course!
Too small for me.First attempt, on the sleeve. Gauge is too large.Second attempt, on the shoulder. Much better! This is probably as good as it gets on machine knits. (Hand knit items have a larger gauge that’s easier to work with.)
I’m going to give this sweater to sibling C. I hope it gets a lot of good use in its second life!
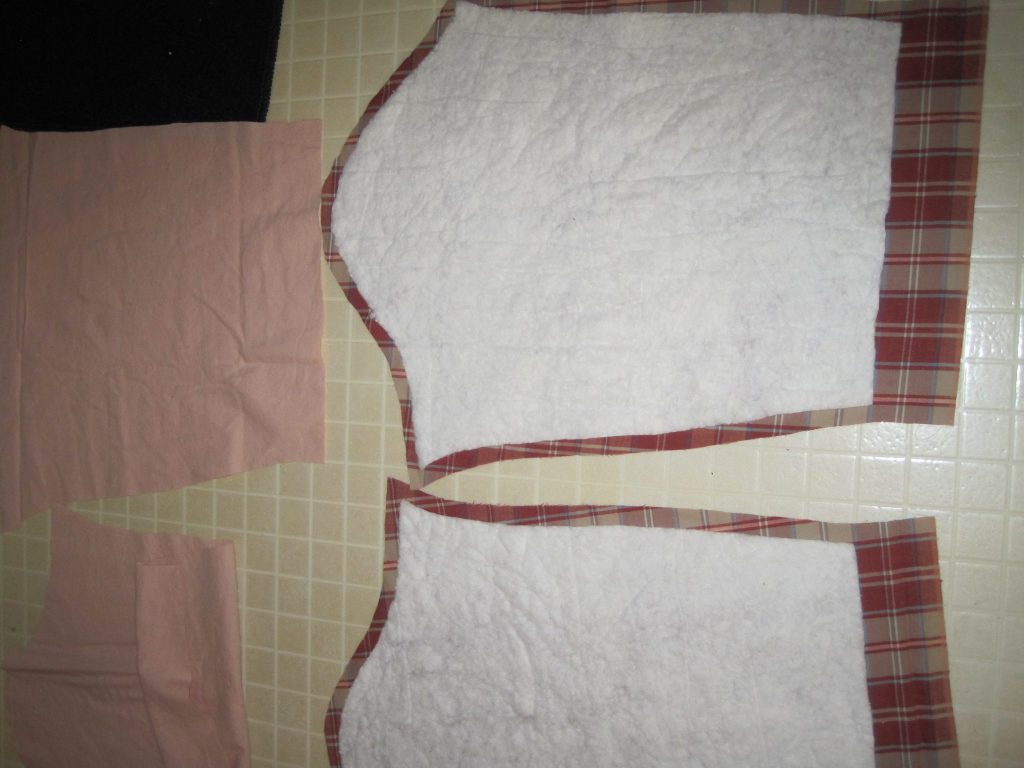
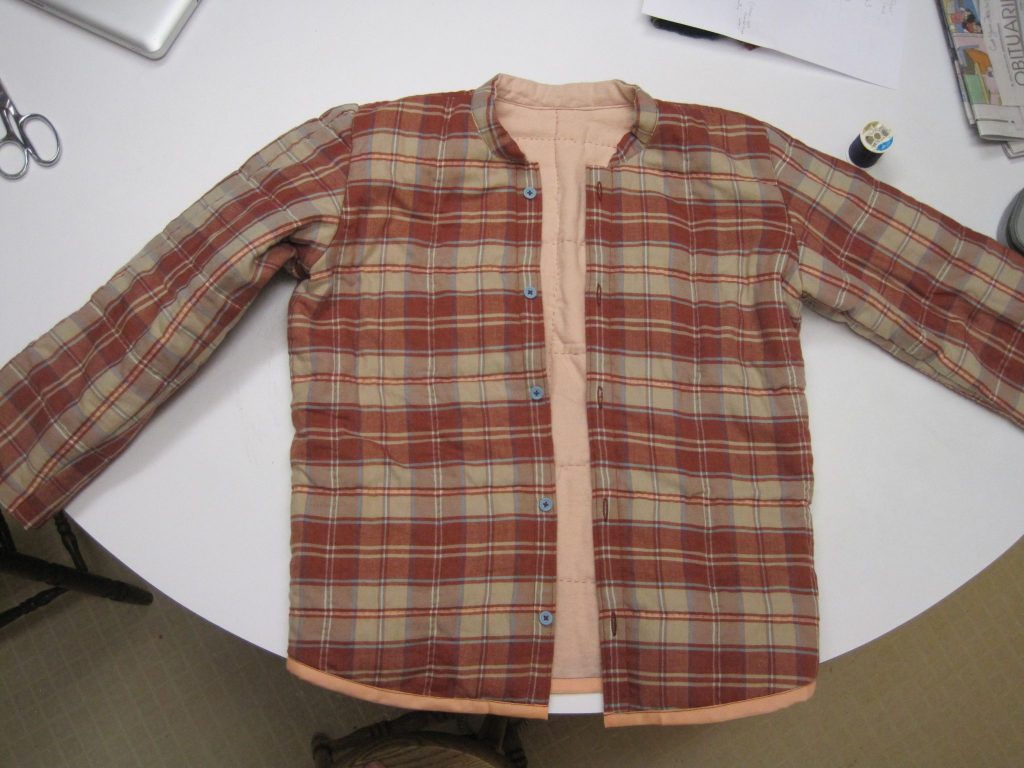
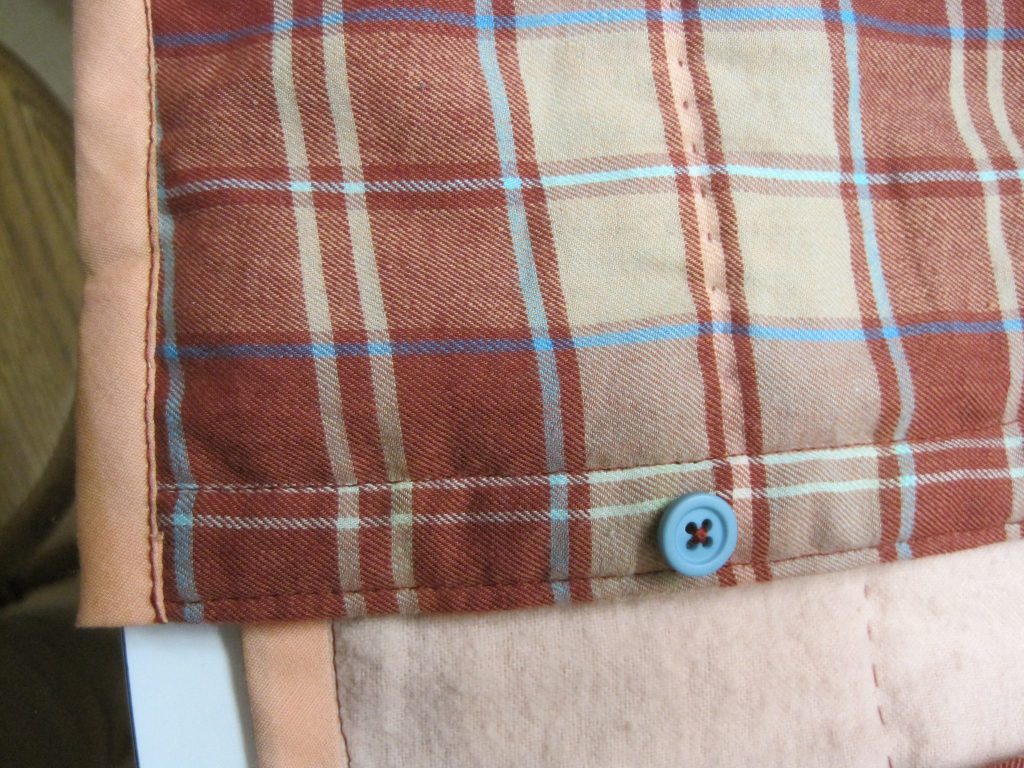
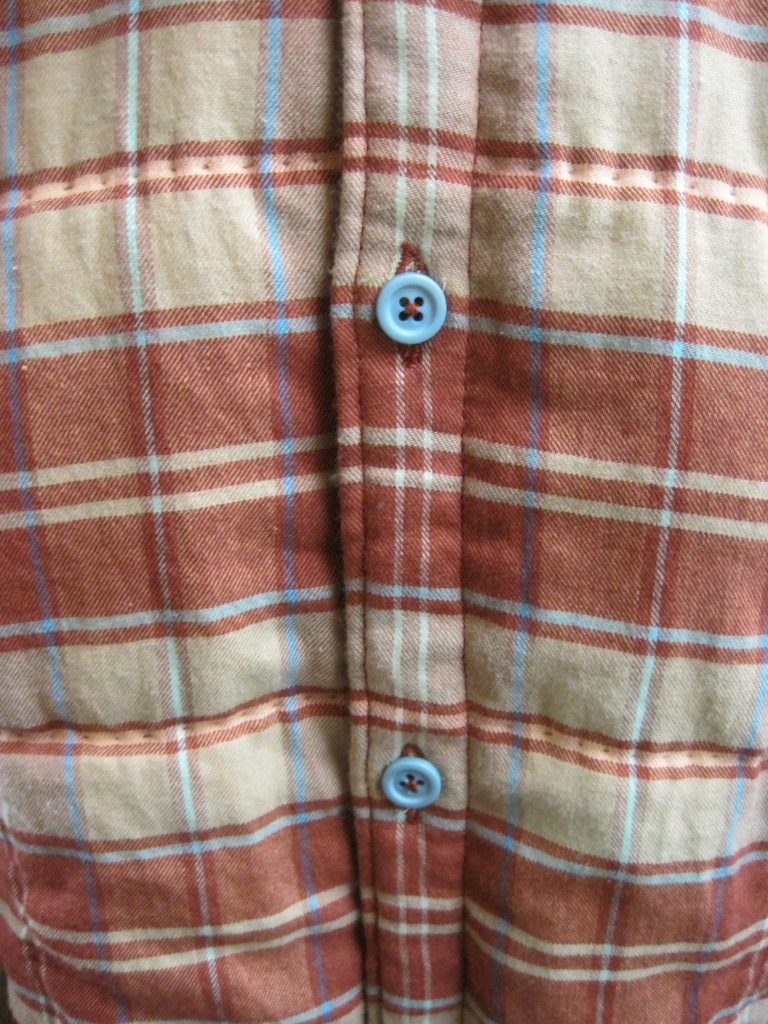
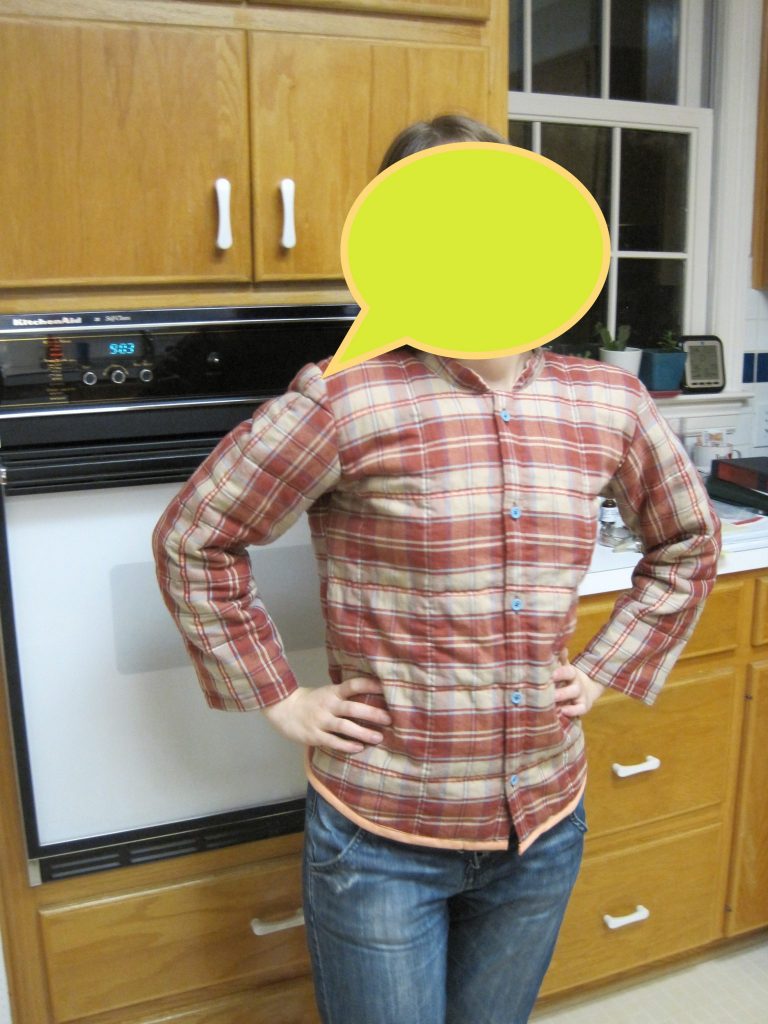
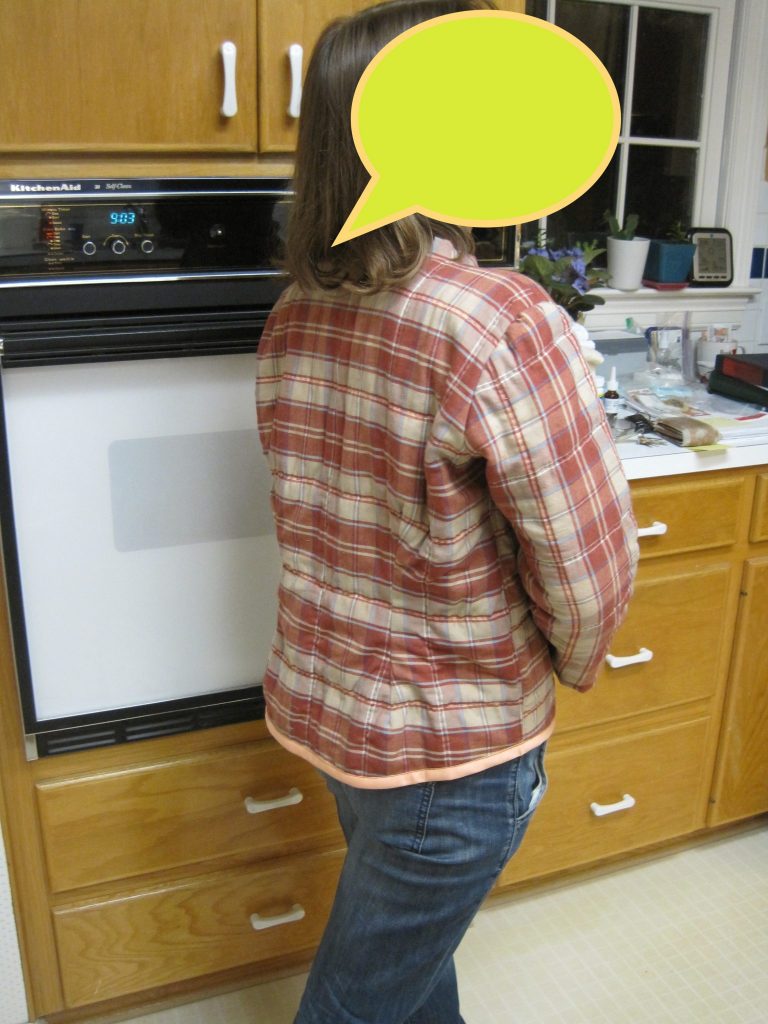
My sibling C is perpetually cold. She needed a new winter pajama top and requested that it be quilted, so I threw this together (it’s so much faster to make items for other people – I care much less about getting them perfect).
The pattern was made based on the previous pajama top (which I also made. It was based on commercial pajamas). Amazingly, we already had all the necessary materials. It took about a week to make, I think.
For future me, you already have a pajama top pattern! No need to make another 😭
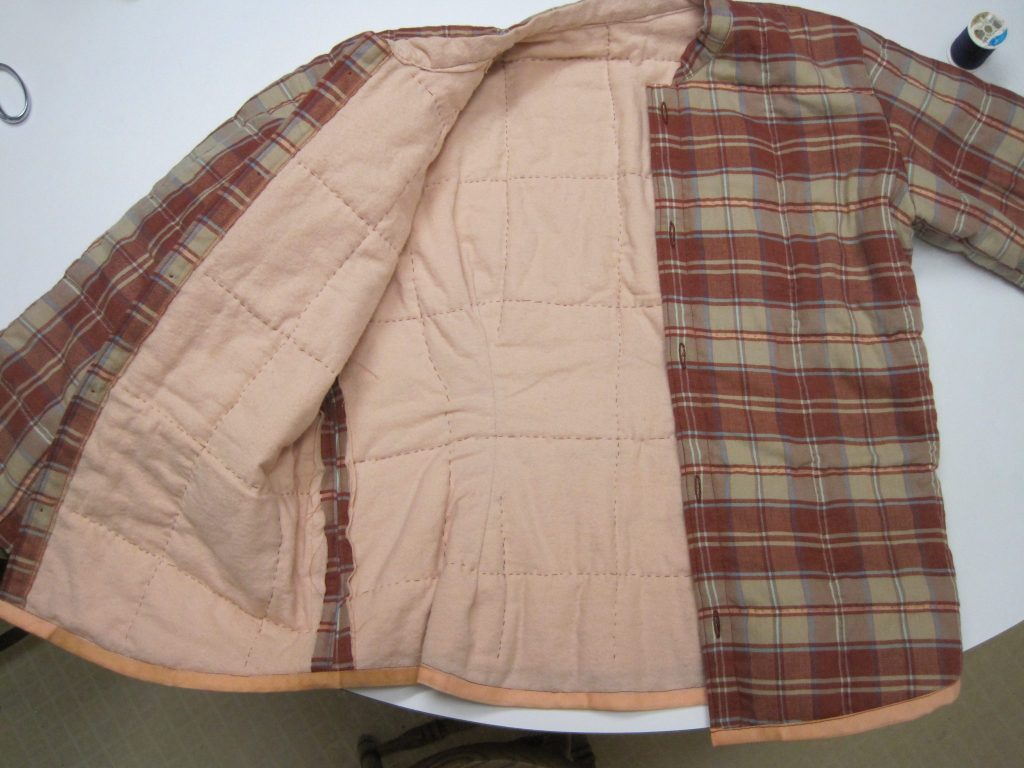
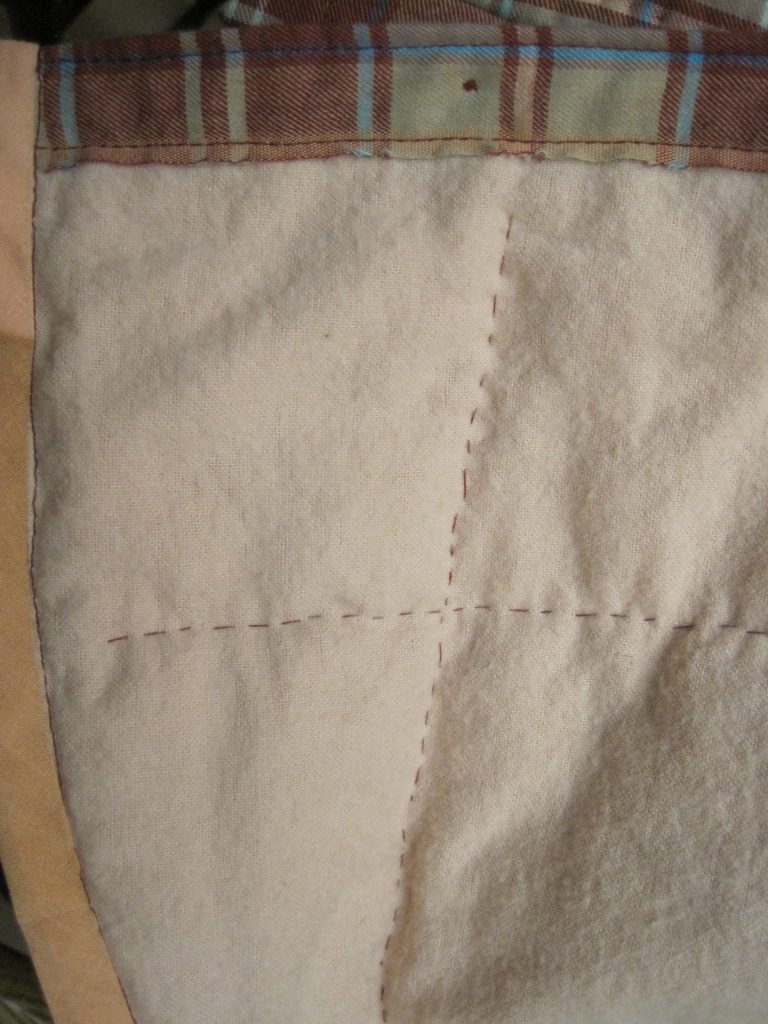
Batting was sandwiched between the lining and outside. Sibling C did the actual quilting (by hand), I cut the pieces and sewed the garment together. The batting is smaller so that it doesn’t make the seams bulky.Pink cotton flannel for lining, cotton batting for fluff, cotton plaid for the outside. The flannel and plaid were both previously purchased from creative reuse stores.Hand-quilting.The quilting gives a bit of a muscle-man effect… 💪The original top had darts on the back. Those didn’t turn out well with the extra-thick quilted fabric. I’d remove the darts and make the back piece a bit narrower next time.
Overall, it turned out really well! C says it is super warm. It is nicely color-coordinated and I even got some of the stripes to line up!
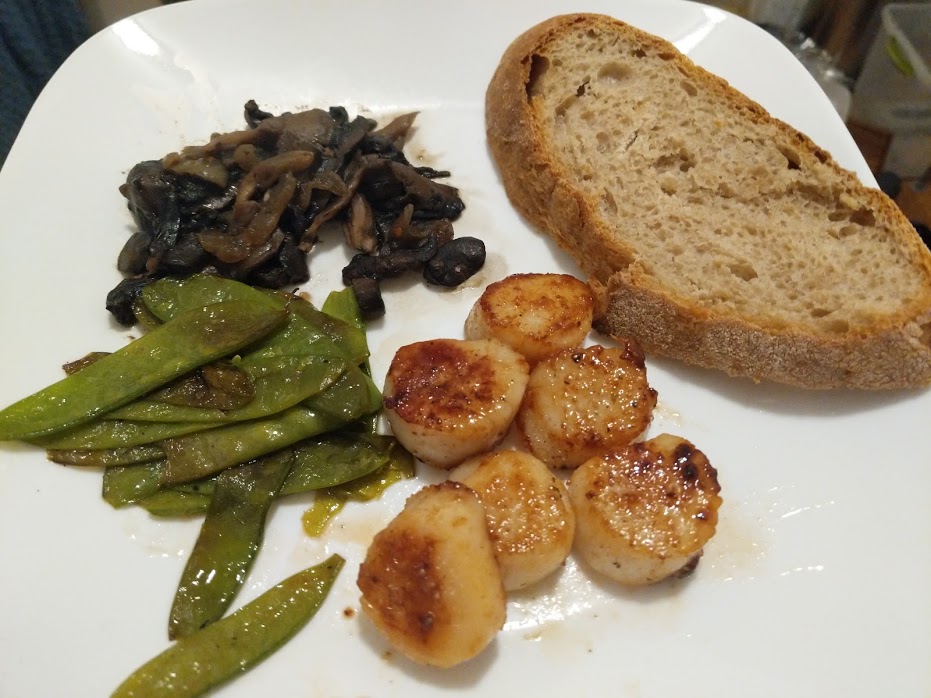
A recipe I found when trying to determine if this dish, a favorite from Mandola’s in Austin, is a Thing or not. It is.
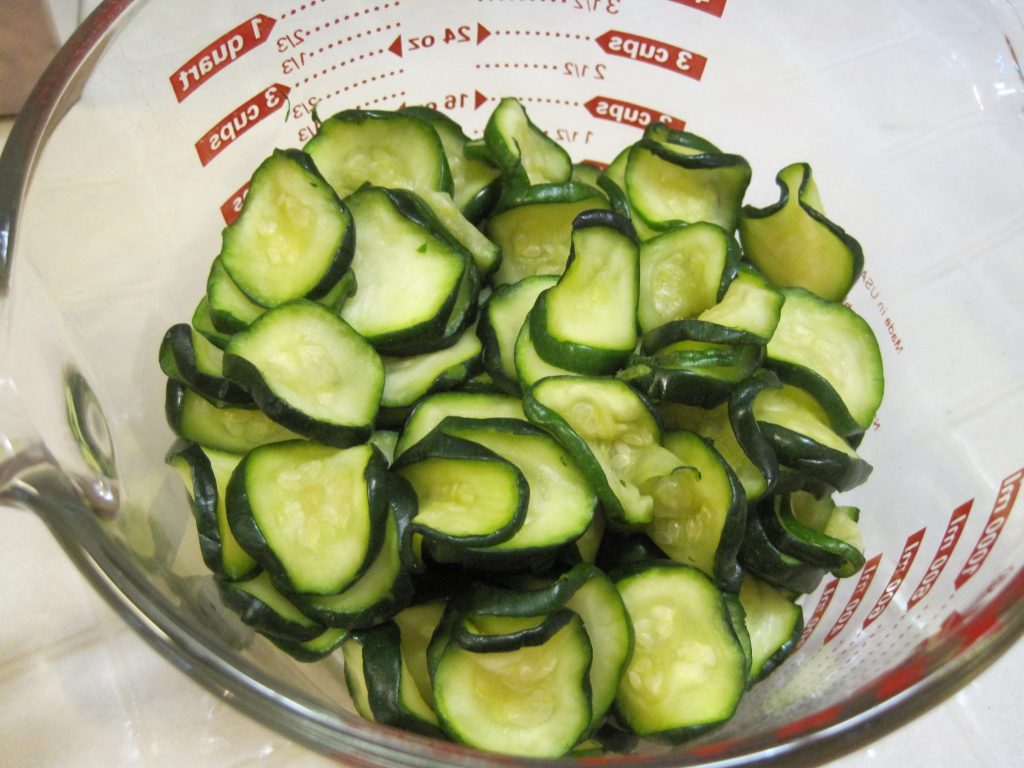
Slice zucchini (or other summer squash) thinly. Salt and let sit until a lot of water has come out of the zucchini.
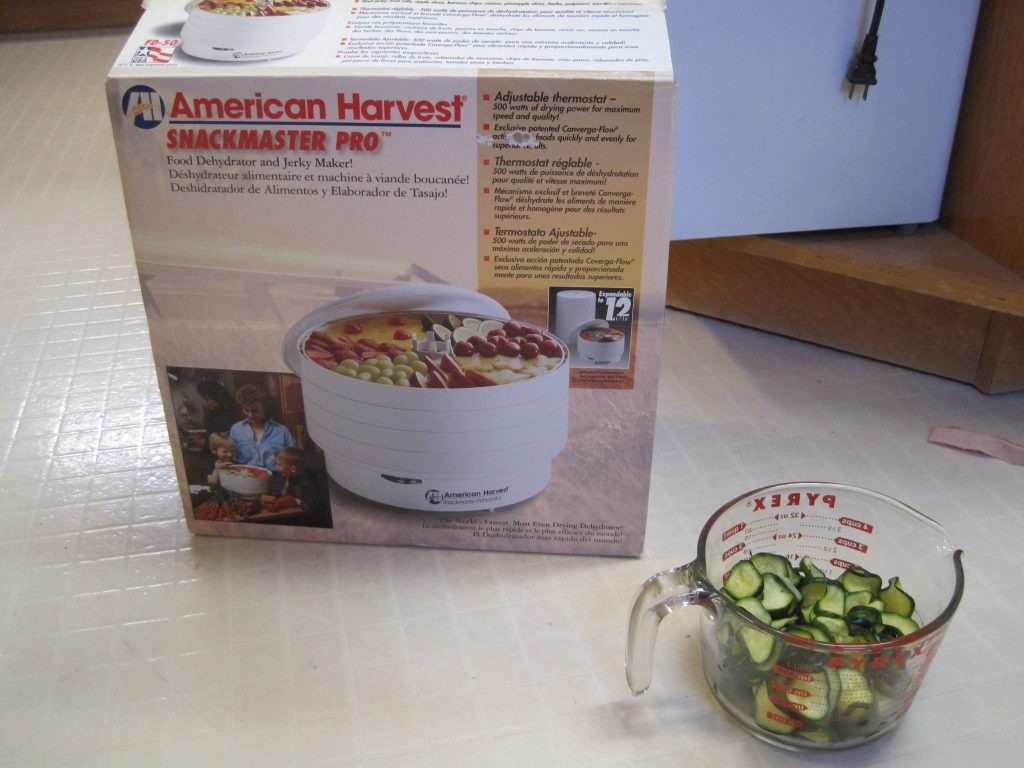
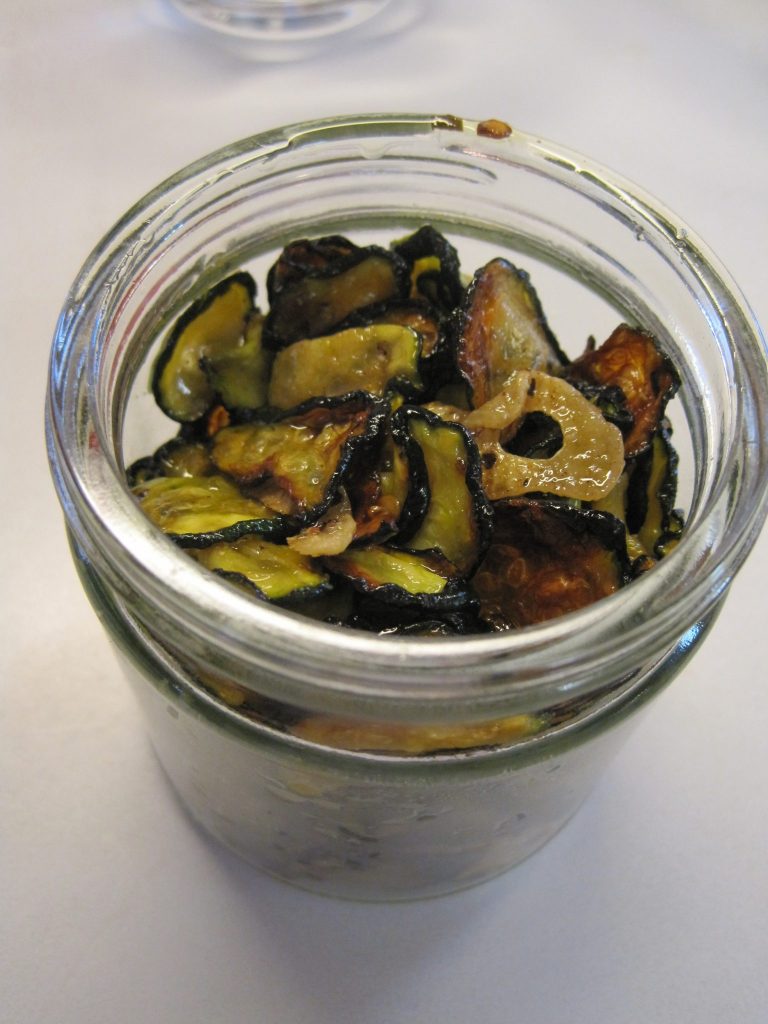
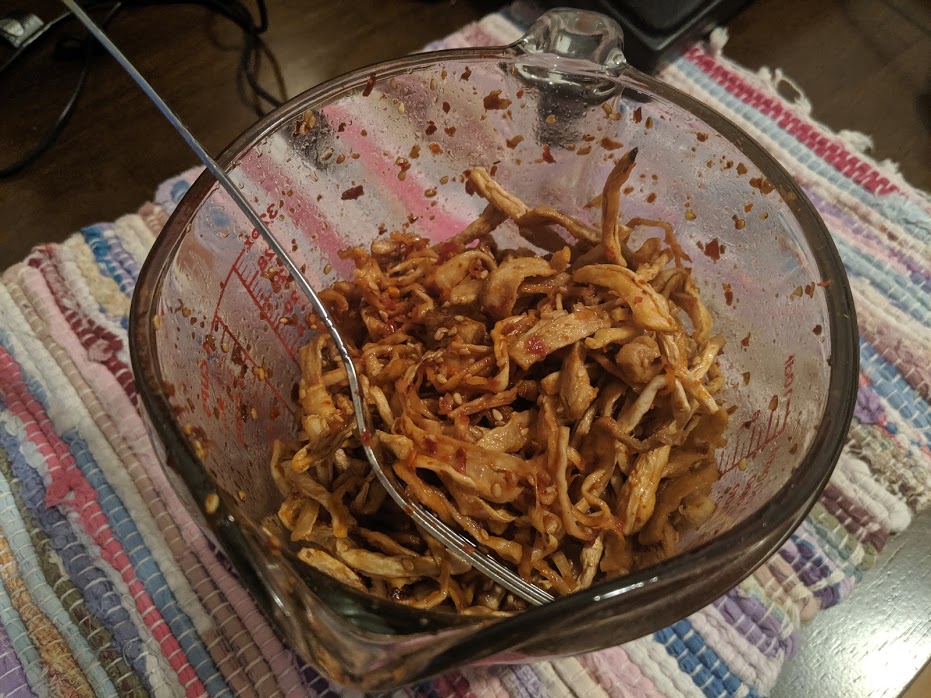
Drain and squeeze out as much water as possible.Dehydrate until leathery but still pliable. Currently I’m using my stove’s pilot lights to dehydrate.Stirfry with garlic, basil, mint, pepper, and chili pepper. Add lots of olive oil and some vinegar or lemon juice to make a dressing.
Tips:
If you don’t have a dehydrator or ever-burning pilot light, you can dehydrate the zucchini in the oven at a very low temperature or outside if it’s hot. Be careful of squirrels!
If your dehydrator/heat source is powerful enough, you don’t need to salt the zucchini beforehand. Add salt to the dressing at the end instead.
To make shelf-stable zucchini for later use, dry the zucchini until very dry, thin, and crunchy. Before stirfrying, rehydrate slightly by soaking in water for 5 minutes until pliable.
Our stove has ever-burning pilot lights that I like to use so that the energy’s not wasted. They’re good for drying plates really fast, fermenting yoghurt, and dehydrating food!
1 radish, before and after dryingMaangchi’s recipe for mumullaengi-muchim using the dried radish
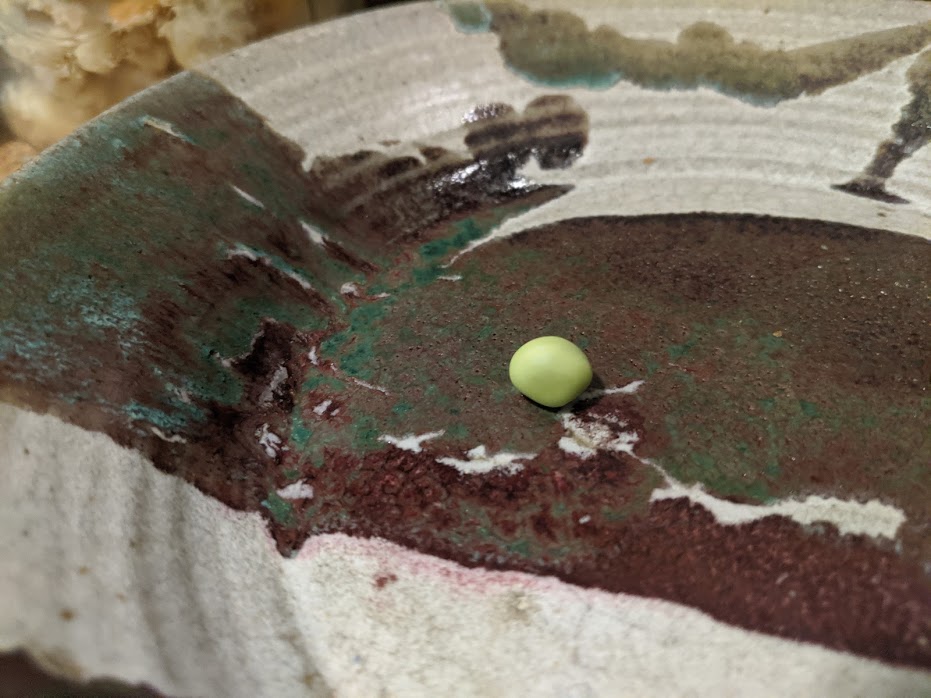
With the hotter summer weather, a lot of my pea plants died 🙁 The two that survived aren’t doing so well and are likely to die in the next week – we’re having a bit of a heat wave here.
We ate a pea! We had an additional 20 peas, but I saved them as seed to plant next year.
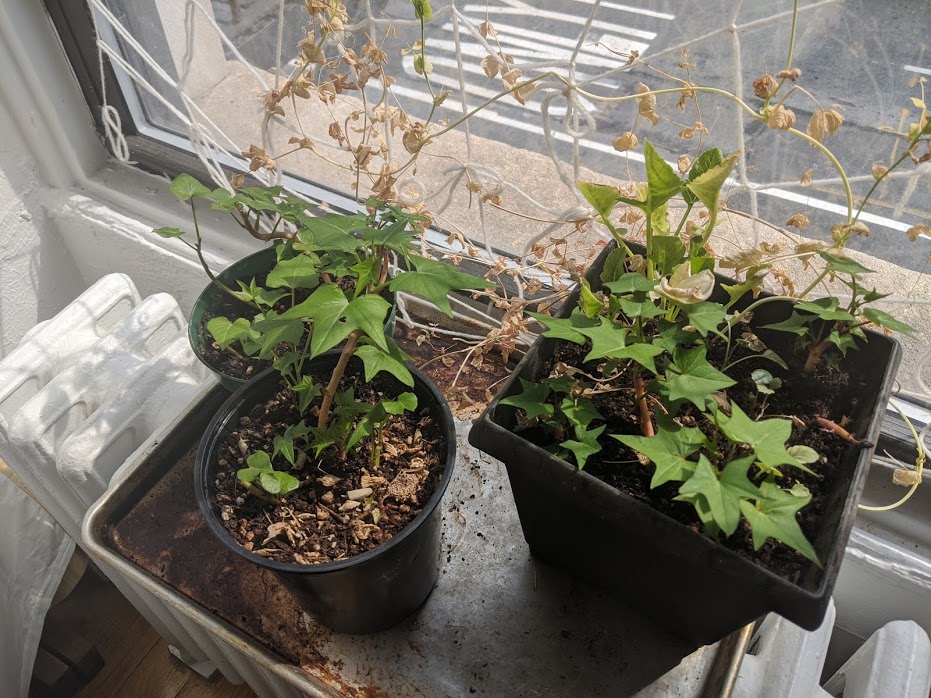
I’ve been looking for veggies that like hot weather. Some old sweet potatoes sprouted a bunch, so we planted those. And my mom sent some seeds to try out! We’ve got basil, shiso, and melon (from sibling C’s garden). I’m excited to see how they do!
The sweet potatoes are growing vigorously! Dead peas against the window.


