Lotion recipe

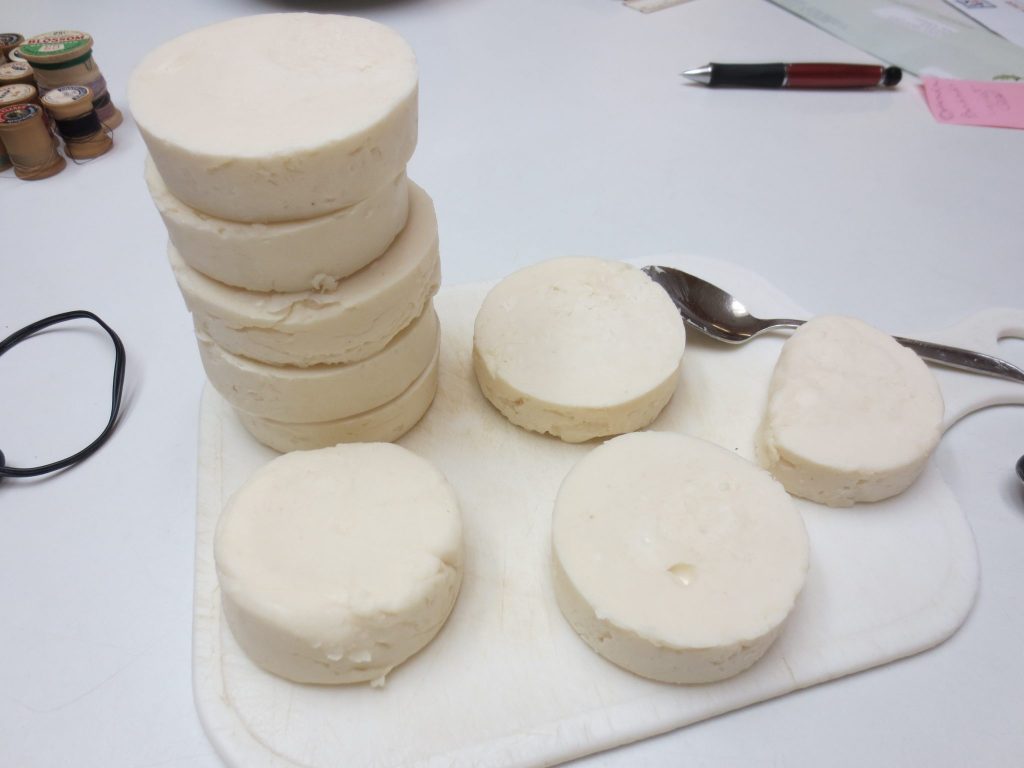
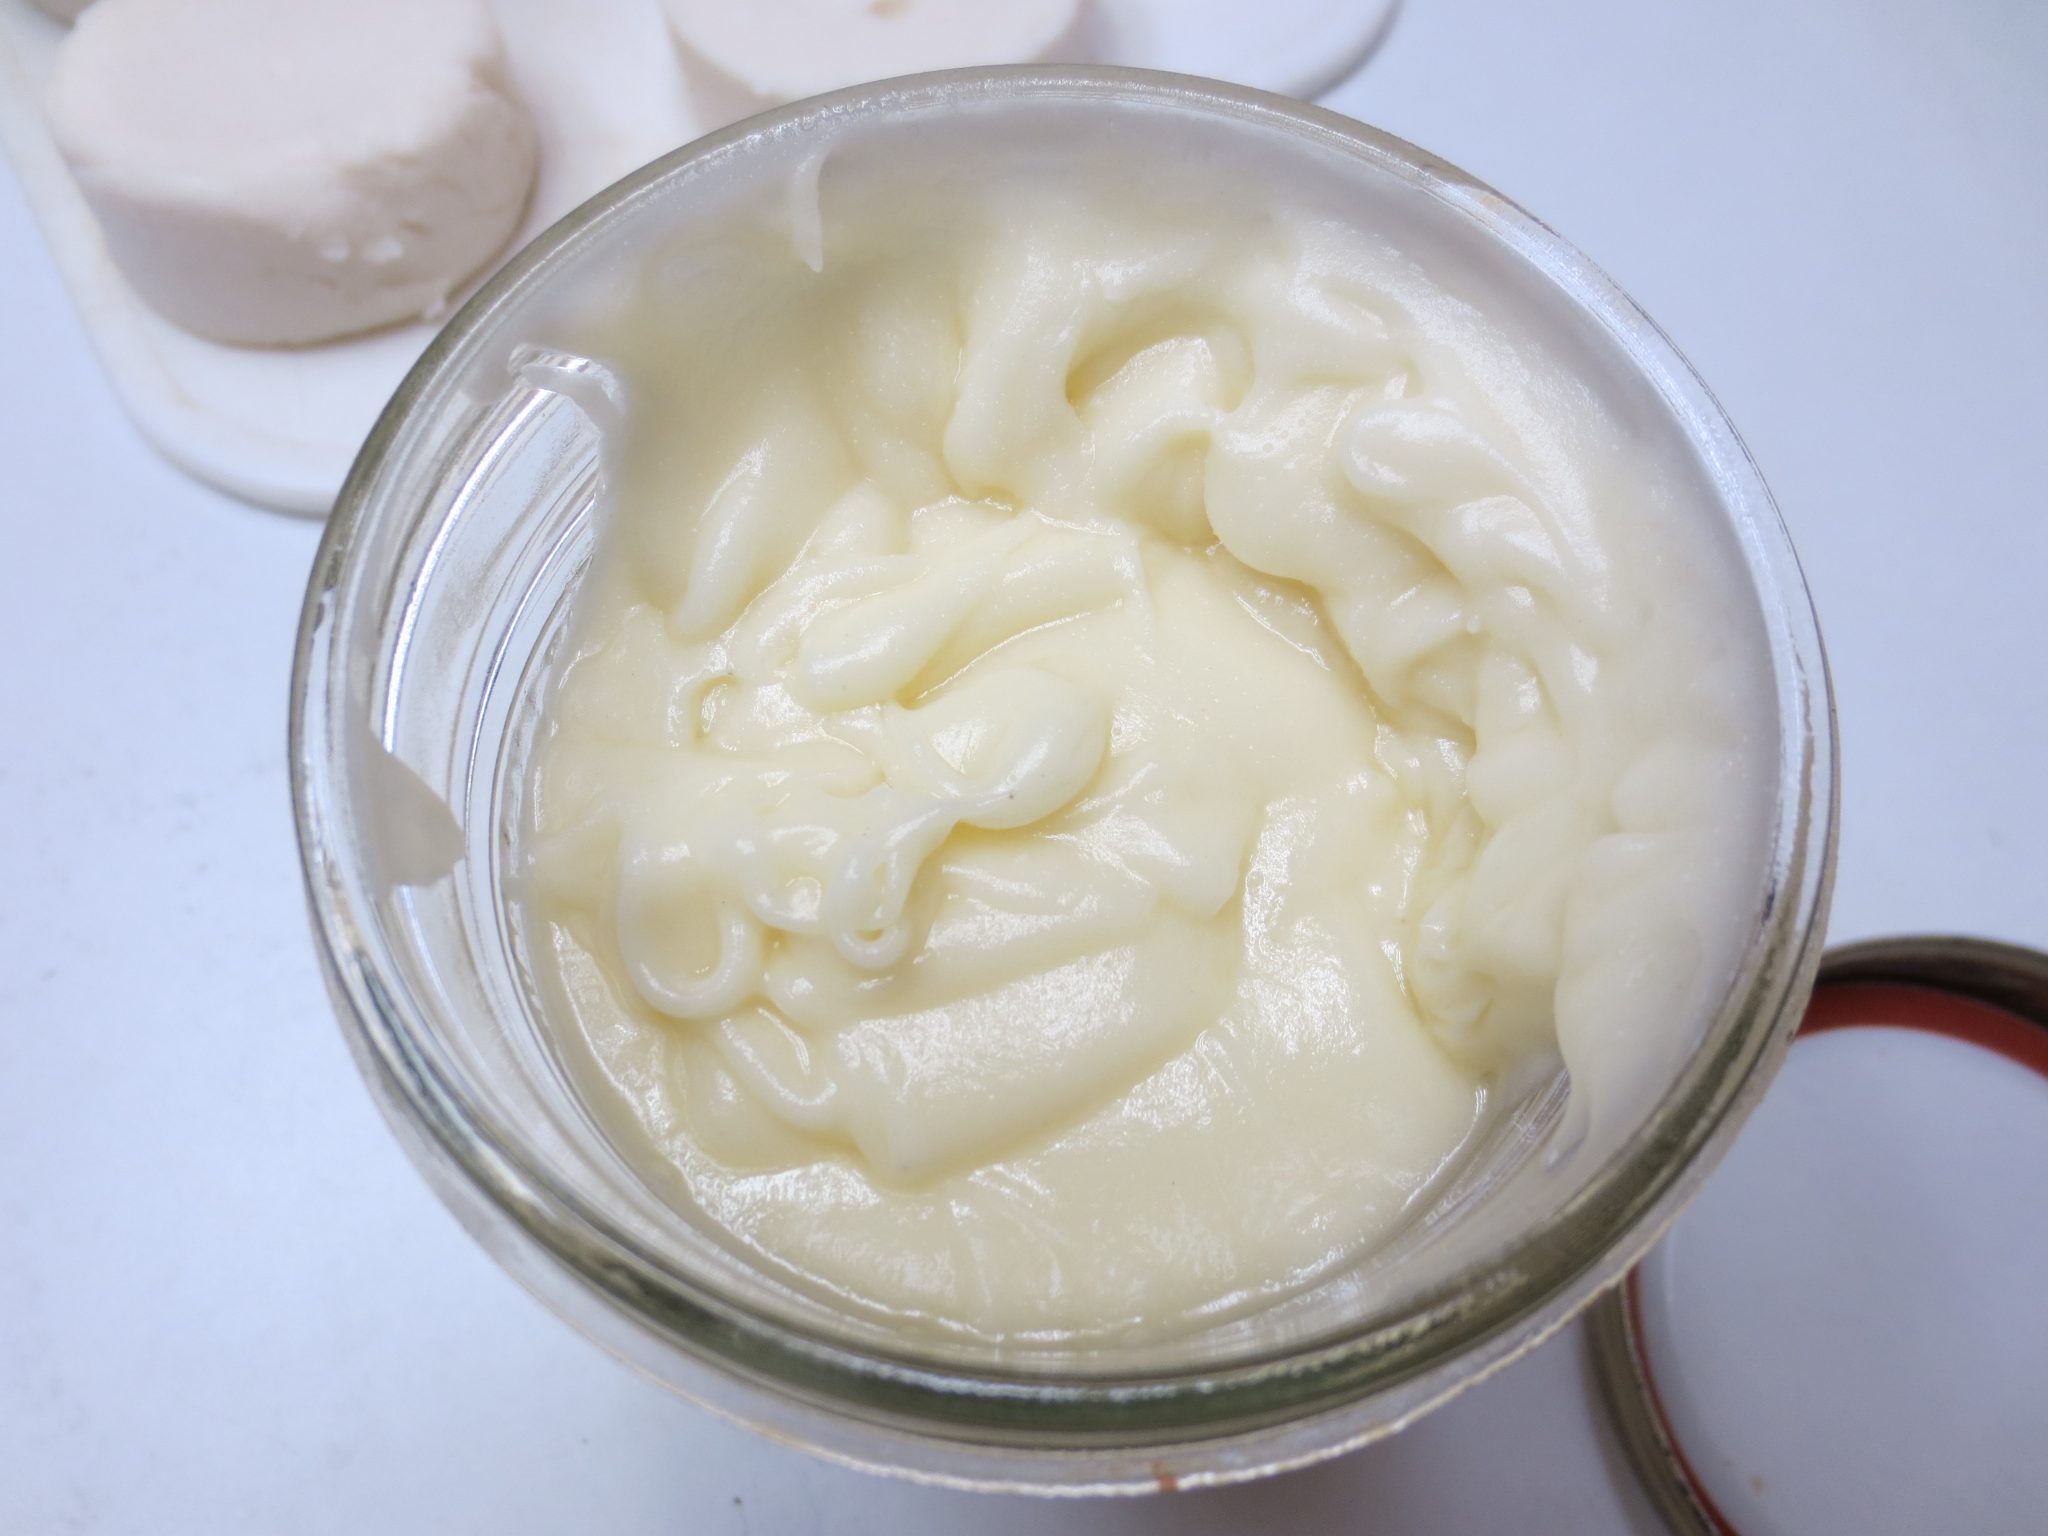
This lotion doesn’t need to be stored in the fridge, unless you will consume it slowly or you used ingredients that tend to go rancid quickly. The texture is light and quickly-absorbed, much like commercial lotions, so it’s a good option if you don’t like the greasy feeling of using oils straight.

This recipe is adapted from Rosemary Gladstar’s book Herbal Recipes for Vibrant Health. I learned about the book from a low-waste Youtuber who gushed about all the cool recipes in the book. This was the only one I was interested in; I’ve been looking a long time for a lotion recipe that produces something like commercial lotion.

Waters

2/3 cup water

1/3 cup aloe vera

1% citric acid by weight (optional, acts as a preservative for the aloe vera)

Oils

3/4 cup liquid oil (I use sweet almond oil. Other skin-friendly oils, such as sunflower or jojoba, will work, although shelf-stable ones are ideal. Hemp oil, for example, would necessitate refrigeration.)

1/3 cup solid oil (coconut oil, cocoa butter, shea butter, etc)

1/4 tsp lanolin (optional)

1/2-1 oz beeswax

  1. Melt oils together. Let cool to room temperature, until thickened.
  2. In a blender on high, slowly add the waters to the oils. It is done when combined, thickened, and fluffy. The blender will probably start having trouble!

Substitutions

If you are going to use this on your face, use only oils with low comedogenic ratings! That means don’t use coconut oil or cocoa butter. Shea butter, on the other hand, is non-comedogenic and is very unlikely to cause acne. Sunflower, jojoba, and hemp oils are all non-comedogenic, but there are many other liquid oils to choose from.

I haven’t actually made this yet, and I’m planning on whisking it by hand. It may not be possible, but wish me luck!

Cheesecake brownies

Another recipe from my mom. I haven’t tried this one yet, so let me know how it is!

Cheesecake Brownies

Brownies:

1/2 cup flour

1/2 cup cocoa

1/3 cup melted butter

1 cup sugar

2 eggs

1 tsp vanilla

1/2 cup chopped nuts (optional)

Cheesecake batter:

2 Tbs butter, room temperature

3 oz cream cheese, room temperature

1/4 cup sugar

1 egg

1 Tbs flour

1/2 tsp vanilla

To make brownies: Sift together flour and cocoa. Mix butter, sugar, eggs, and vanilla. Mix together the flour and butter mixtures. Add nuts

To make cheesecake batter: Blend butter and cream cheese. Add sugar and beat well. Add egg, flour and vanilla.

Spread about a third of the brownie batter in a greased 8-inch square pan. Spread cheese batter on top. Drop spoonfuls of remaining brownie batter on top and swirl with spatula. Bake at 350°F for 30 min. Store cooled leftovers in fridge.

Substitutions

Use your own favorite brownie recipe instead. Top with cream cheese mixture and swirl.

Brownies

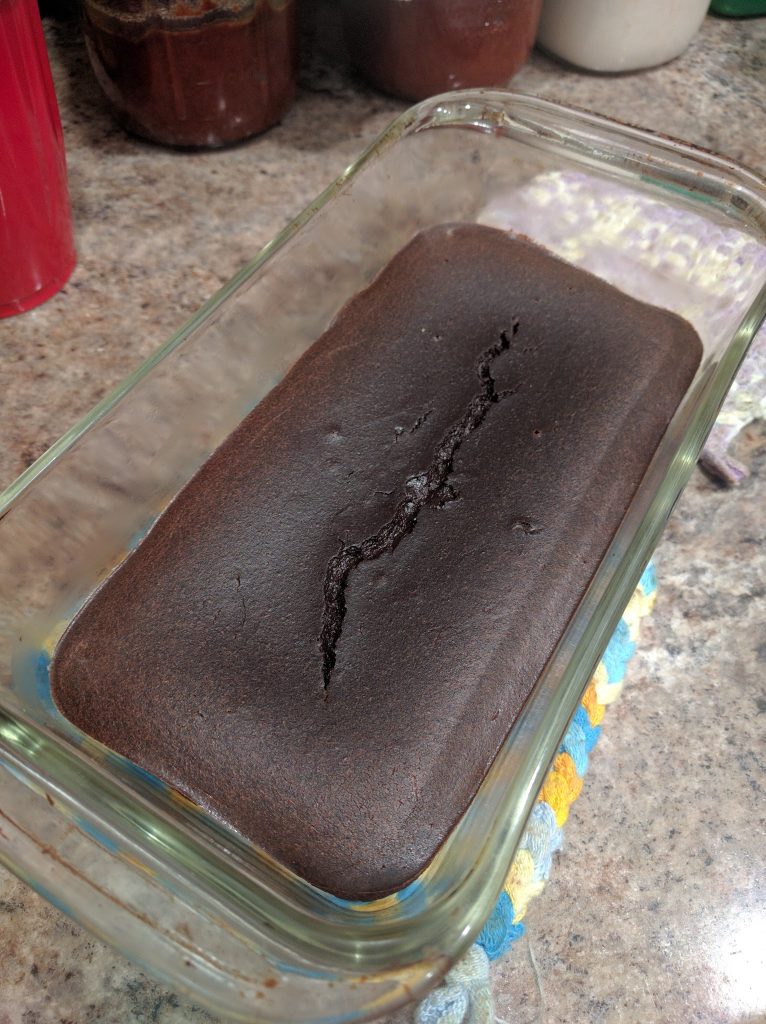
We have a lot of cocoa powder, so we’ve been making brownies. In an effort to make them healthier, they’ve turned out kinda …odd. Definitely edible, but not especially brownie-like. This is the original, pre-substitution recipe, from my mom’s 4-H days.

This one had too much bean in it. The texture was almost custard-like.

4-H Brownies

1/2 cup flour

1/2 cup cocoa

1/3 cup melted butter

3/4-1 cup sugar

2 eggs

1 tsp vanilla

1/2 cup nuts (optional)

Sift together flour and cocoa. Mix butter, sugar, eggs, and vanilla. Mix flour and butter mixtures. Add nuts. Place in greased 8-inch square pan. Bake at 350°F for 30 min.

Substitutions:

Use whole wheat or whole wheat pastry flour, or any other kind of flour. Because brownies are a type of quick bread (not leavened by yeast), they don’t require gluten. When substituting whole grain flour for white flour, however, you usually need to increase the amount of liquid.

Add mashed beans to make the brownies fudgier. If you add enough, the texture gets lighter and almost sponge-like, although the pores are very small. At that point, it isn’t much like a brownie, but it still tastes good!

Make cheesecake brownies by swirling a mixture of cream cheese, sugar, and vanilla into the brownie batter. I’ll post a recipe for this in the future.

Tomatoes!

One of the vendors at the farmers’ market was selling “sauce boxes” of tomatoes for $20 each. Each box was about 20 lb, so it was quite the bulk discount! I also got 10 lb exra (for no extra cost) when I asked if I could add overripe and ugly tomatoes!! The vendor seemed to think they were worthless :<

Unfortunately, I forgot to account for the trip back home, about a mile. The 20-lb box seemed doable, but I got greedy with the overripe ones. J only agreed to buy the box of tomatoes on the condition that he wouldn’t need to help carry it… but that promise totally fell through. We ended up each holding an end of the box.

Dry-farmed (un-irrigated) Early Girl tomatoes. They might’ve been organic too.

But! We’ll have so much tomato sauce! And maybe salsa too.

We also got reject fancy apples for $1/lb. The plan is to make apple pie.

Pad thai

J and I made pad thai the other day. It’s pretty simple, but requires a few special ingredients that can’t be substituted for: fish sauce, tamarind paste, and rice noodles.

We followed a not-so-stellar Serious Eats recipe. It made too much sauce for the amount of noodles and veggies- we actually doubled or tripled the amount of noodles and still had too much sauce. Besides, the sauce wasn’t quite right. First of all, there was too much fish sauce, so it was too salty. The recipe called for honey in place of palm sugar in an attempt to make the recipe more accessible, which is a noble effort. Unfortunately, the honey added too much water, so there was a puddle of water at the bottom of the pan…

These changes should be easy to incorporate next time.

Pad thai plus pork “stew” (shoulder) that definitely needs to be pressure-cooked.

Ceramics class?

I’ve been thinking of taking a ceramics class. I got my feet wet during college, and really enjoyed it. It’s amazing to think that you can make all your cups, plates, bowls, and more yourself! You could even make your own toilet.

I’m especially interested, though, in making onggi, which are traditional Korean fermentation vessels. Here’s a video on how they’re made.

Apparently the type of clay is very important, and detailed information is probably only available in Korean. I’d be satisfied with something like these crocks, which are also pretty and functional.

From this site. Look at those weights! They help keep all of your ferments submerged.

I worked in a research lab in South Korea for a summer during undergrad. I’m thinking of contacting the grad student I worked with to see what he knows about traditional Korean food (and onggi!).  Maybe he’d be willing to do some research for me (:

I also could make a donabe (see Toiro Kitchen for more info. The cookbook by Naoko Moore on donabe cooking is also quite good).

And, well, a ceramics class just sounds fun. I like learning new crafts!

Elecom Huge Trackball

I just got the Elecom Huge Trackball. So far so good!

The box.
It looks like this.
There’s a scroll wheel and a sensitivity adjustment switch on the left side.
The underside.
Shown next to the Evolent Vertical mouse.
Shown next to the Kinesis Advantage 2.