One of the vendors at the farmers’ market was selling “sauce boxes” of tomatoes for $20 each. Each box was about 20 lb, so it was quite the bulk discount! I also got 10 lb exra (for no extra cost) when I asked if I could add overripe and ugly tomatoes!! The vendor seemed to think they were worthless :<
Unfortunately, I forgot to account for the trip back home, about a mile. The 20-lb box seemed doable, but I got greedy with the overripe ones. J only agreed to buy the box of tomatoes on the condition that he wouldn’t need to help carry it… but that promise totally fell through. We ended up each holding an end of the box.
Dry-farmed (un-irrigated) Early Girl tomatoes. They might’ve been organic too.
But! We’ll have so much tomato sauce! And maybe salsa too.
We also got reject fancy apples for $1/lb. The plan is to make apple pie.
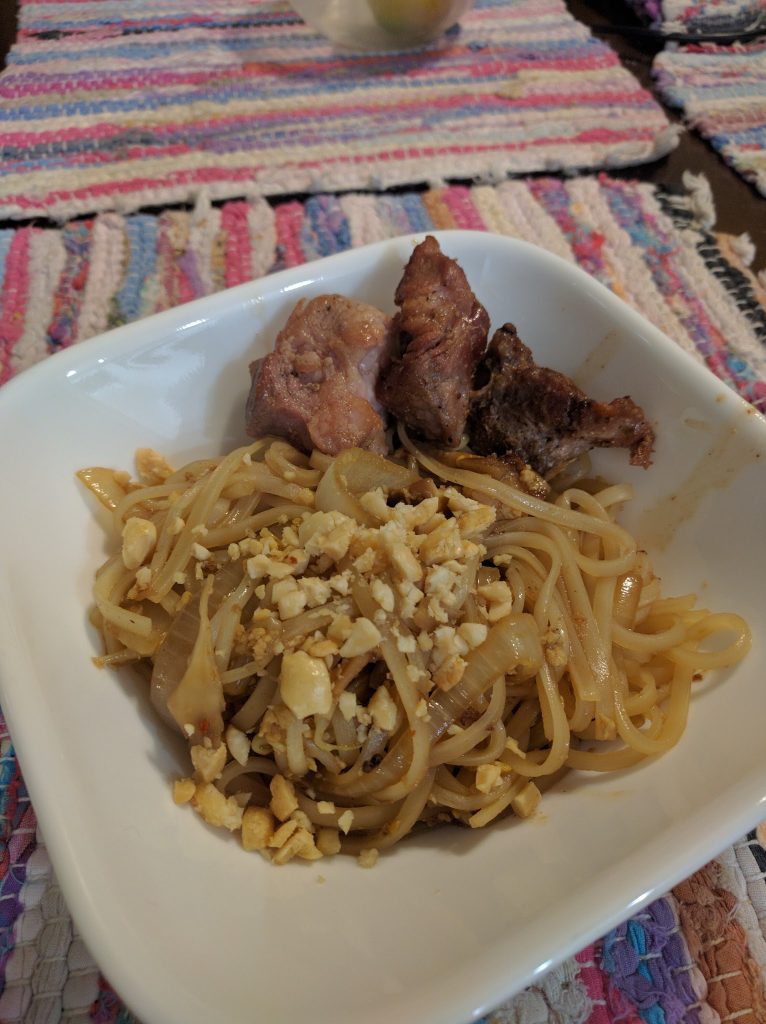
J and I made pad thai the other day. It’s pretty simple, but requires a few special ingredients that can’t be substituted for: fish sauce, tamarind paste, and rice noodles.
We followed a not-so-stellar Serious Eats recipe. It made too much sauce for the amount of noodles and veggies- we actually doubled or tripled the amount of noodles and still had too much sauce. Besides, the sauce wasn’t quite right. First of all, there was too much fish sauce, so it was too salty. The recipe called for honey in place of palm sugar in an attempt to make the recipe more accessible, which is a noble effort. Unfortunately, the honey added too much water, so there was a puddle of water at the bottom of the pan…
These changes should be easy to incorporate next time.
Pad thai plus pork “stew” (shoulder) that definitely needs to be pressure-cooked.
I’ve been thinking of taking a ceramics class. I got my feet wet during college, and really enjoyed it. It’s amazing to think that you can make all your cups, plates, bowls, and more yourself! You could even make your own toilet.
I’m especially interested, though, in making onggi, which are traditional Korean fermentation vessels. Here’s a video on how they’re made.
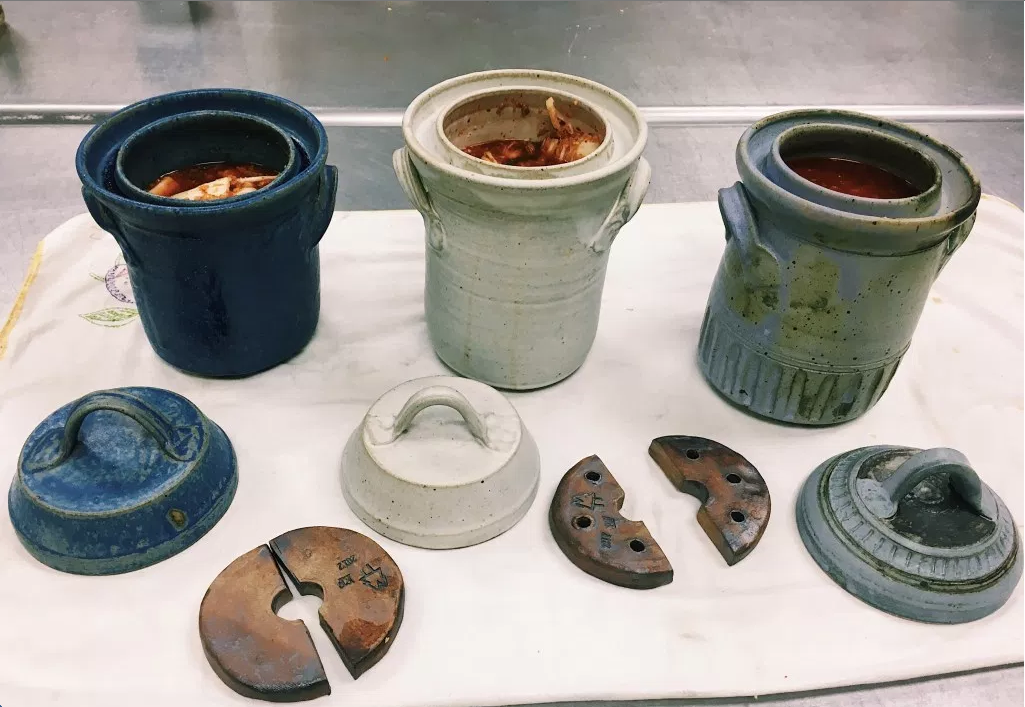
Apparently the type of clay is very important, and detailed information is probably only available in Korean. I’d be satisfied with something like these crocks, which are also pretty and functional.
From this site. Look at those weights! They help keep all of your ferments submerged.
I worked in a research lab in South Korea for a summer during undergrad. I’m thinking of contacting the grad student I worked with to see what he knows about traditional Korean food (and onggi!). Maybe he’d be willing to do some research for me (:
I also could make a donabe (see Toiro Kitchen for more info. The cookbook by Naoko Moore on donabe cooking is also quite good).
And, well, a ceramics class just sounds fun. I like learning new crafts!
I just got the Elecom Huge Trackball. So far so good!
The box.It looks like this.There’s a scroll wheel and a sensitivity adjustment switch on the left side.The underside.Shown next to the Evolent Vertical mouse.Shown next to the Kinesis Advantage 2.
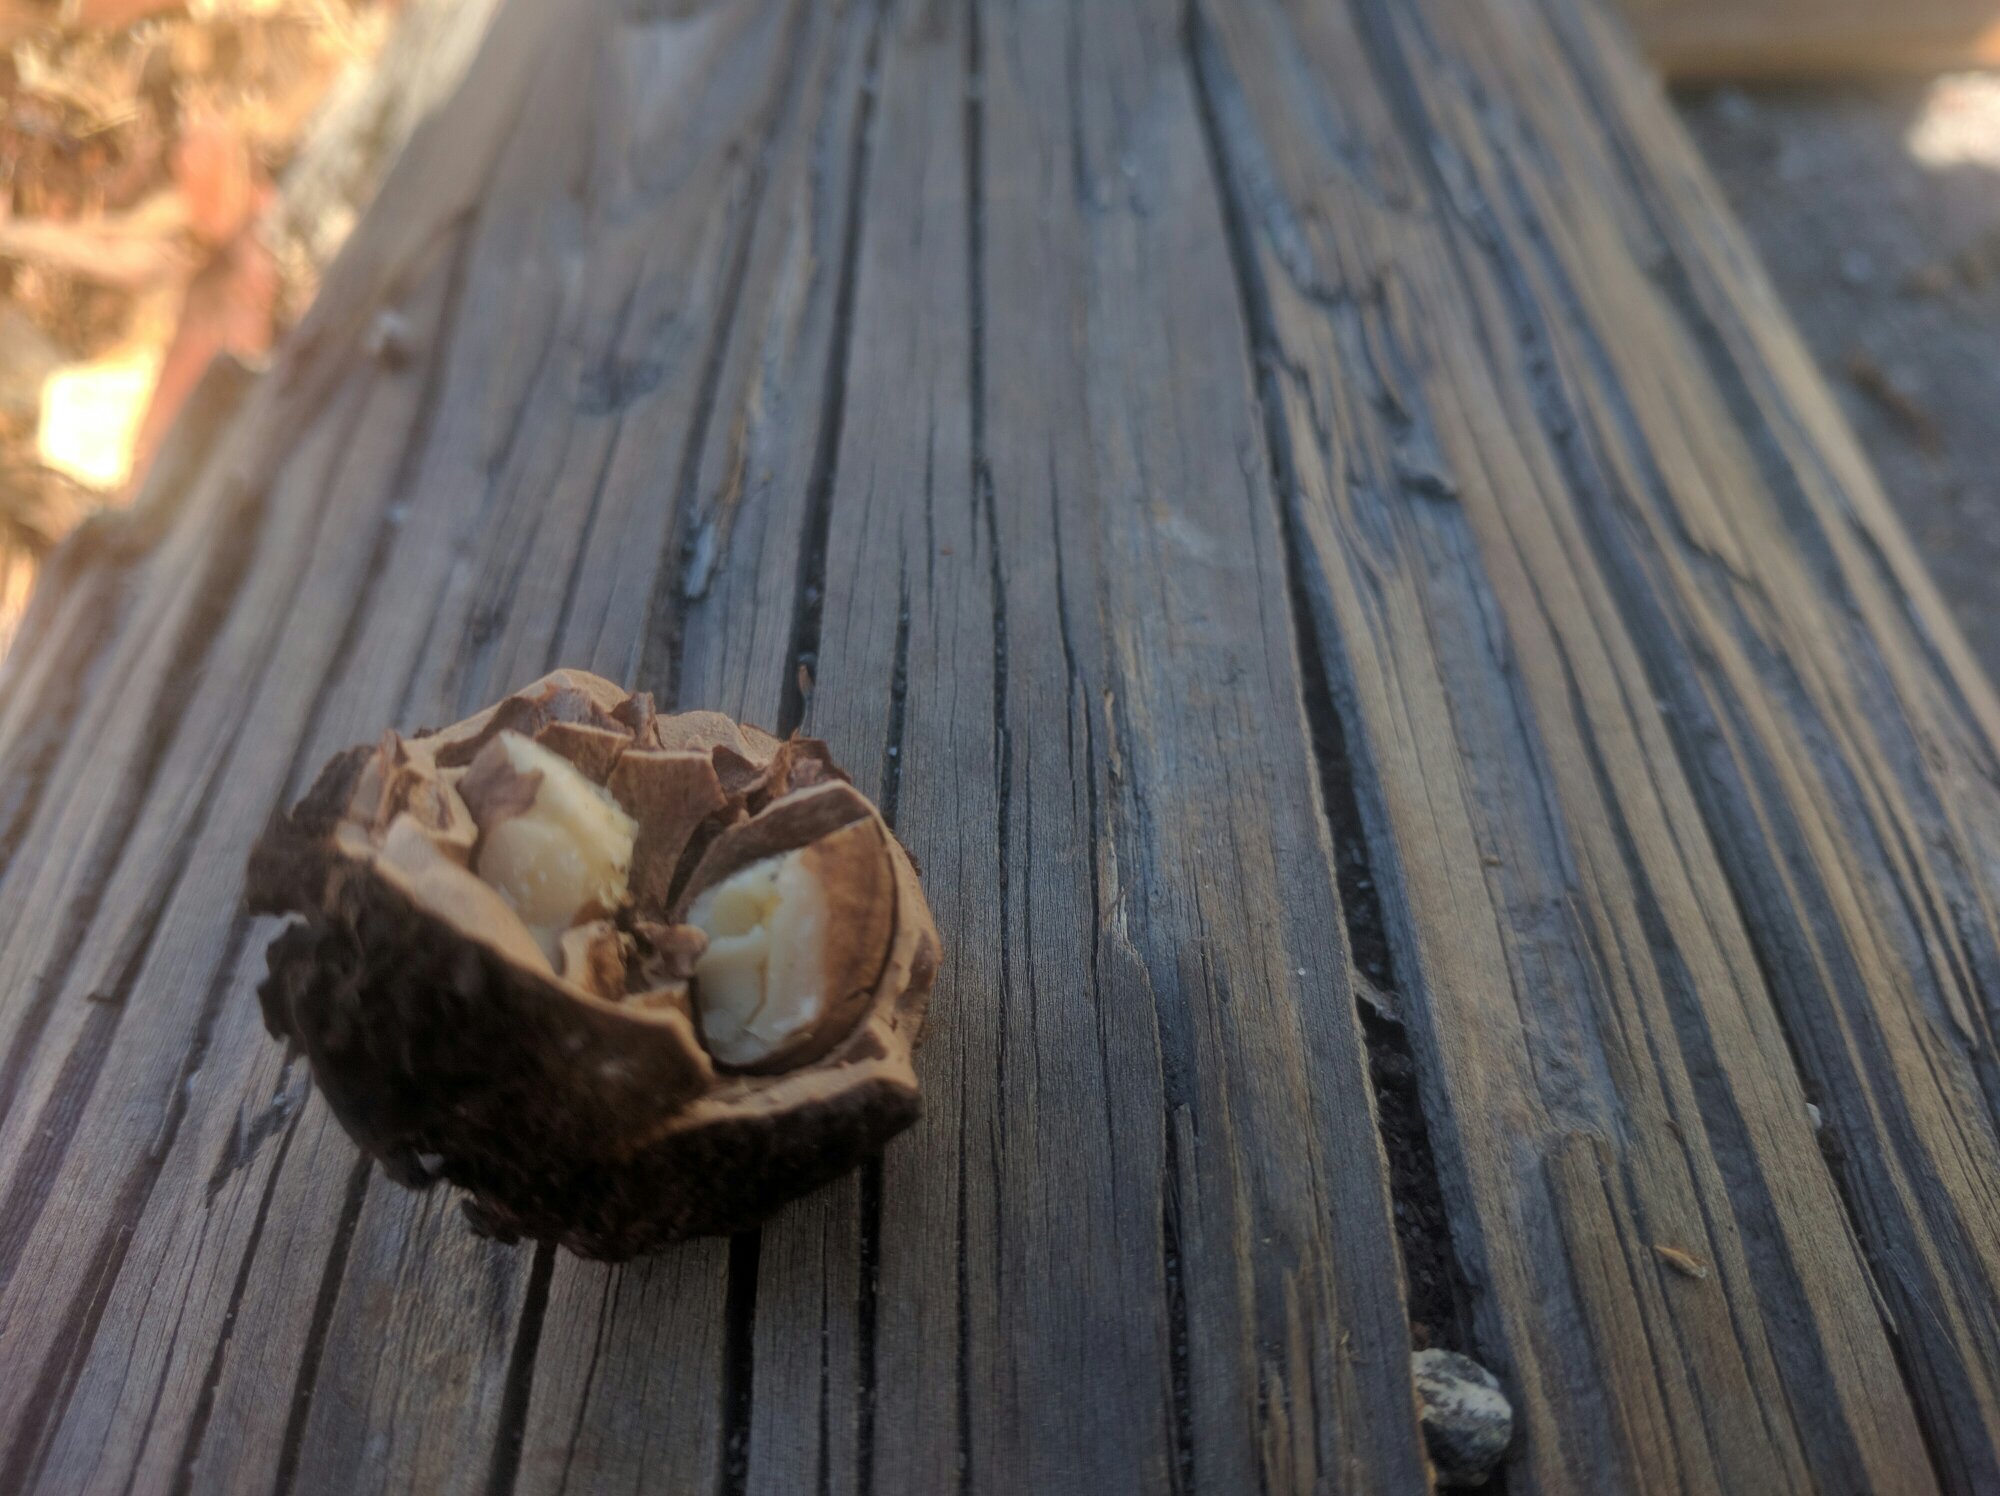
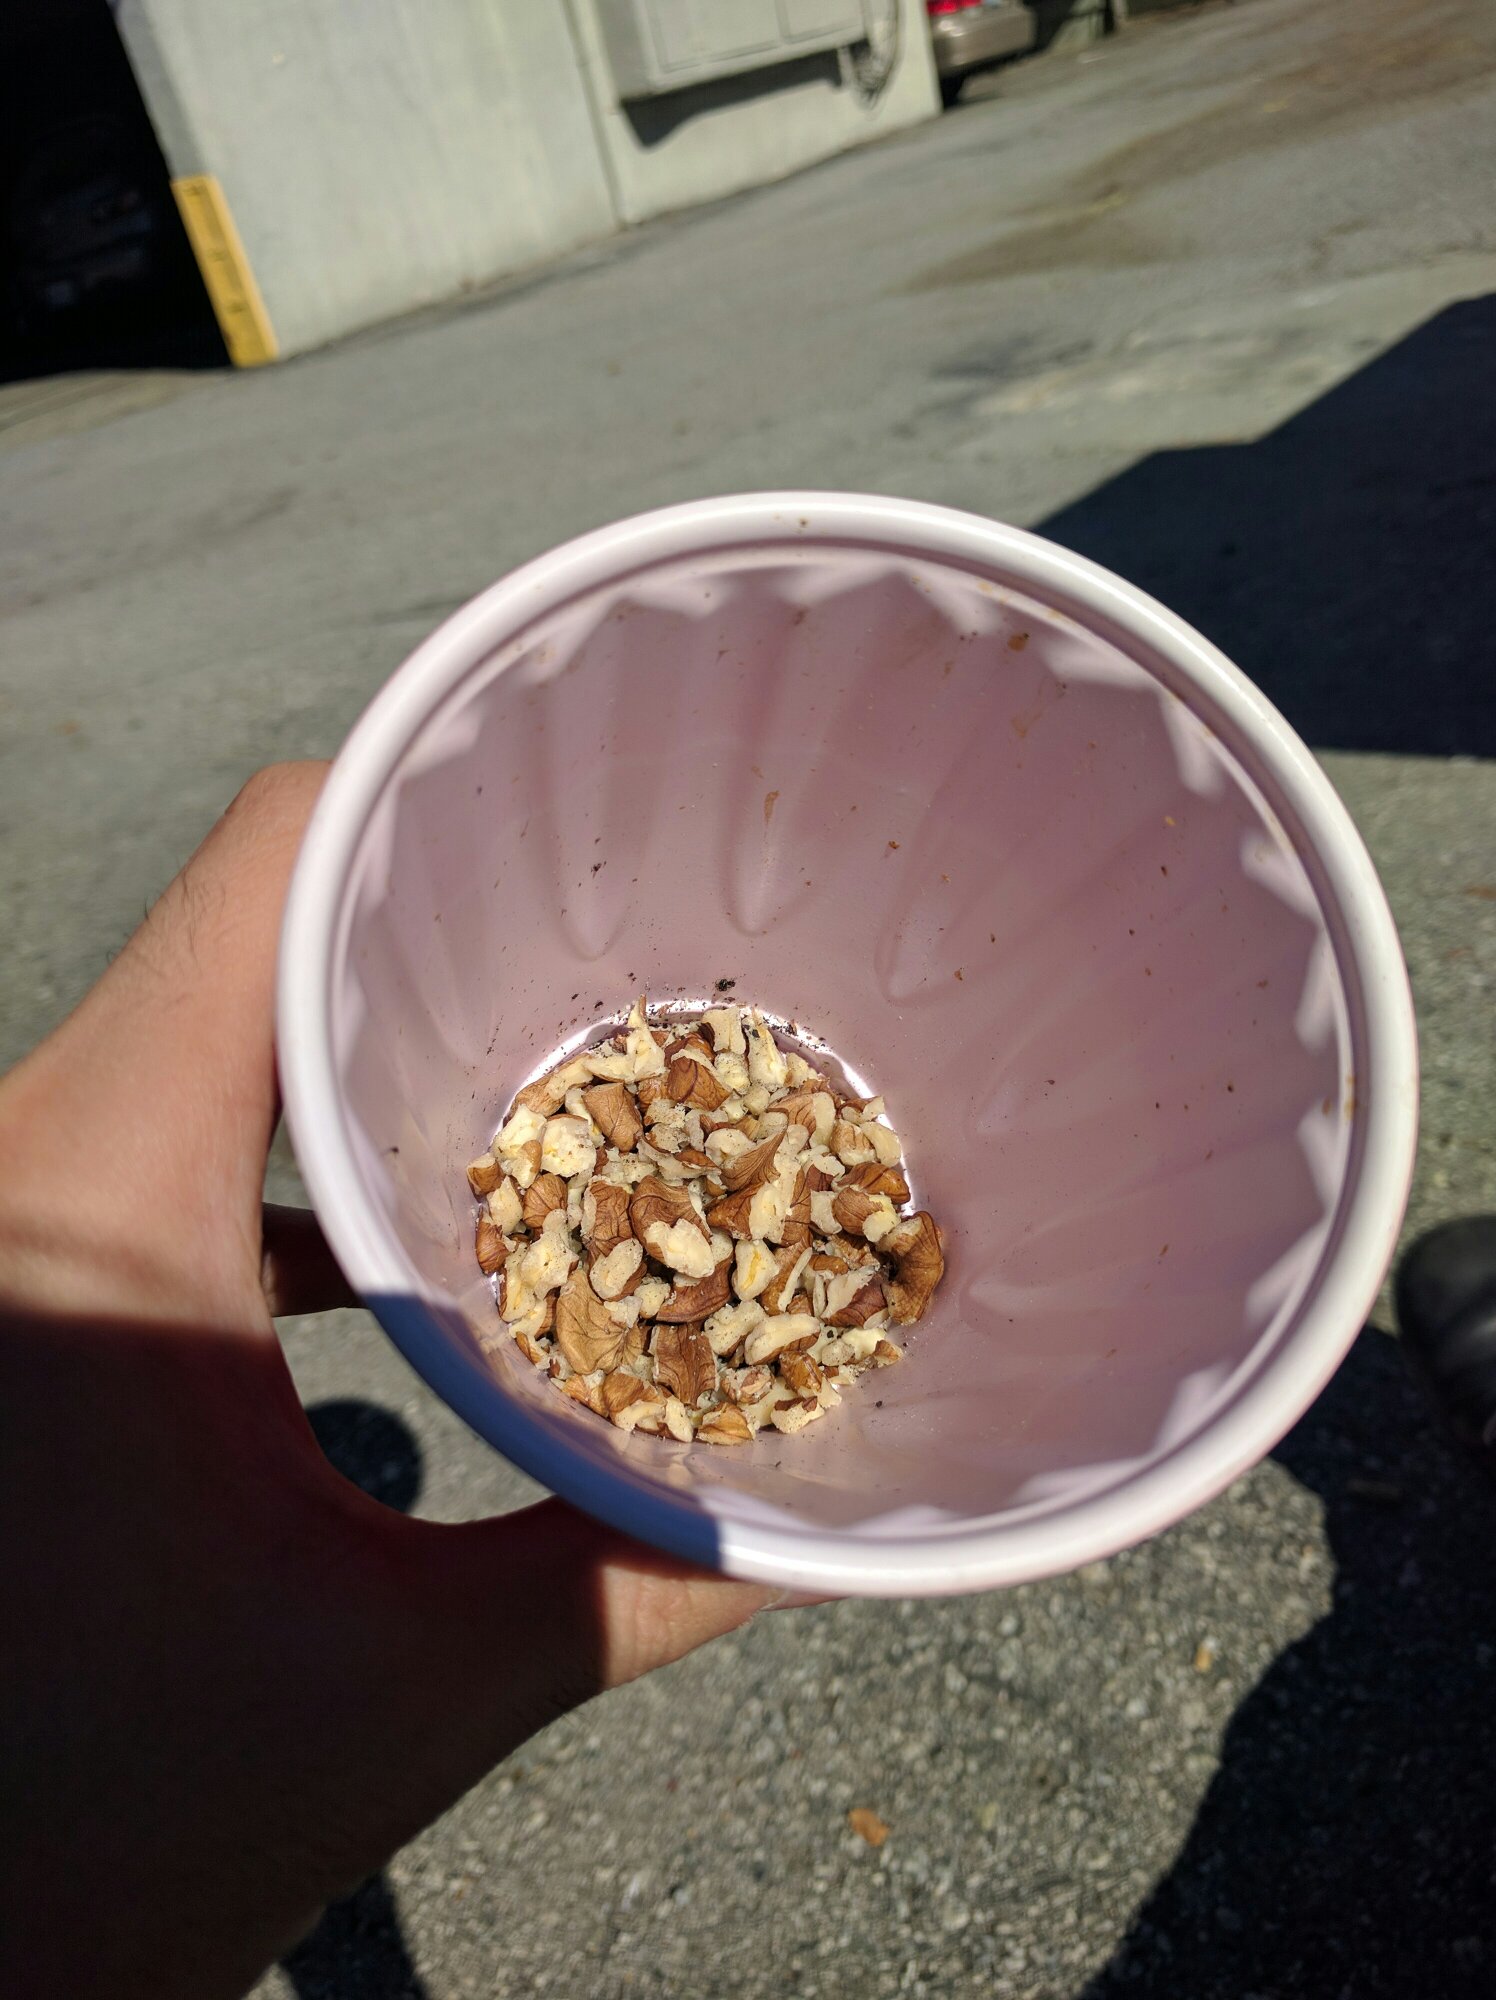
We cracked open a bunch of black walnuts that N had collected from some nearby trees. The shells are so hard! We used a big hammer to smash them open.
It’s really hard to get the nut pieces out.Our efforts yielded maybe two tablespoons of edible product. They taste like store walnuts, but more bitter.
Using alcohol instead of water prevents gluten from developing. Any type of alcohol is fine, although higher proof is more desirable, and you can use flavored types if you prefer. How about beer crust??
Standard Pastry Crust
(makes 8- or 9-inch one-crust pie)
1 cup flour
1/2 teas. salt
1/3 cup butter
about 3 Tab. ice-cold vodka
(for an 8-inch two-crust pie, use 1-1/3 cups flour; 1/2 teas. salt; 7 Tab. butter; 4 Tab. cold vodka or so)
Measure flour and salt into a bowl.Cut in the shortening.Add the vodka and hope that the flour is moistened and dough almost cleans the side of the bowl.You may need to add more vodka.Gather the dough into a ball (or two if for a two-crust pie).Carefully flatten the ball(s) so that a round shape is maintained.Refrigerate at least an hour or overnight before rolling out — this is supposed to help with gluten reduction.
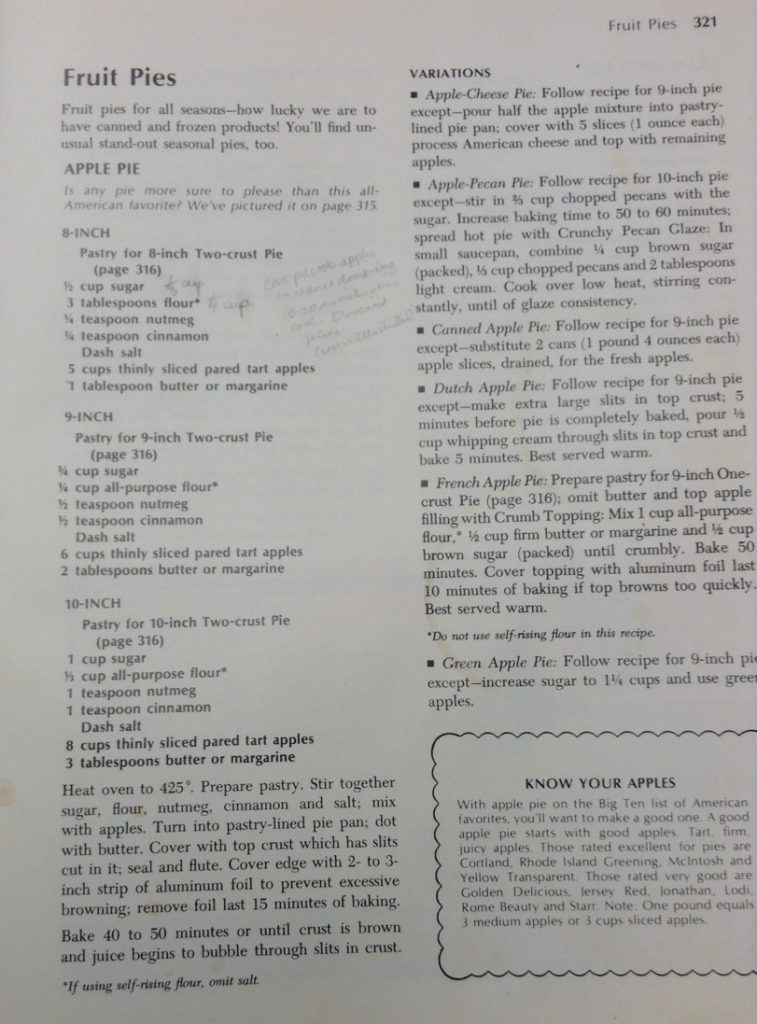
Apple pie recipe from my mom. This particular write-up is a compilation of several different recipes and techniques, and has not been vetted so be careful.
The recipe was adapted from a Cook’s Illustrated recipe and a Joy of cooking (or maybe Betty Crocker) recipe, seen below.
A classic.
Apple pie recipe (makes 8-inch pie)
Pastry for 8-inch two-crust pie
5 cups thinly sliced pared tart apples
1/3 cup sugar (this is less than the original recipe recommends)
1/4 cup flour (the original recipe calls for 3 Tbs but juicy apples need more) or 2 Tbs tapioca starch
1/4 to 1/2 tsp cinnamon
dash salt
1 Tbs butter
Shrink apples by gently heating them in a Dutch oven (recommended) or thick-bottomed pan.Then let them cool.
Preheat oven to 425° (or a lower temperature, if you prefer. 350° or 375° are probably fine too).
The next step is tricky because now you have to mix together the sugar, flour, cinnamon, and salt AND then add that mixture to the apples.It will be messy because the apples are juicy.You can drain the juice but that seems like waste of good apple juice.
Roll the pastry and line the pie pan.Put the filling in the pastry-line pan.Dot with the butter.Cover with the top crust.Seal and flute edges.Brush the top with milk or water and sprinkle with a generous amount of sugar.Cut some vents.Place the pie on parchment on a tray (to catch drips).
Bake 40 to 50 minutes or until the crust is brown and juice begins to bubble through slits in the crust.You may prefer to start the pie at the high temperature (425°) and reduce the heat (I’m assuming to 375° or so) after about 15 minutes.If the crust is nicely brown but the pie isn’t done, make a tent with foil.
Substitutions
Use different apples, depending on taste. It is usually recommended to use a combination of sweet (Golden Delicious, Jonagold, Braeburn) and tart (Granny Smith, Empire, Cortland) apples.
Use tapioca starch instead of wheat flour. A smaller amount (1 1/2 tsp for every Tbs of flour called for) gels just as well, and doesn’t risk imparting a chalky texture.
I think the chewed sake (kuchikamizake) is done. The liquid on top of the rice pieces is clearing up, which is a sign that there is no longer any fermentation going on. If I add more rice, I may be able to get the yeast going again, though.
After the fermentation is done, you’re supposed to strain out the rice pieces (sake lees or sake kasu, which can be eaten or used for pickling), then put a chunk of charcoal in to make the sake clear. In lieu of that, J suggested running the sake through a Brita filter. It uses activated charcoal, after all, and if we keep making sake, it may be useful in the future.
The blog seems to be turning into a repository for family recipes, which I’m pretty happy about (: Please enjoy!
This recipe is from my great aunt (by marriage, but she may have been related from another direction too. There were some first-cousin marriages). Unlike most pecan pie recipes, it features a not-too-sweet filling. (The pecans weren’t included in the original recipe, so please use your judgement on how many to add.)
Pecan Pie Recipe
(Probably meant to fill 9-inch pie pan)
2 Tbsp butter
1/2 cup light corn syrup
1 cup sugar
3 eggs
1 tsp vanilla
(Not in original recipe, but about 8oz of pecans, chopped)
Uncooked pie shell
Mix ingredients. Pour into pie shell. Bake about 25 min at 350°F.
Substitutions:
Pecan pie is usually too sweet, so I was considering subbing brown rice syrup, which is super viscous, but not very sweet, for the corn syrup. Then again, this recipe is supposed to be perfect.
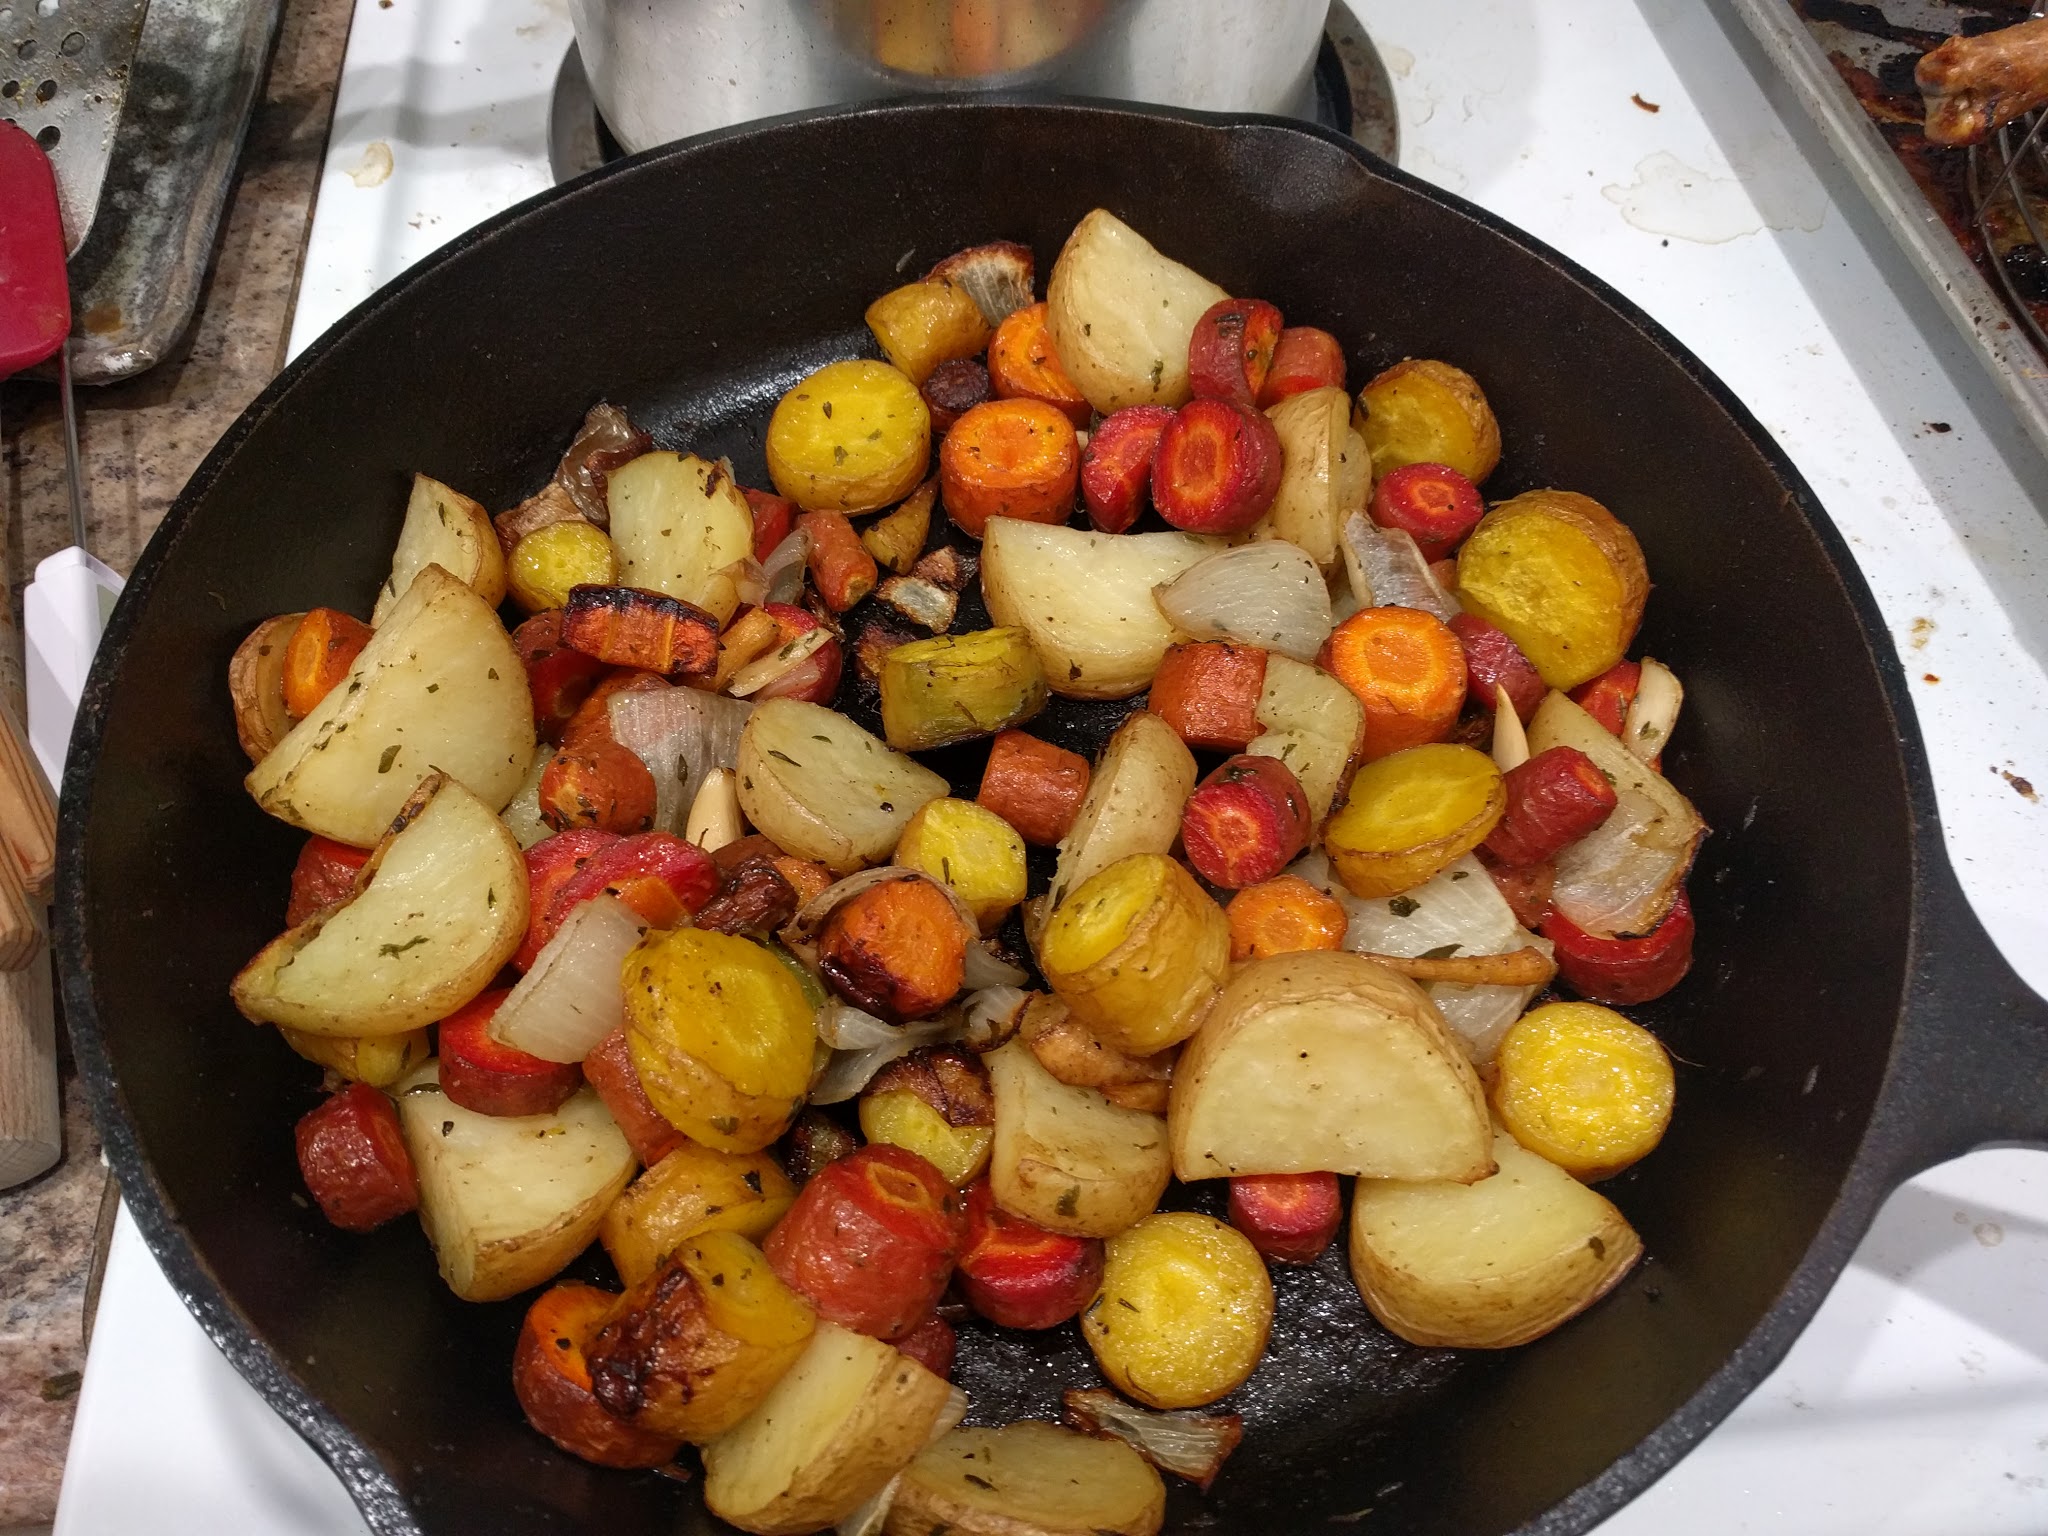
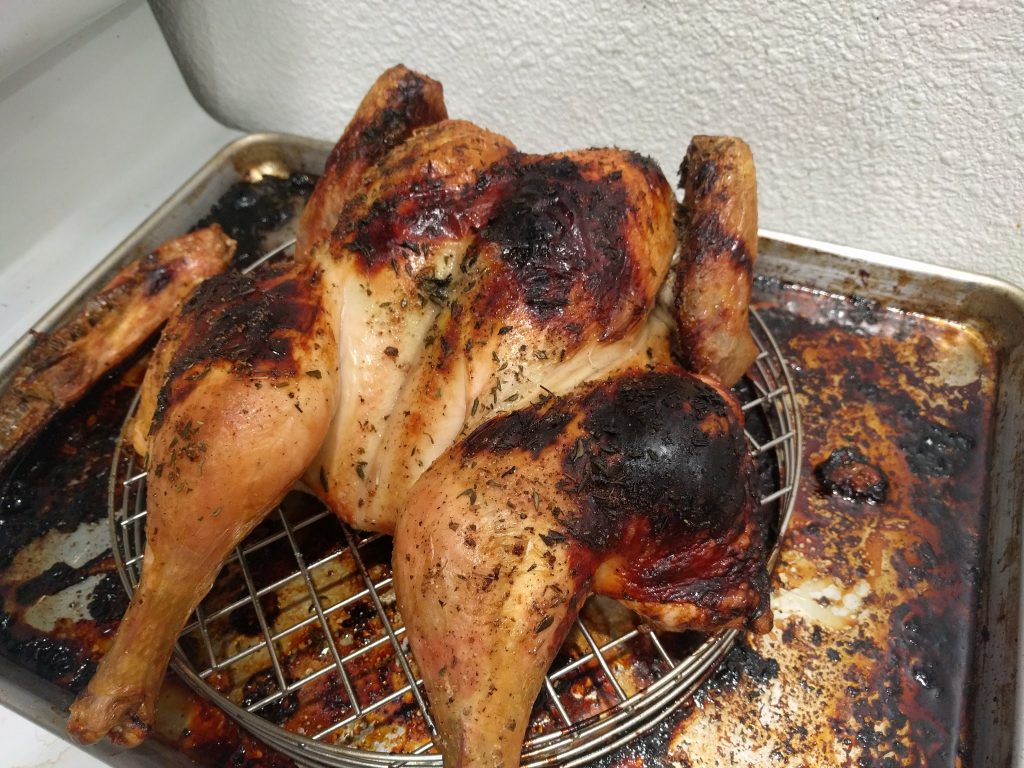
Roast veggies in the new 12″ skillet.Huge (6 lb) and expensive ($40) roast chicken from our local farmer’s market. Fortunately, it had an organic, pastured, and sustainable life. The chicken’s not actually burned; the burned spots were an attempt to add flavor via mirin. That long skinny thing off to the left is the chicken’s spine.
We butterflied the chicken, which is supposed to help keep the breast meat from getting overcooked and dry. The meat has had many second lives, in soup, in tacos, and there’s a ton left over for future uses.