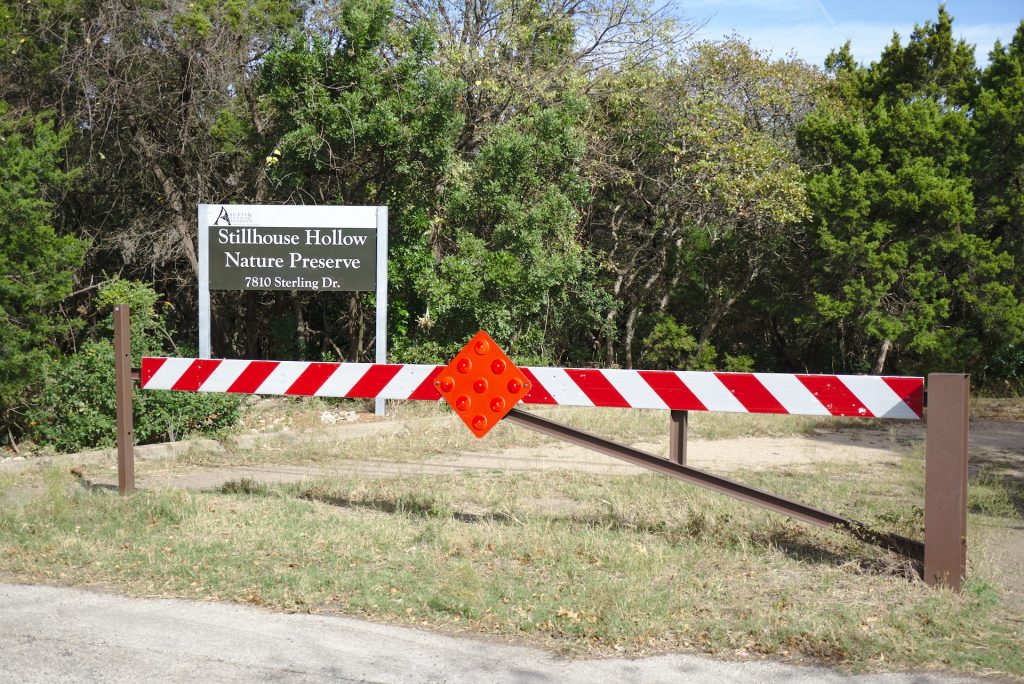
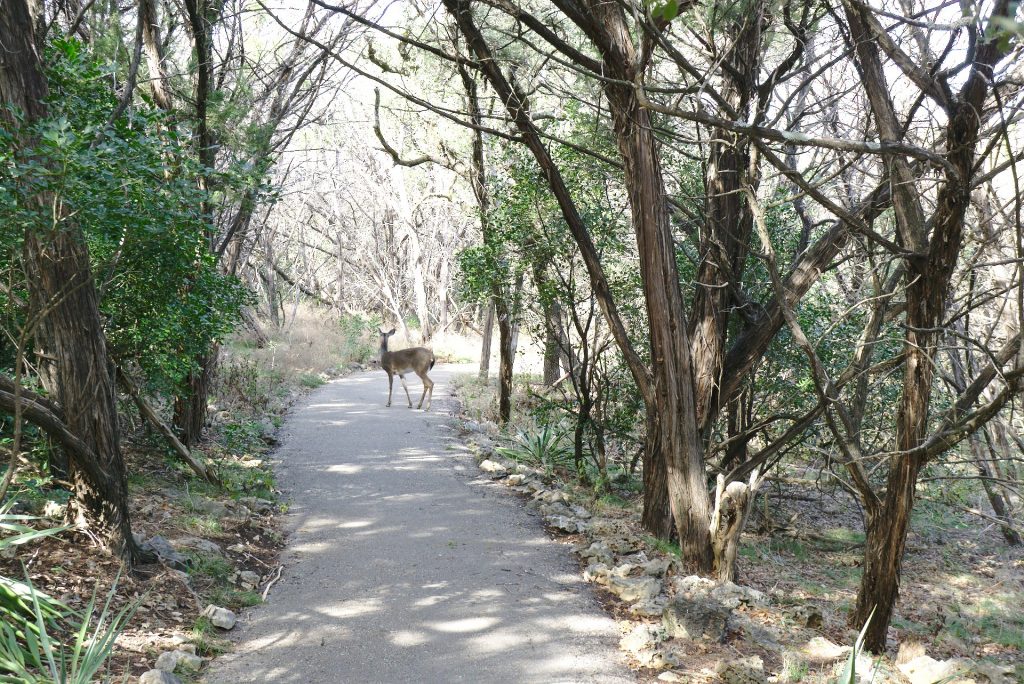
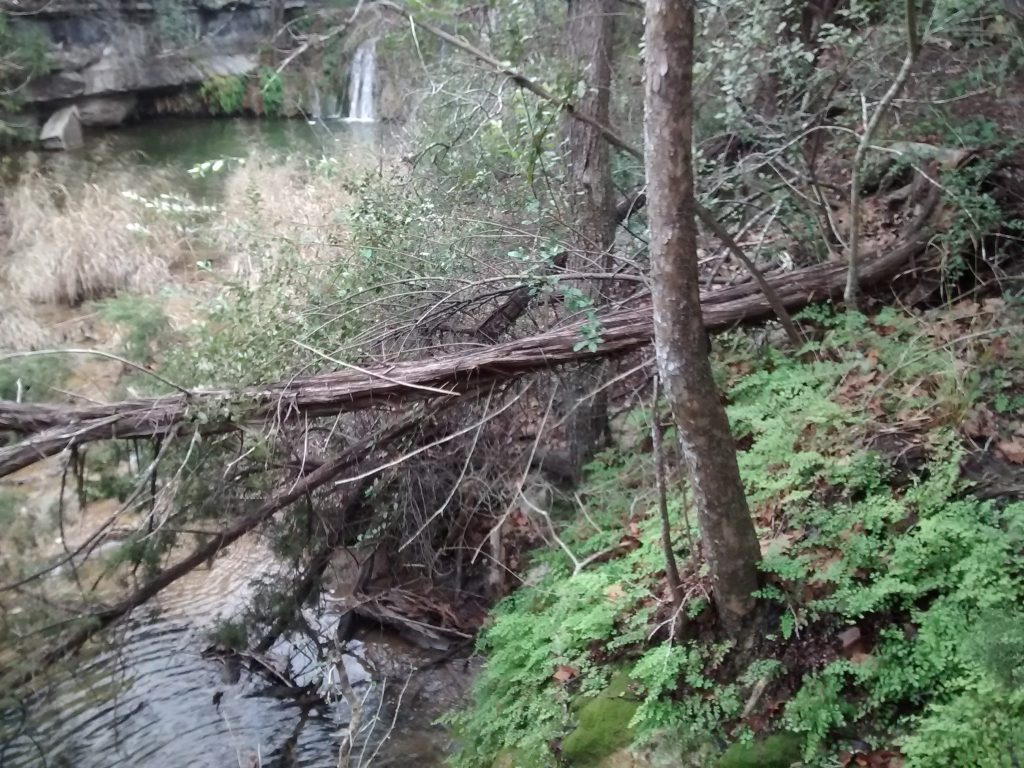
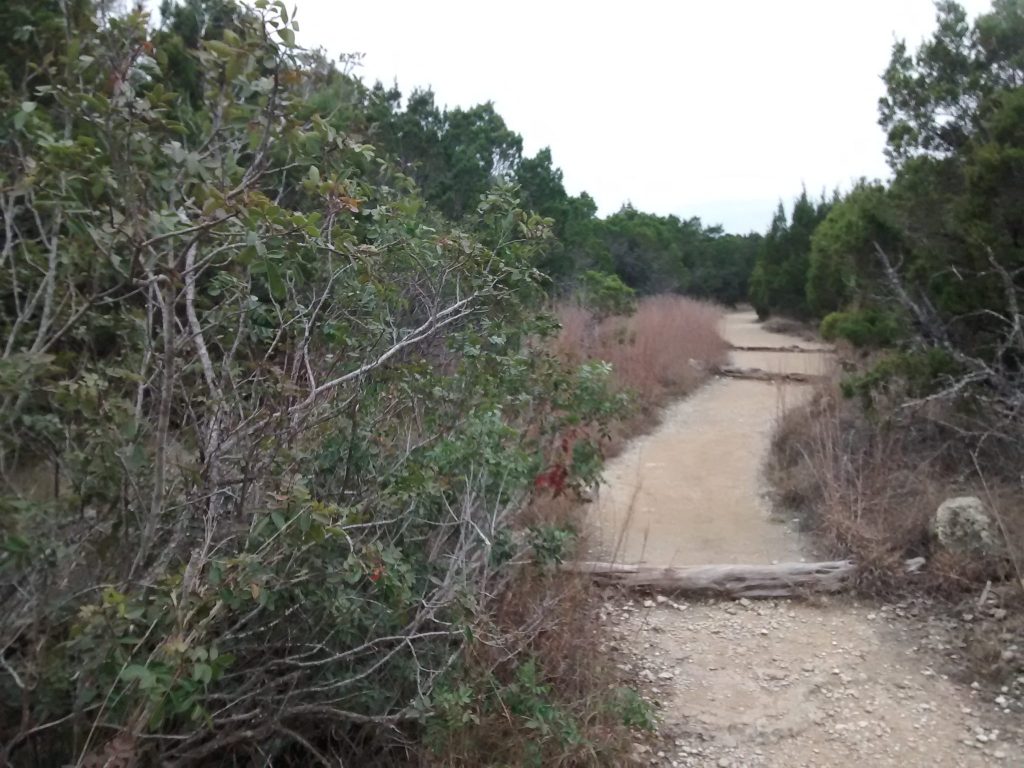
Sibling C and I went hiking today at Wild Basin Preserve. My parents called it “barren” (or maybe it was “desolate”), but I thought it was great! It has been raining a lot recently, so everything was lush and the creek was full.
My mom claimed that the preserve was built on a dump, but it took some internet digging by sibling C to discover the truth! Only 5 acres (near the parking lot) of the preserve’s total 277 acres were used as a “dumping area” from 1947 to 1974. The area has since been reforested (source).
Stuff that we saw:
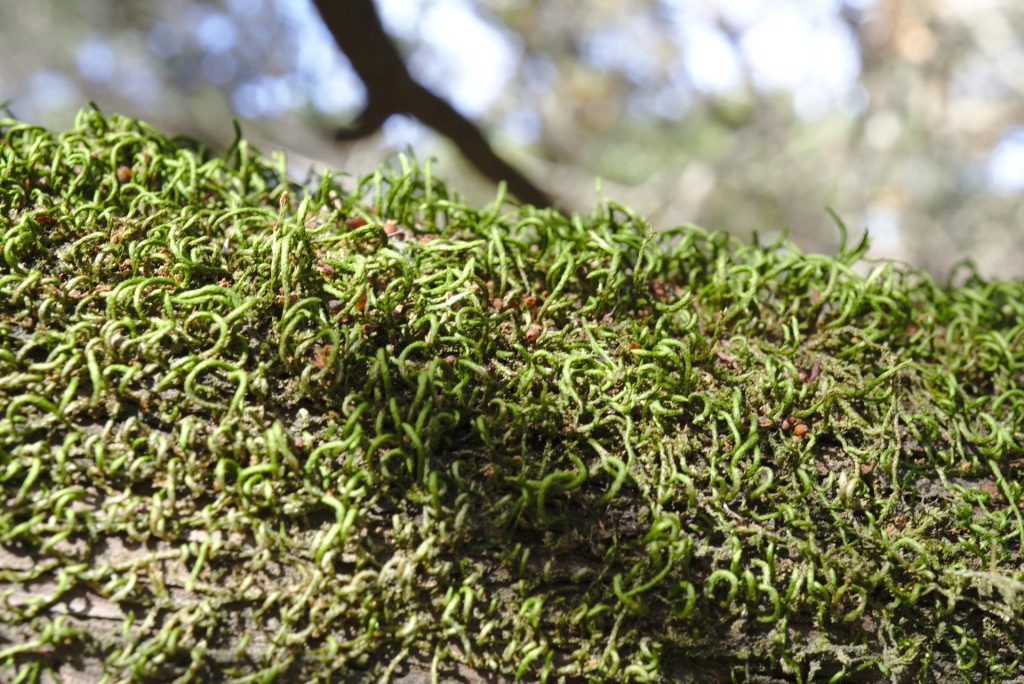
Lots of moss! Sibling C told me to become a moss expert and teach her about it. Unfortunately, there doesn’t seem to be a lot of info about moss available. I emailed some university professor for info. Hopefully they’re enthusiastic enough to want to share info with me!
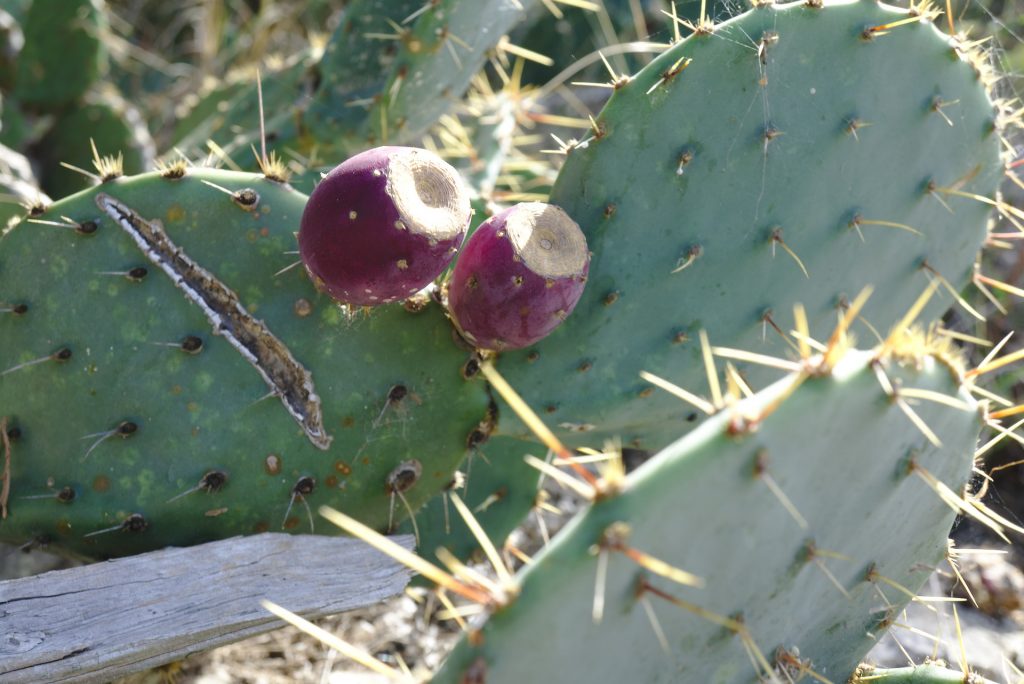
Evergreen sumac, which has edible red berries. Watch out for poison sumac, which has white or gray berries and causes contact dermatitis, and nandina, a super invasive plant that has red cyanide-containing berries.
Sycamore, which has edible sap, much like sugar maples. The leaves can be used as a wrap for food, like corn husks or banana leaves (source).
Lindheimer’s silktassel (source of natural rubber).
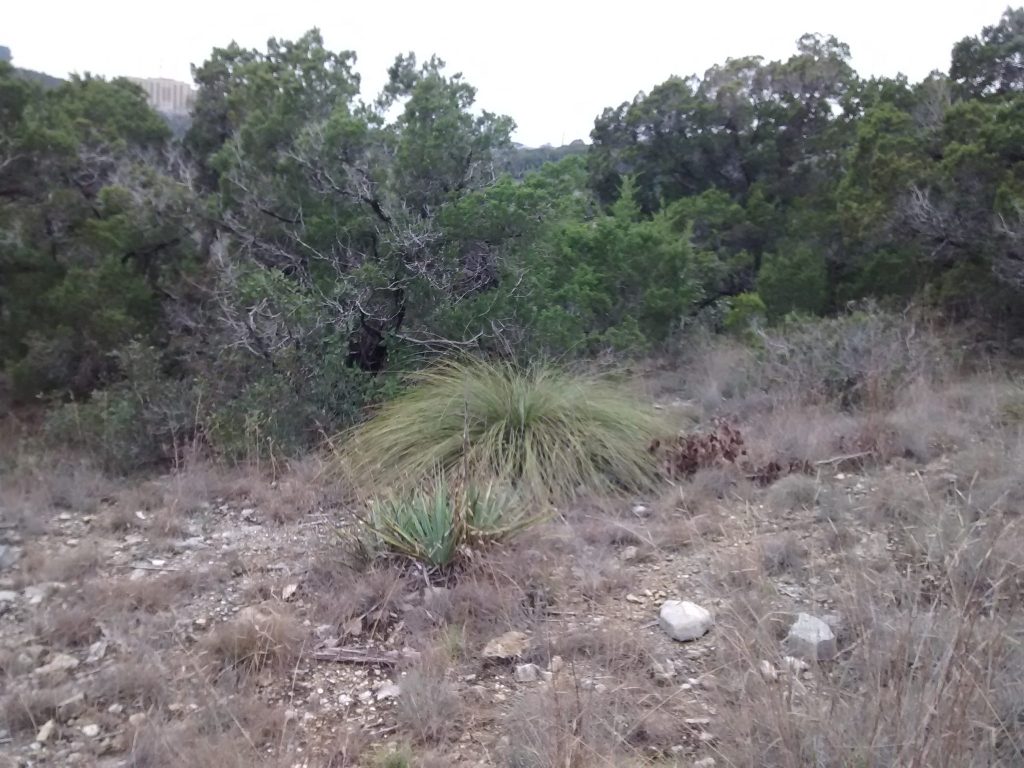
Nolina, which has edible flower stalks and seeds. The leaves have also traditionally been used for making baskets.
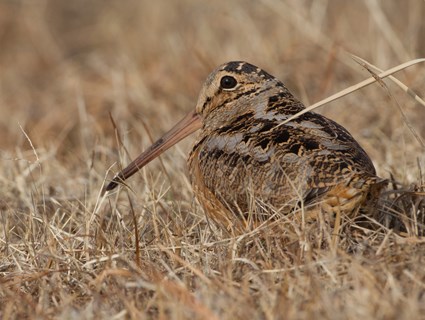
Woodcock, which is a dorky-looking bird (edible and seemingly easy to catch. The one we saw didn’t even fly away, it ran off and not very far). They are not common in Central Texas and difficult to spot even in the best of locations. Lucky!