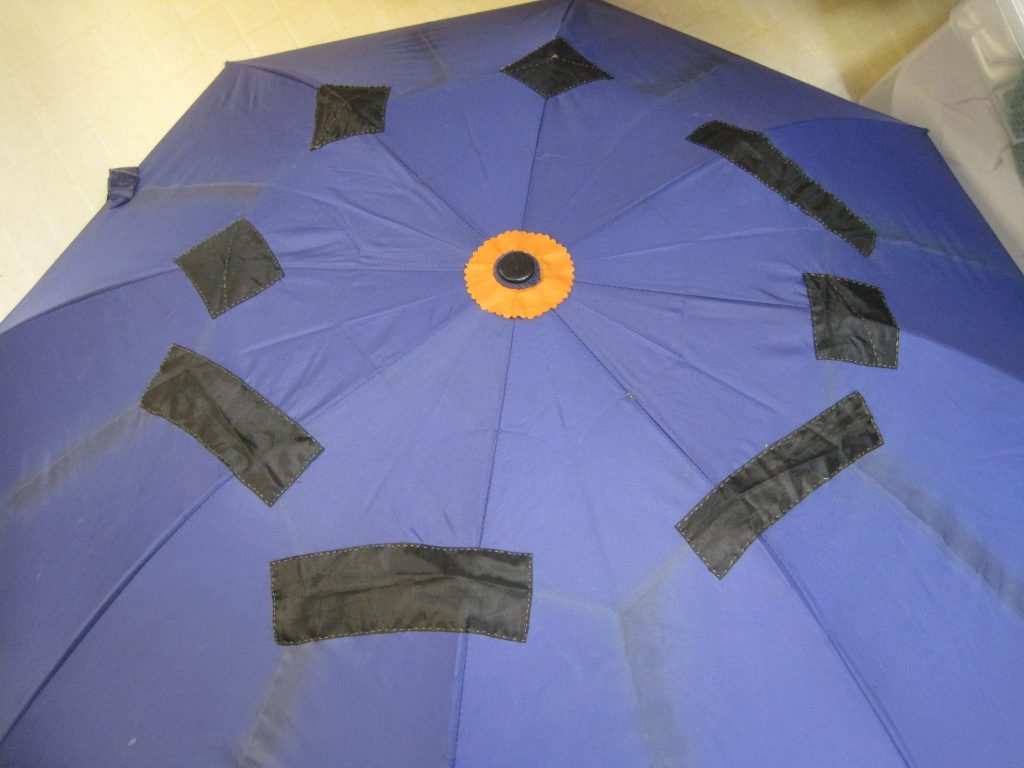
I’ve had my umbrella for a long time. I think I got it in middle school. So the canopy is getting a little worn, especially where the skeleton folds. My first thought was to patch it, but the fabric is unusual. Fortunately, those nylon umbrella sleeves are perfect for cannibalizing. I often find them abandoned on the ground. We also have a ton at home that are never going to be used.
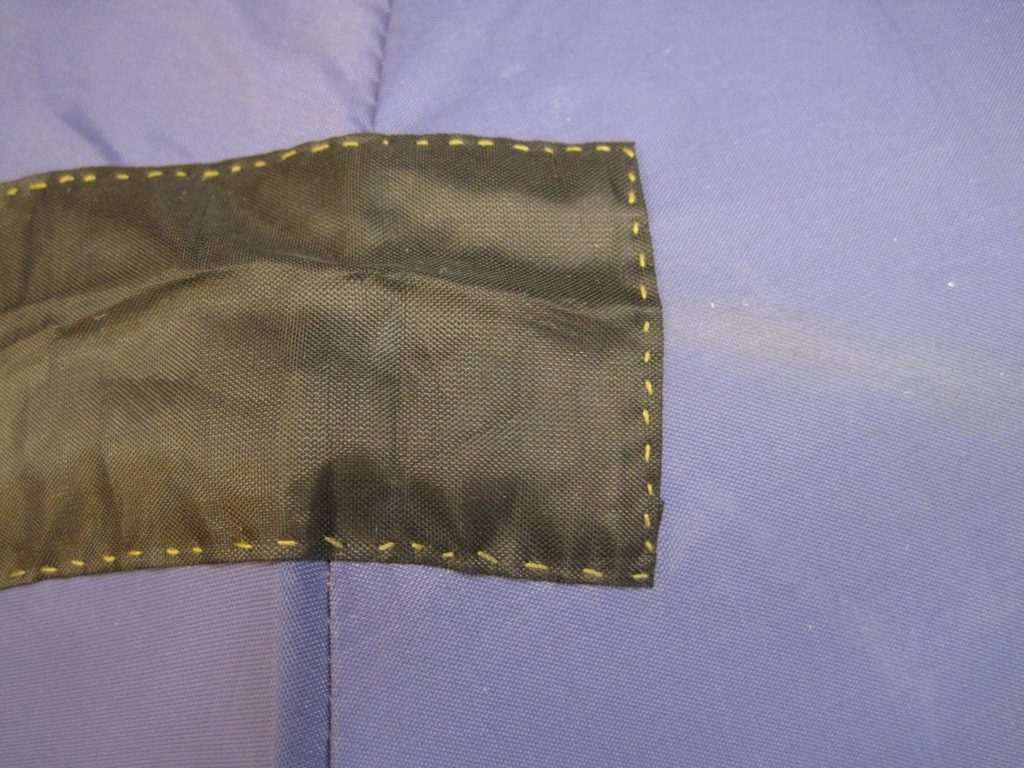
These patches are from an umbrella sleeve I found in Pittsburgh. The orange circle is also an umbrella part I picked up. Okay, my patch placement and shaping were not ideal… Maybe if they were all the same shape, size, and orientation it would work.At least the patches were sewn very neatly! I even hid the raw edge of the fabric.
I intend to keep this umbrella forever, and I have many more, variously colored umbrella sleeves to use (: Hopefully my umbrella looks more purposeful in a few years, once I get a few more patches on.
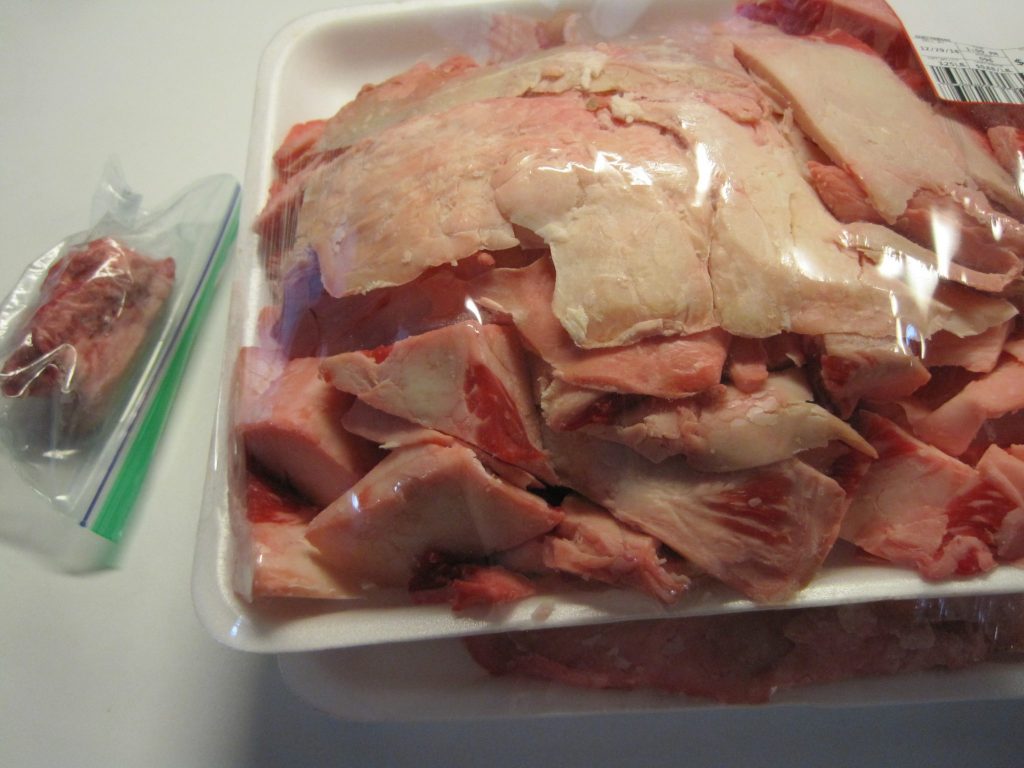
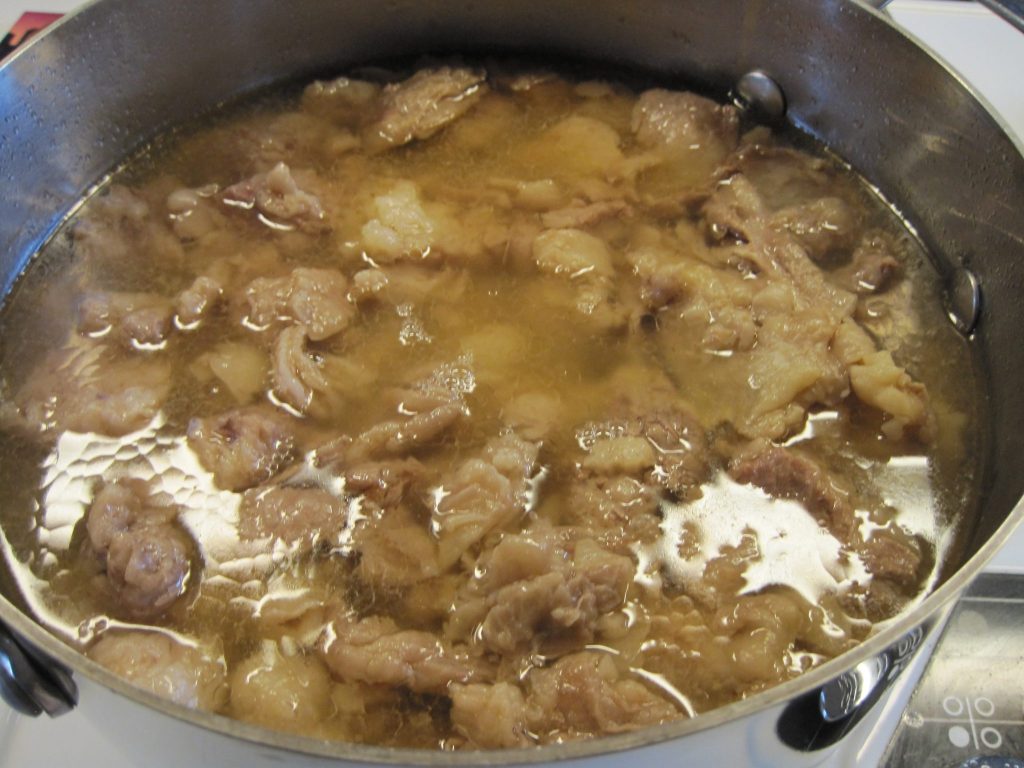
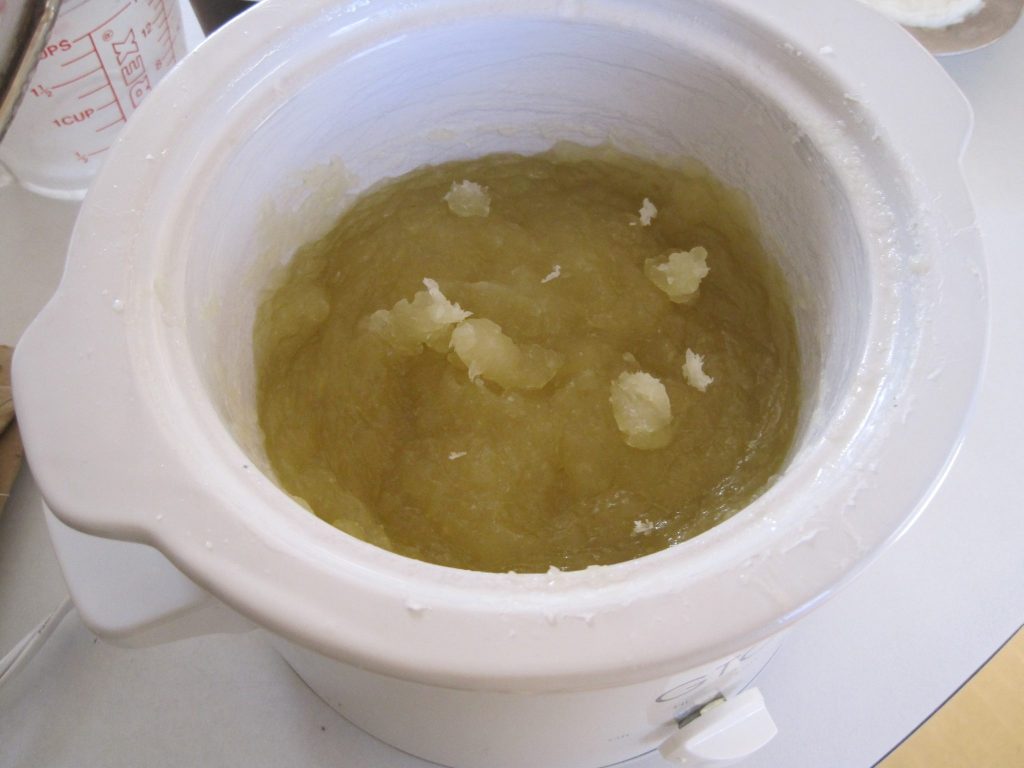
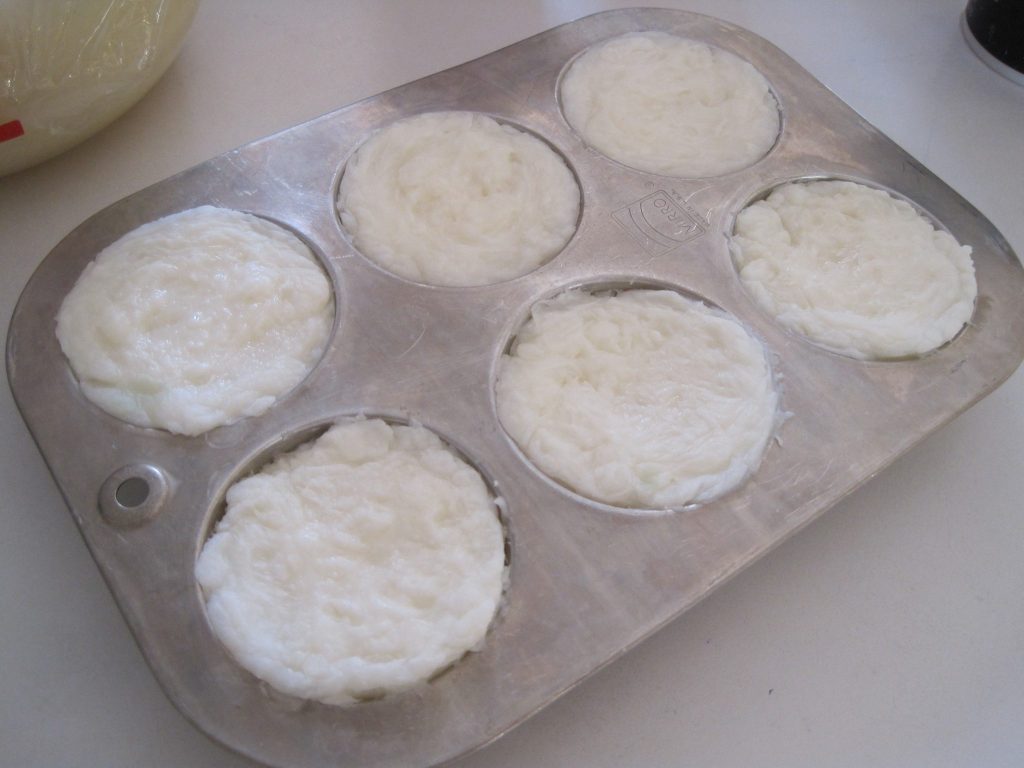
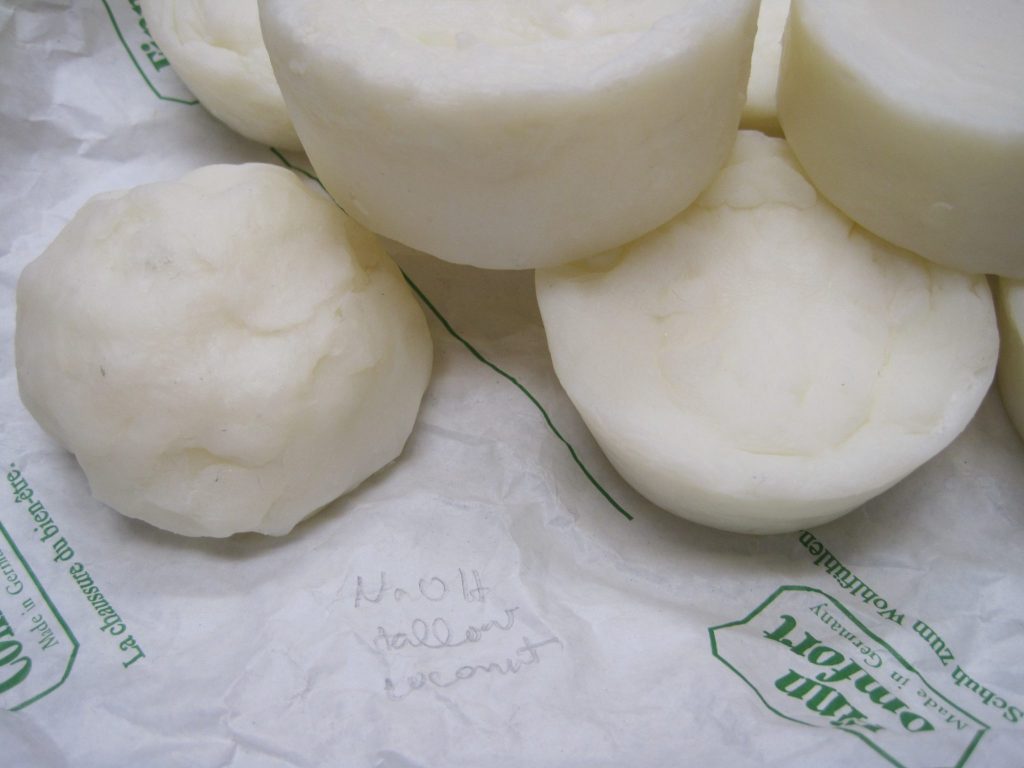
My mom bought me 6.5 pounds of tallow from the butcher for $0.88/lb! Tallow is so cheap (and sometimes free) since it is a byproduct of eating meat; most of the time, it is thrown away. The fat in the little bag to the left was trimmed off of a steak.Then you render it, which takes foreverThen you add lye and other goodies, and mix. The soap in this photo is just about done. I’ve been making hot-process soap using our slow cooker since cold-process can be finicky and requires a lot of mixing.Then you pour it into molds. I variously used a muffin tin and plastic drink cups.
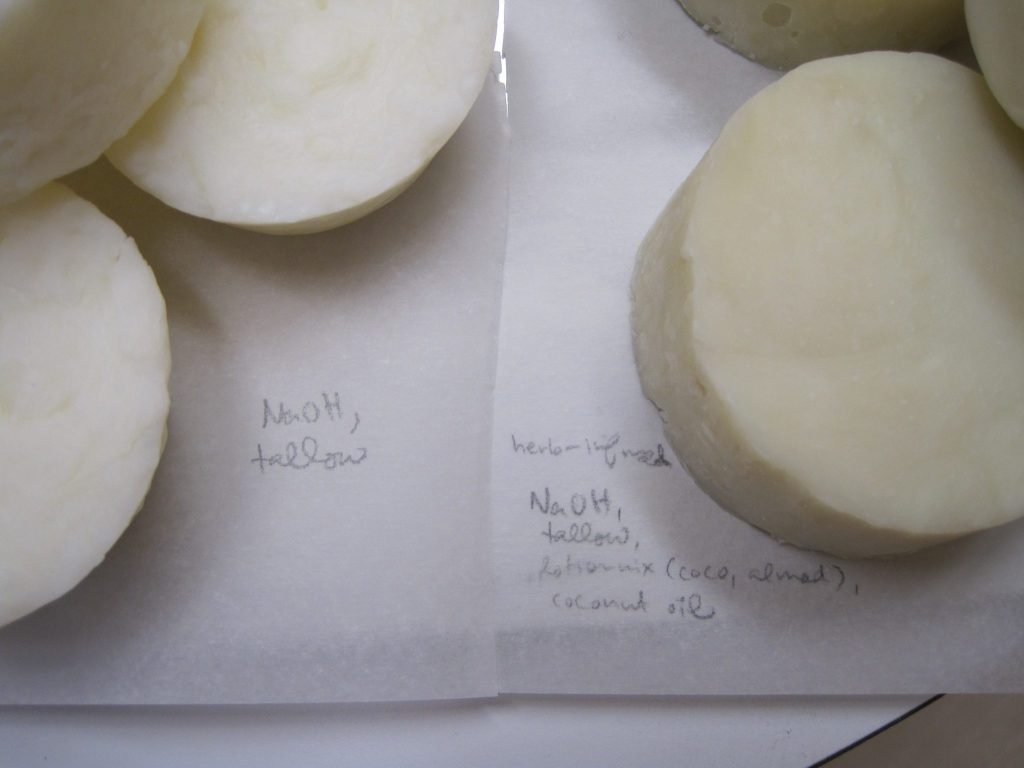
I made four different kinds of soap:
pure tallow: 6 oz water, 2.2 oz NaOH, 16 oz tallow
tallow + coconut oil for more cleansing lather: 6 oz water, 2.3 oz NaOH, 13.1 oz tallow, 2.9 oz coconut oil
tallow + coconut + a mix of oils left over from another project: 6 oz water, 2.3 oz NaOH, 12 oz tallow, 2 oz coconut oil, 2 oz oil mix (coconut and almond oils, beeswax)
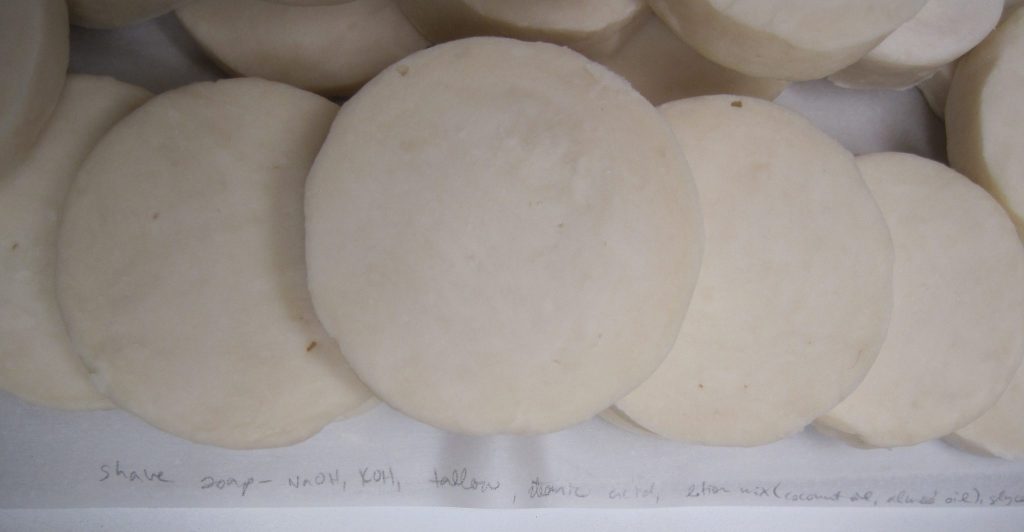
shaving soap (one batch with NaOH and one batch with KOH): 12 oz water, 3.4 oz KOH, 2.3 oz NaOH, 4 oz glycerin, 9.6 oz stearic acid, 20.8 oz tallow, 1.6 oz oil mix (coconut and almond oils, beeswax)
To create the shaving soap, I mixed the NaOH and KOH batches together to get a good texture. Stearic acid is too hard to use NaOH only, but not hard enough to use only KOH, which is meant for creating liquid soap. This is called a dual-lye soap.
One batch of attempted soap boiled over and was lost ): I pre-melted the oils and they got too hot, so that when I added the lye-water, it boiled immediately, forming a lye volcano. Fortunately, no one was injured (except the crock pot, whose paint is a little corroded…).
Hot-process soap is a little gloopy when it’s done, so it can be hard to put into molds. You can mix in additional water to improve pourability, but the soap will have to cure longer to reach the desired hardness.
Curing. Shaving soap in the back. The two front soaps are hair soap for sibling C, but could also be used for general hand and body cleaning.The greenish one on the right was infused with plant materials from our garden (yaupon, rosemary, sage, and lantana). As it turns out, you need a ton of plant matter to do anything.Shaving soap. The glycerin made it a little orange.Tallow + coconut oil soap.
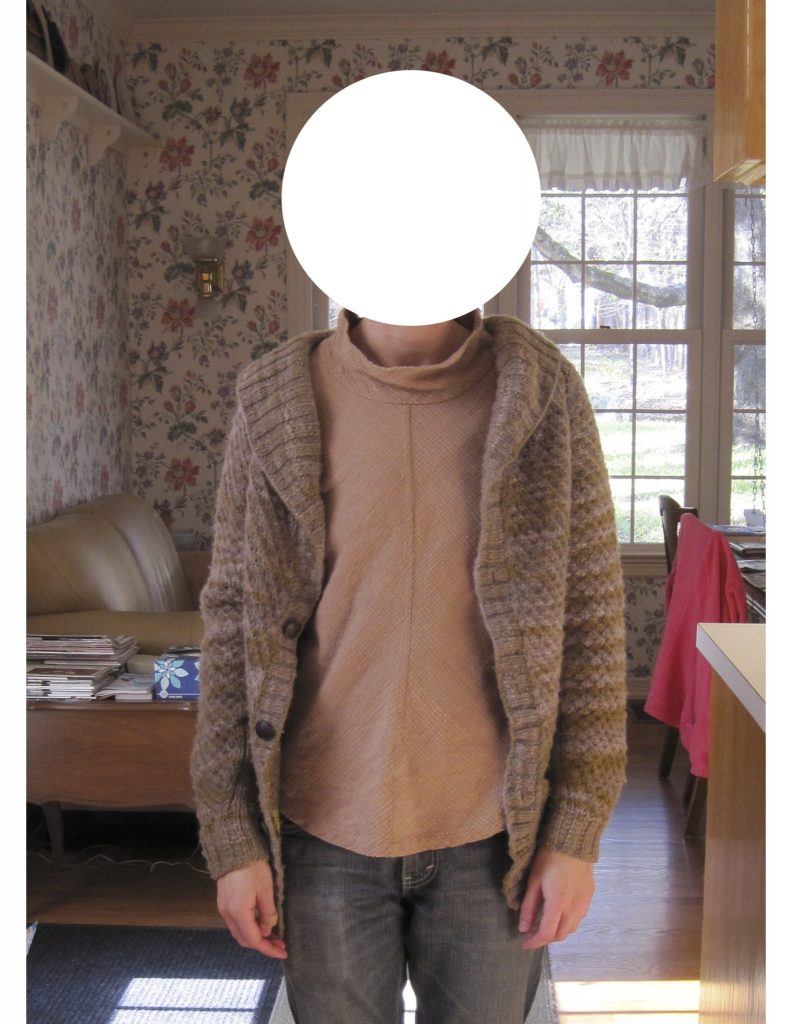
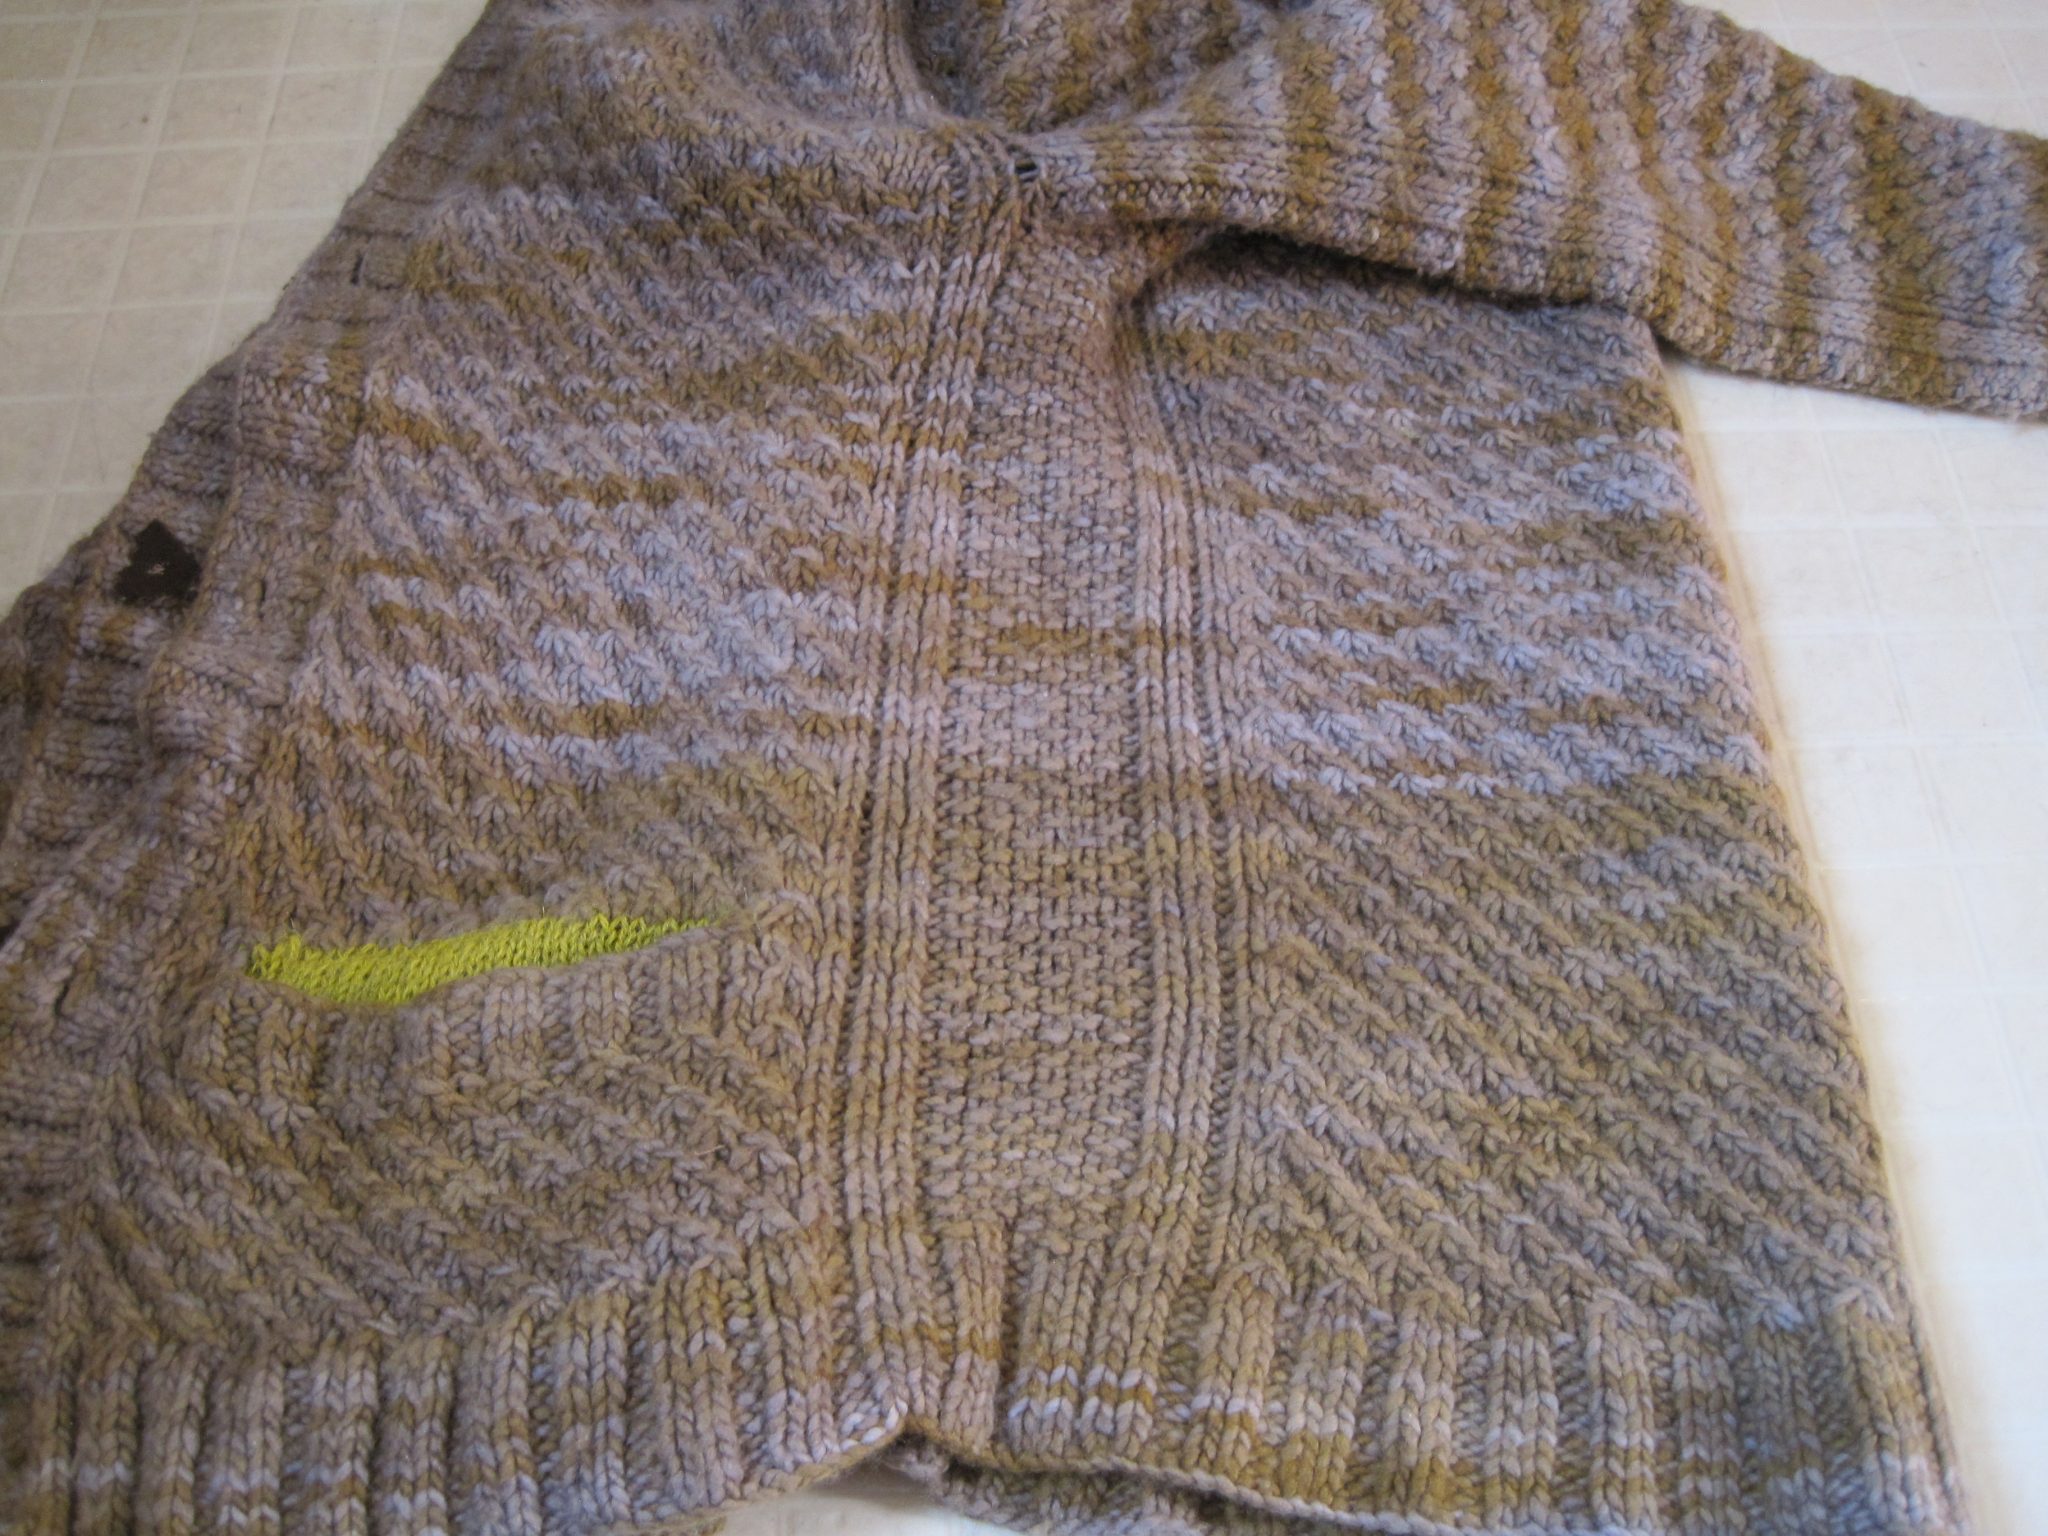
I made a raglan shawl-collar cardigan out of Manos del Uruguay Maxima yarn, in the color “Reindeer”. The yarn is very pleasant to work with, but being made out of single-ply merino wool it wears very poorly and gets very pilly.
I was gifted a whole bunch of skeins of the yarn a few years ago for Christmas with the express purpose of making a sweater. But sweaters need to be durable. Also…
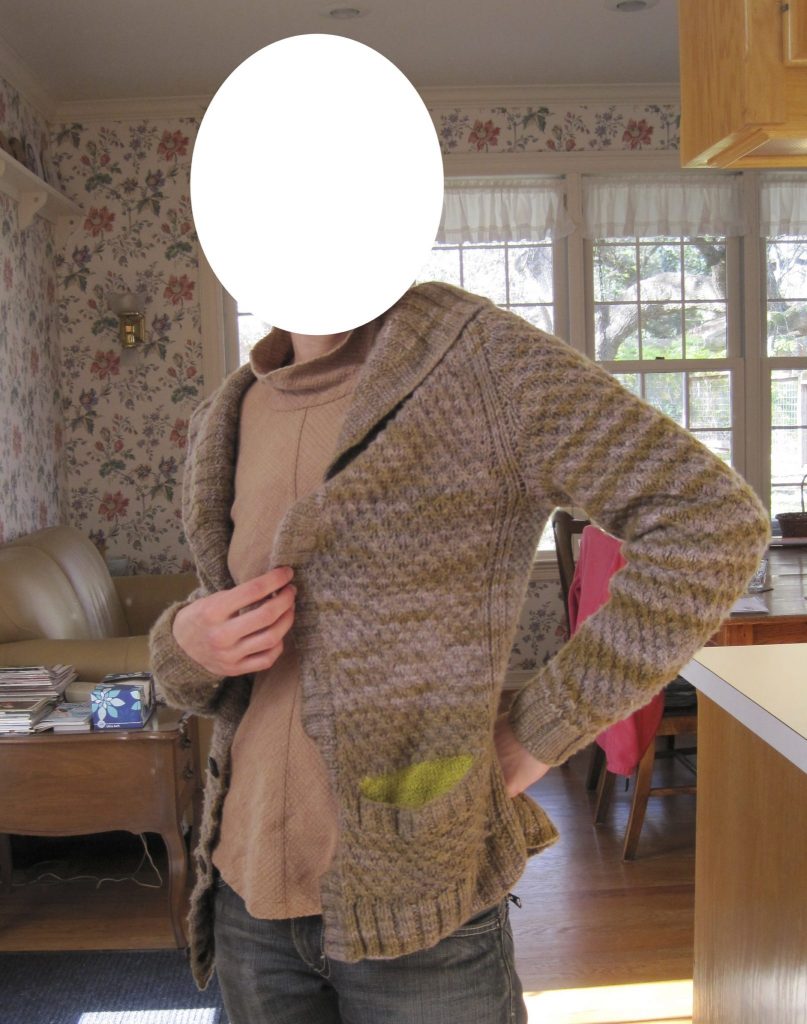
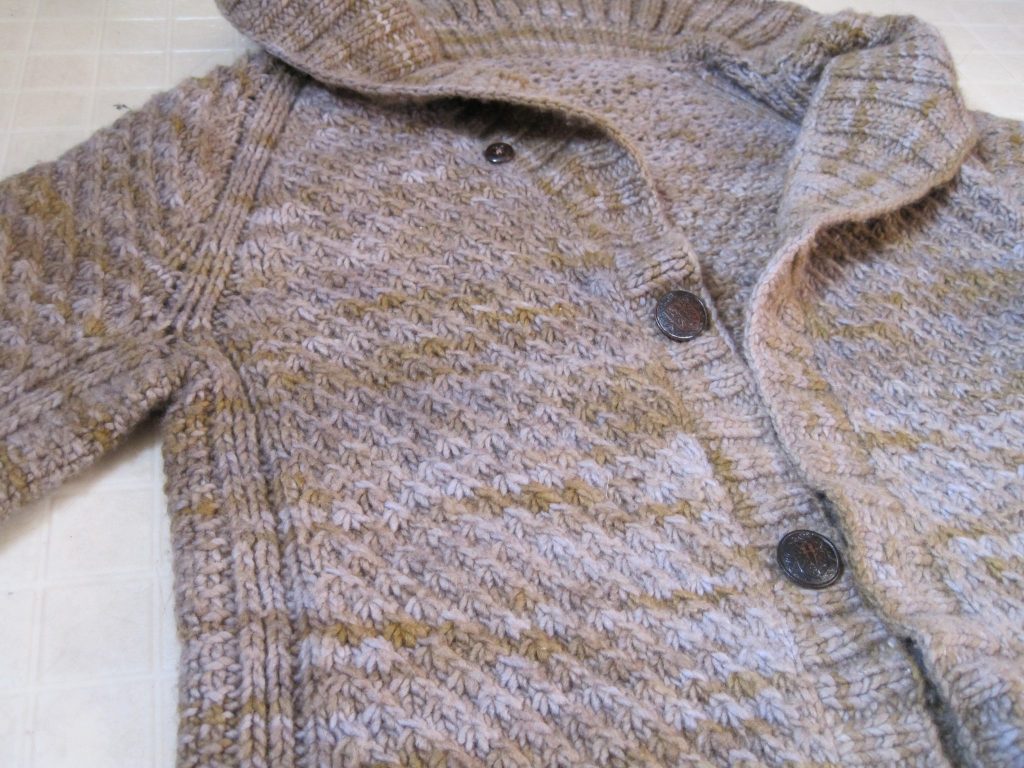
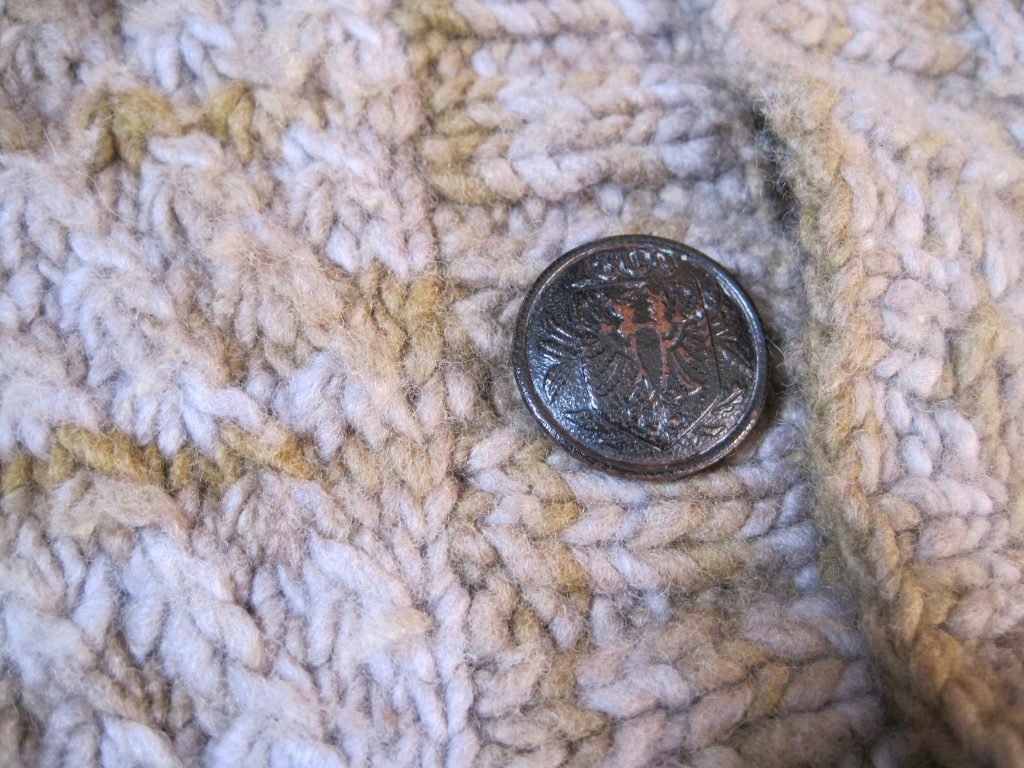
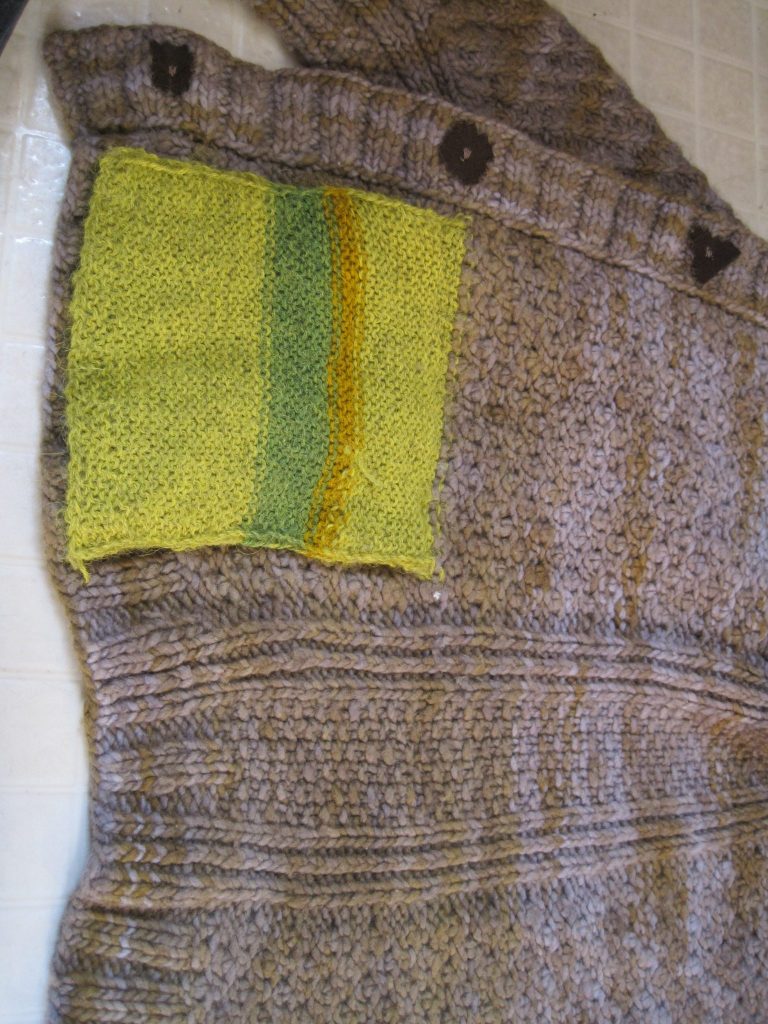
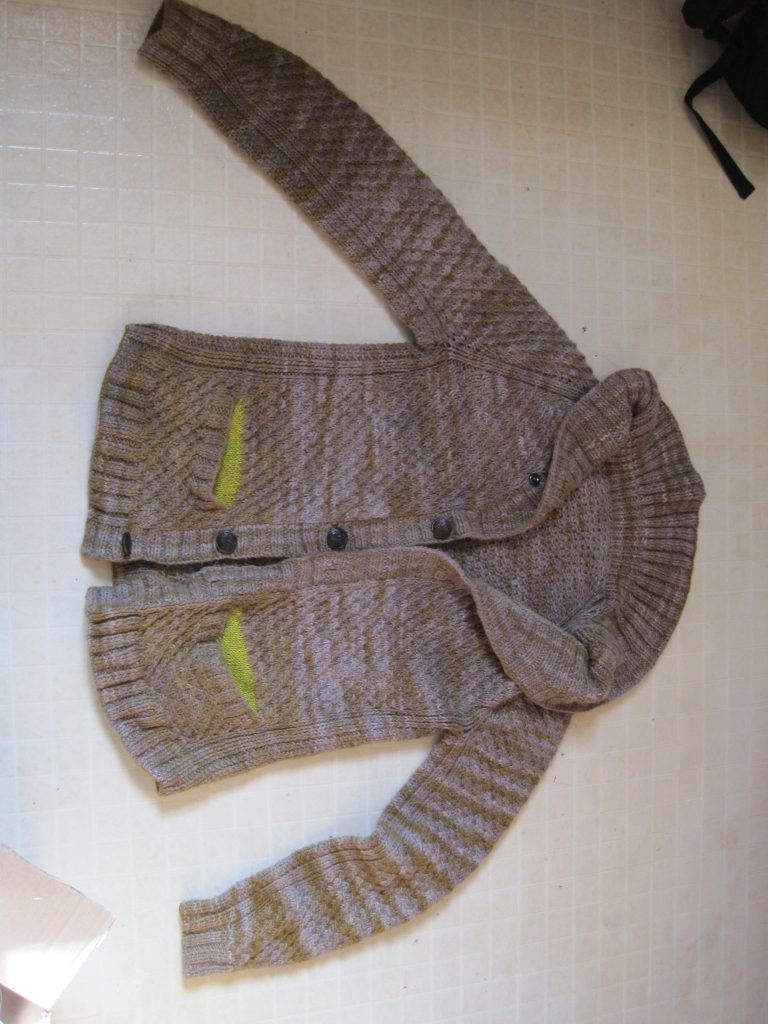
… it came out wonky. The front hangs open when you wear it and it’s not secure on your shoulders. I’m wearing my very nice Usaato shirt in this photo 😀The pockets also gape open. The collar is too floppy and doesn’t sit close enough to the neck.The body uses star stitch. The sleeves use raglan shaping. The front placket and collar use 2×2 ribbing and short-row shaping.The buttons are (real!) leather with a metal shank. They were purchased from Austin Creative Reuse for a dollar. The yarn cost about $100 altogether.Underarm panel of seed stitch.The pockets are knit from ugly green alpaca yarn that I got for free from someone who thought it was too ugly to use. The darker green and gold stripes in the photo were my attempts to overdye the yarn with indigo and turmeric.The sweater was knit back and forth, starting at the bottom. The sleeves were knit in the round down from the yolk. The front placket and collar were knit back and forth from stitches picked up along the edge of the body. The sweater has false seams between what would normally be separate pieces (front panels, back, and sleeves). I knit kpk, then sewed the two knit stitches together to help stabilize the sweater’s shape.
Since fit and material were major problems with the sweater, I decided to take it apart and make new items that would better suit the merino wool.
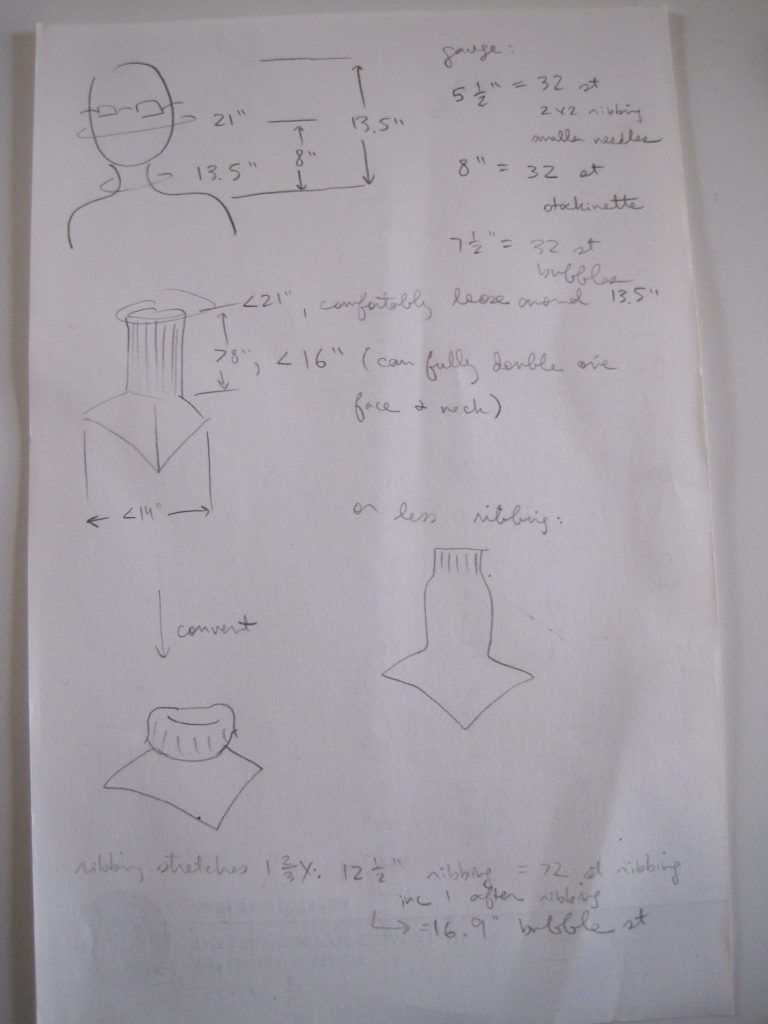
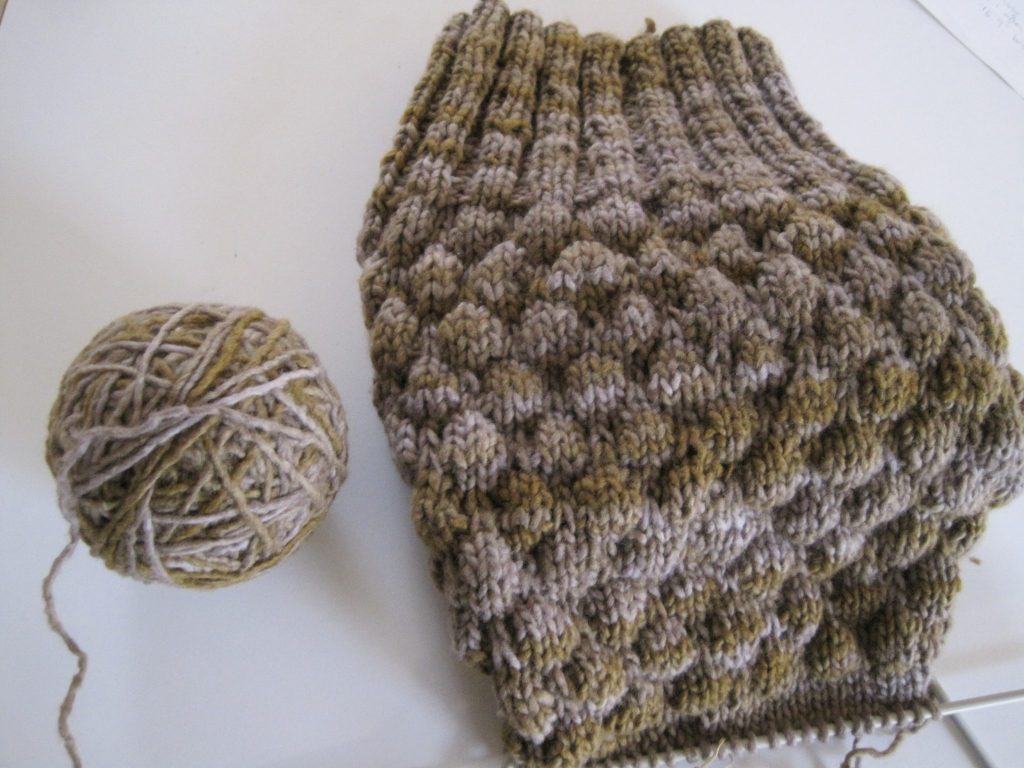
The first item will be a cowl (or a dickie, since it will include some shoulder/chest cover)! My current scarf is kinda itchy and the ends are always in the way or coming unwound.The cowl so far. I’m using bubble stitch, which is currently in vogue. My goal is to create a textured fabric that better traps warm air, similar to how waffle-knit fabric works.
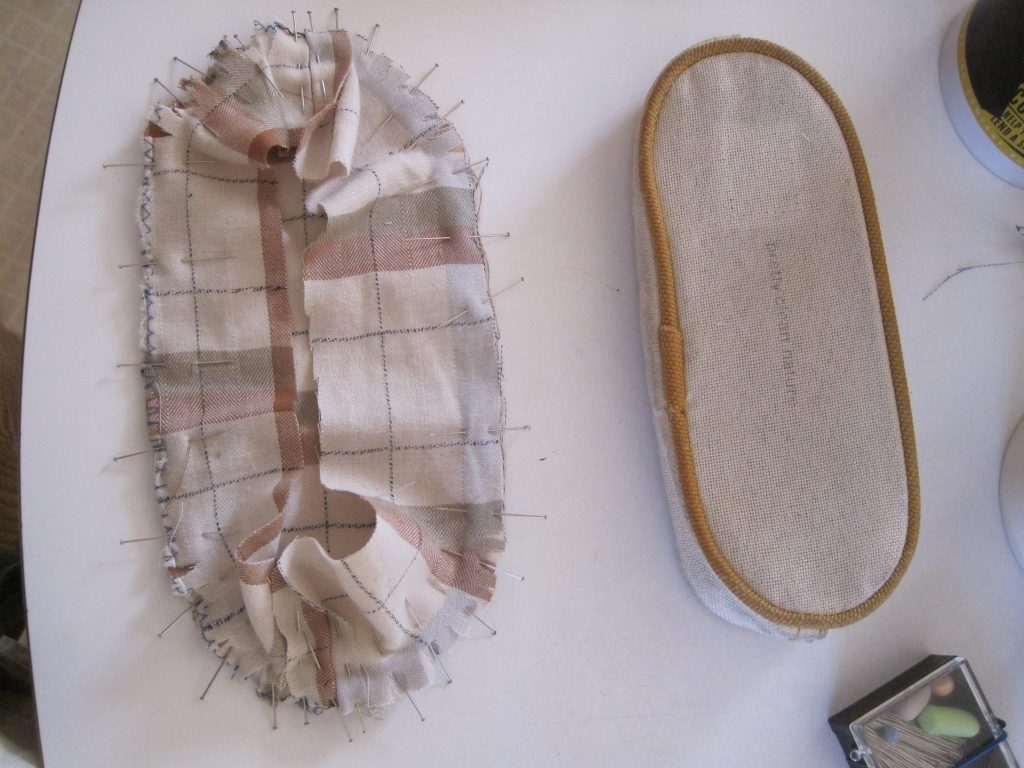
Future projects will include a night cap for sibling C and felted slippers for myself (:
I’m in Austin for the holidays. Most of my time has been spent going to yearly doctor checkups and doing various crafts.
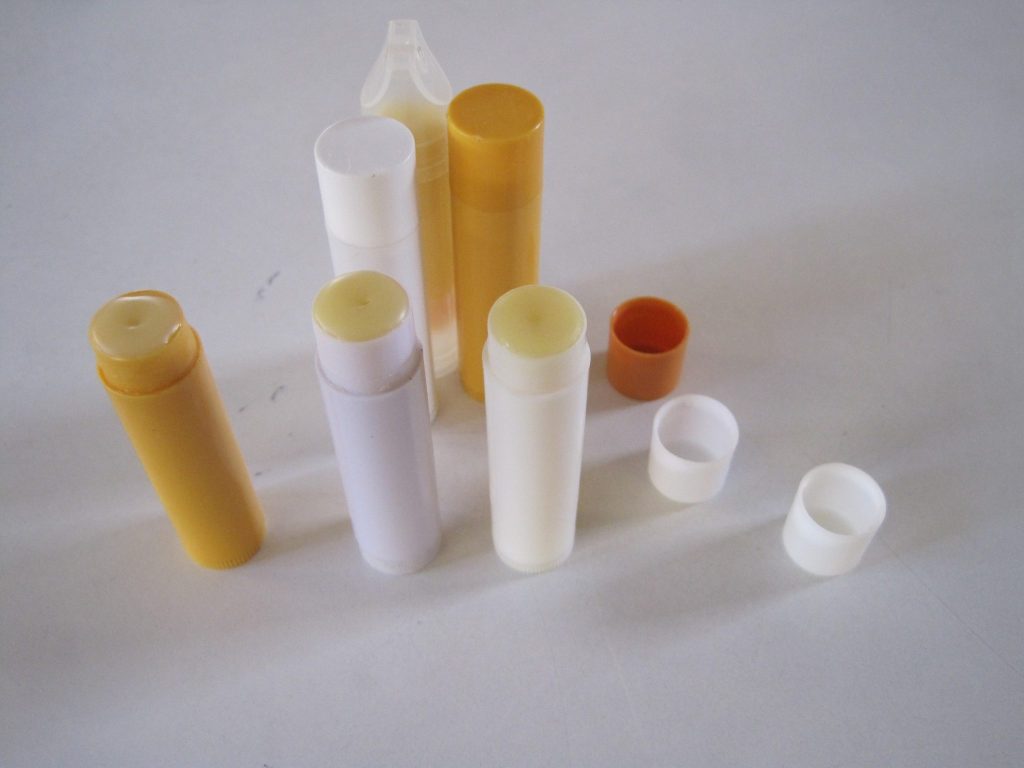
Made more chapstick! I found two chapsticks on campus this year. People seem to shed them all over the place.The vinyl lining of my pencil pouch fell apart, so I sewed a new one from cotton twill I bought from FabMo in Mountain View.
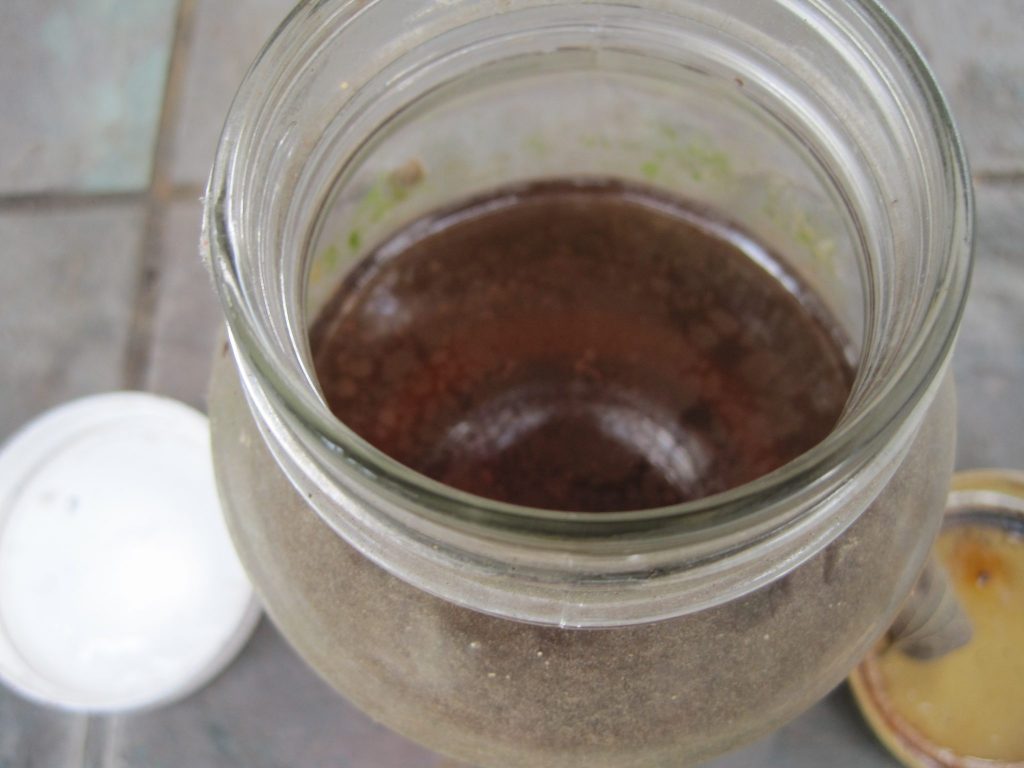
At sibling C’s request, I dyed more socks. The dyes have been sitting outside for a year and the labels have all worn off, so I’m not quite sure what I used.
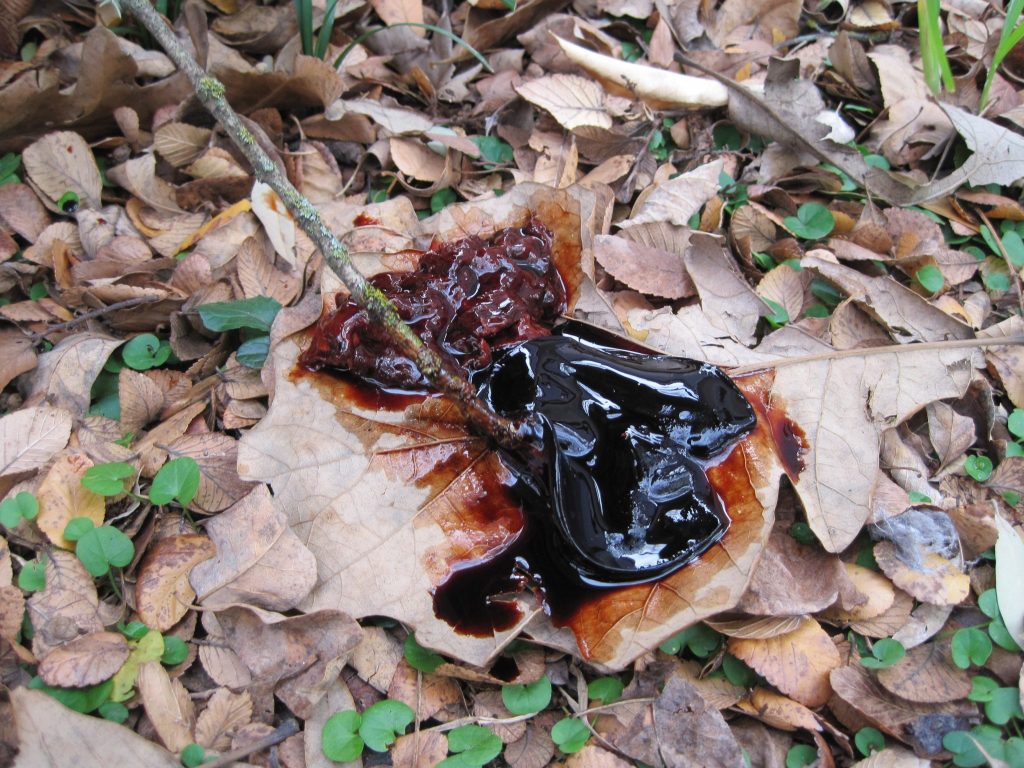
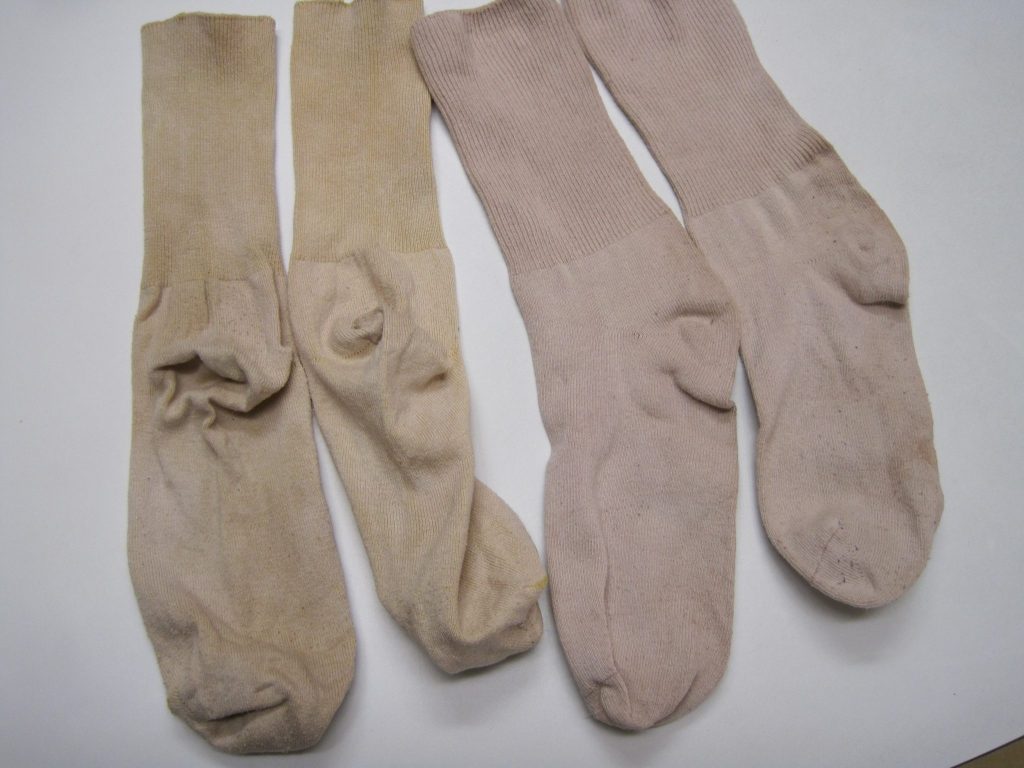
Yellow onion skins?Either avocado skins and pits, or prickly pear fruits (tunas). The dye is a dark maroon-brown color.And we pulled these oddly organ-esque growths out of it. One looks like liver and the other looks like brain. I’m pretty sure both growths are scobies or mothers, symbiotic growths of fungi and bacteria. Specific species appear in the scobies used to make kombucha.The resulting socks (the colors are slightly brighter in real life…). I boiled a pair in each dye for several hours, then left them to sit for a couple days at room temperature. These socks are made of nylon and cotton, neither of which is particularly easy to dye.It looks like onion dye sticks better to nylon than to cotton.
I’d love sibling C to grow some native indigo for me. The only problem is finding plants or seeds. If anyone has a source, let me know!
On sibling C’s socks, I had to redo the bind-off around the cuff. The previous edge was so tight I couldn’t get the sock over my heel! I redid the edge using this bind-off. It works great!
Tonight I washed and blocked the socks, so they should be ready to go tomorrow!
I’ve been without a microwave for a few weeks and it’s been difficult! I like making a lot of food and eating leftovers for a few days afterwards, but not many things heat up well in a pot or skillet. I am of course loathe to buy anything so I was lucky to find a free microwave beside a dorm dumpster. It works! It was even pretty clean inside.
I found the university’s free pile, where you can leave stuff and take stuff as you please. It’s pretty small considering the number of students. Maybe people don’t know about it. I’ve already gotten some good stuff! Handmade doilies, sunscreen, earbuds (they need a little glue, but still).
Currently being washed. I even found a matching pair, several weeks apart.
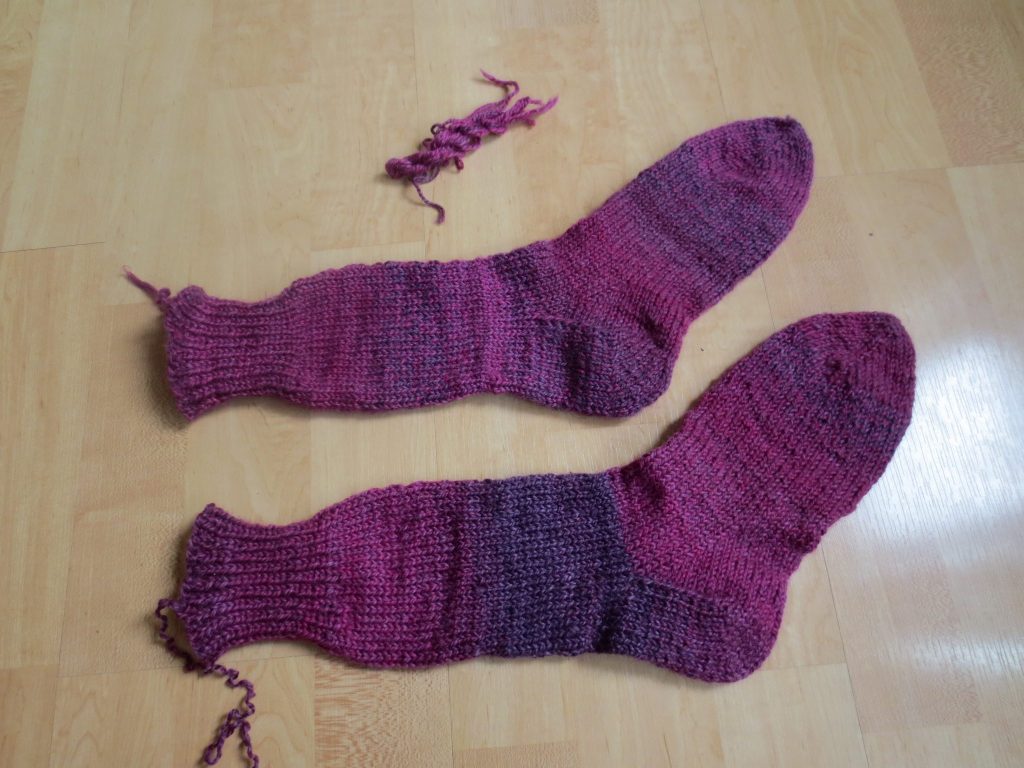
The apartment is a little less neat now. I got started on a craft project, so knitting supplies are (sparsely) strewn around the room. I’m making a pair of socks for sibling C! It’s my first pair of socks and I have to say they’re not as difficult as people make them out to be. Socks are certainly fast to make. The main difficulty is getting the two socks to be the exact same size.
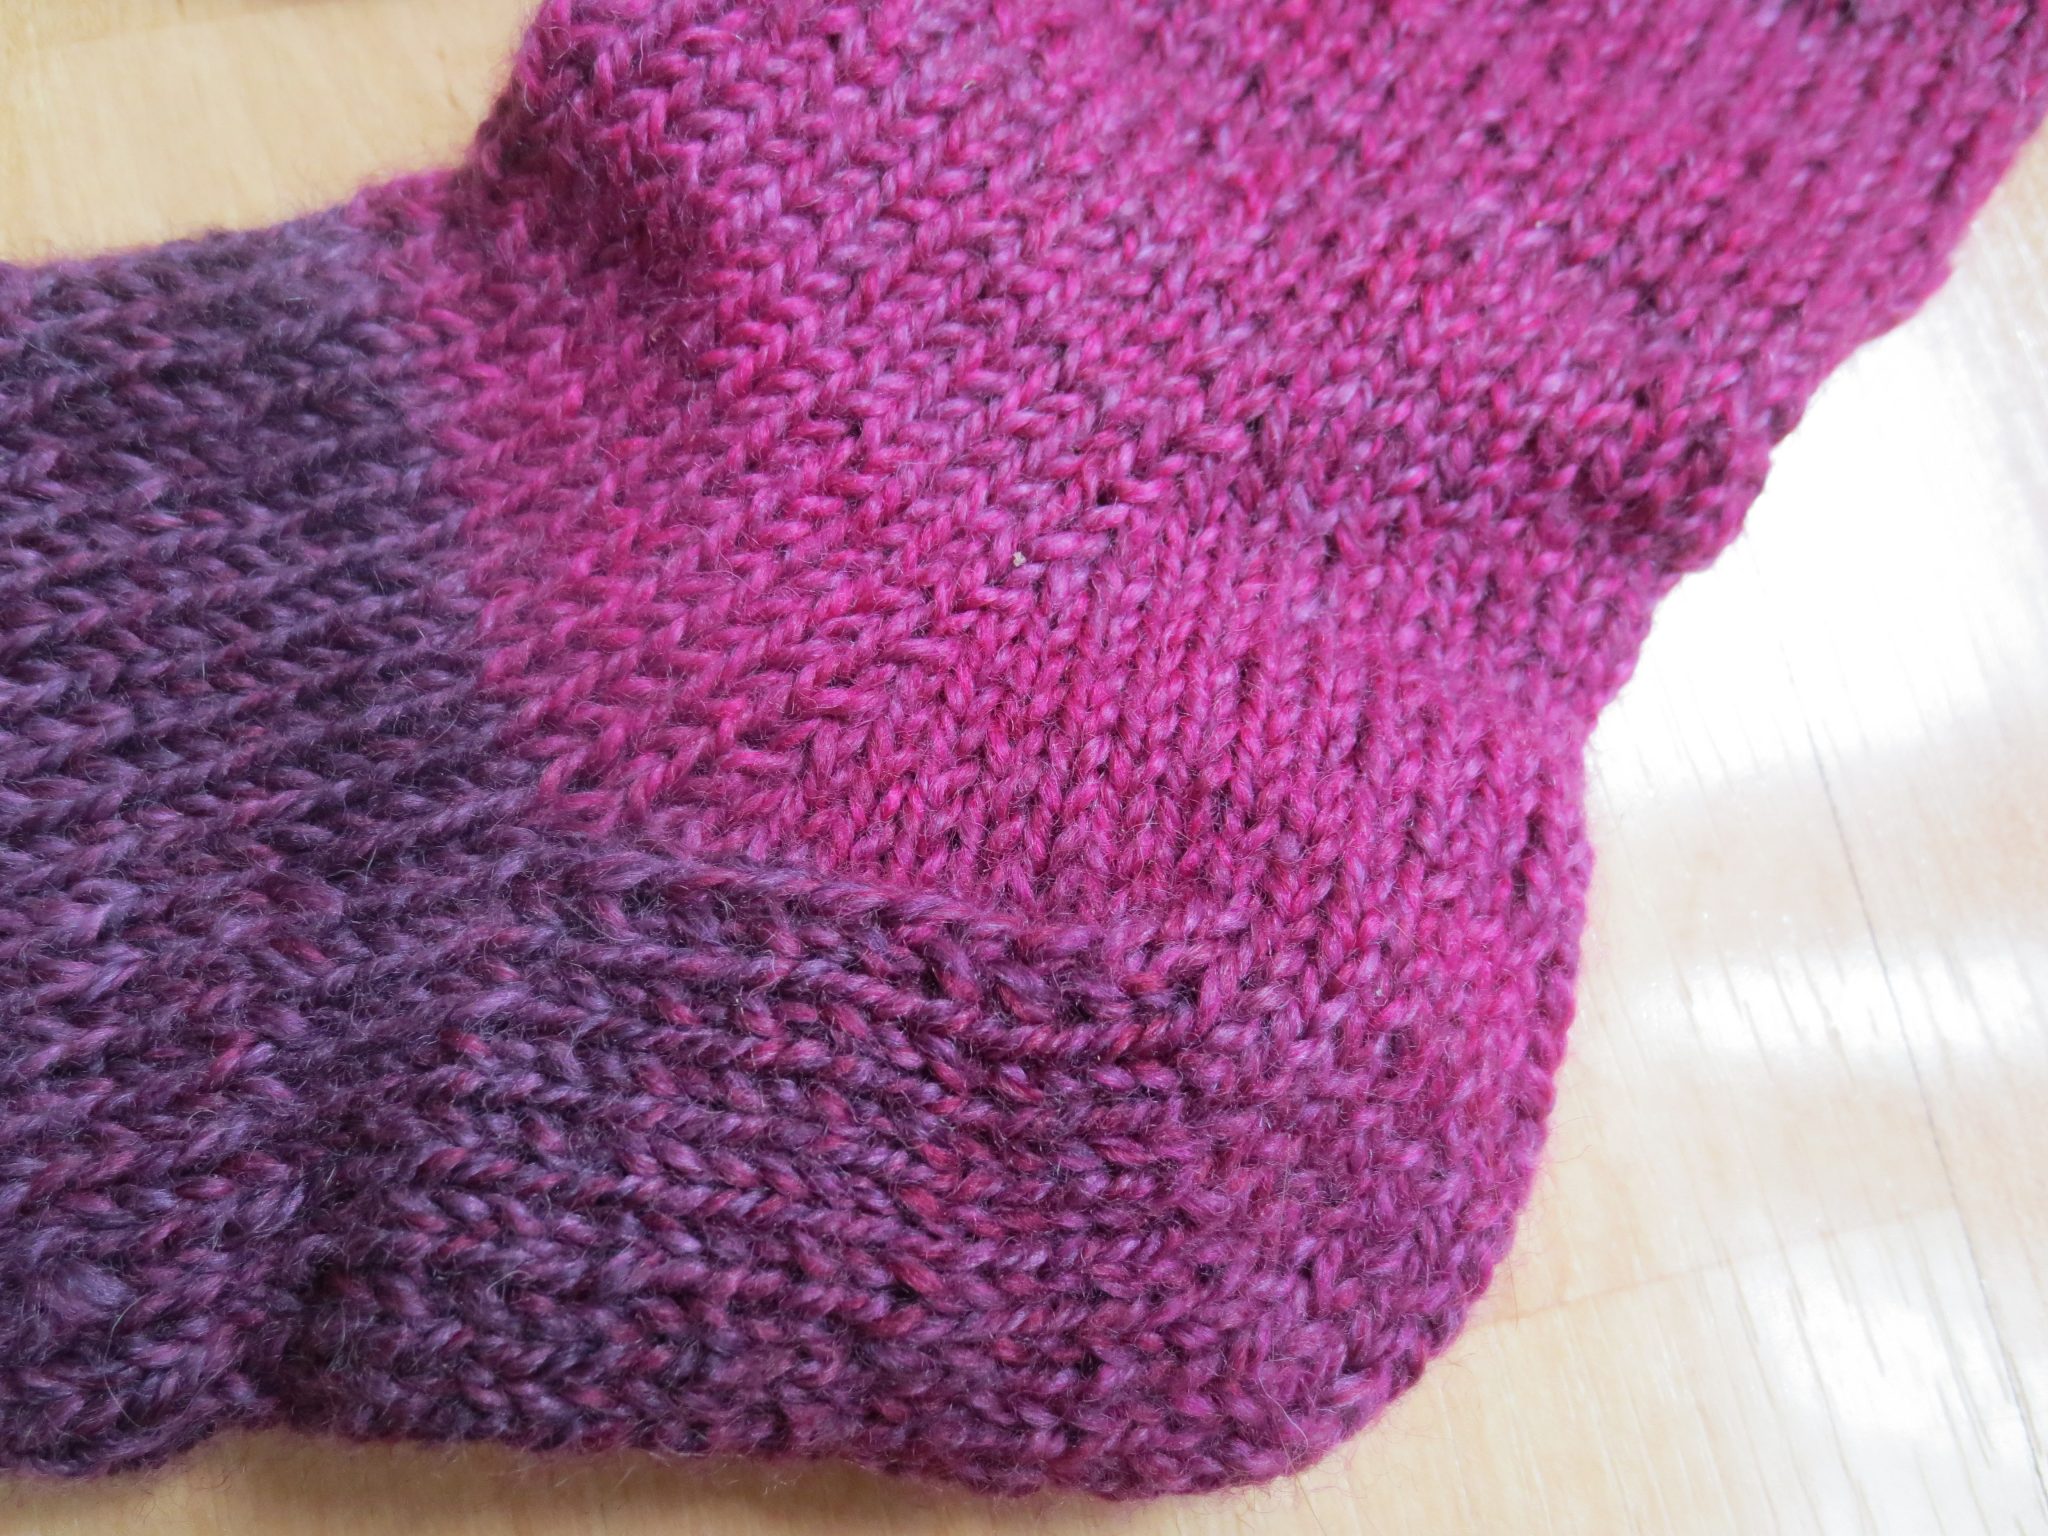
See? The bottom sock is slightly larger (although not so large as it appears in this picture; some of that is from perspective). Usually your gauge relaxes as you knit more, so it’s to be expected. Hopefully the difference in size isn’t noticeable when wearing them. They look like they might also be too big for C’s feet, although they’re too small for mine. The yarn was a freebie from friend S.The heel flap construction.
Sibling C wanted the socks to be around 11″ tall, but I wasn’t sure I would have enough yarn so I knit the socks toe up using these instructions, with some modifications due to differences in gauge (see sock calculations). I used the Middle Eastern cast-on, gusset-heel flap for the heel, and bound off in pattern using 1×1 ribbing. If the cuff isn’t stretchy enough, I’ll have to use a different bind off.
My goal this year living alone is to produce as little trash (meaning stuff that isn’t recyclable or compostable) as possible. I’m doing well so far. I scouted out a few compost bins in the area, so I don’t need to pay for the local compost service, Shadyside Worms. It costs $20/month which, while reasonable, provides much more service than I need. They pick up 5 gallons of compost every week; I produce maybe a half gallon on a cooking-heavy week.
There are a number of bulk stores in the area, so I’m all set on that front.
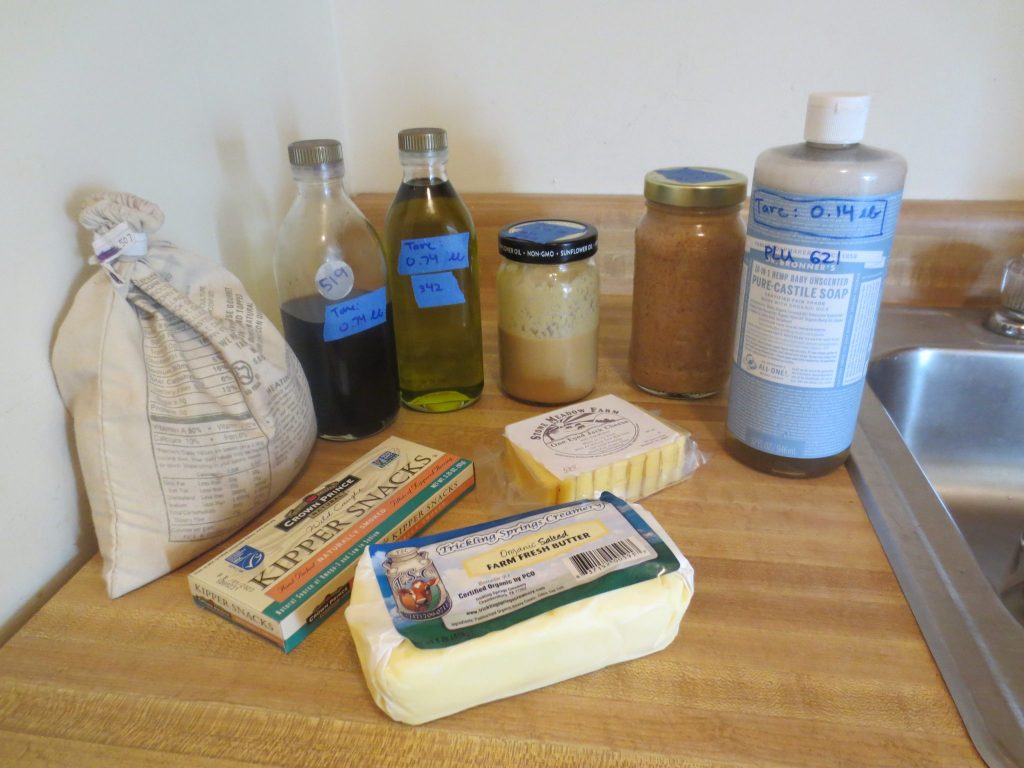
My first bulk haul. From left to right, bread flour, soy sauce, olive oil (Mediterranean, unfortunately), tahini, almond butter, castile soap, kipper snacks (bad! don’t buy that brand), local cheese (also bad, it was really bitter, like it was going bad even when it was fresh), and local butter (in compostable paper).
I picked up a few more kitchen items from Goodwill: a non-aluminum pot for tomato sauce (I only brought an aluminum one with me), a wooden cutting board, glass jars for food storage, and a mesh strainer. Goodwill has 25% Tuesdays for students 😀
Since J and I only have one chef’s knife, I was planning on buying a new-to-me knife for using here. J wanted a cleaver to make processing meat easier, so it seemed like a good idea to get a cleaver to use as my everyday knife. Before committing to a purchase on eBay, I “shopped” my parents’ house for knives. I turned up a couple of really dull, low-quality cleavers that didn’t seem worth salvaging. I sharpened one anyway and it’s been pretty good! A bit uncomfortable to hold, but good enough for a year.
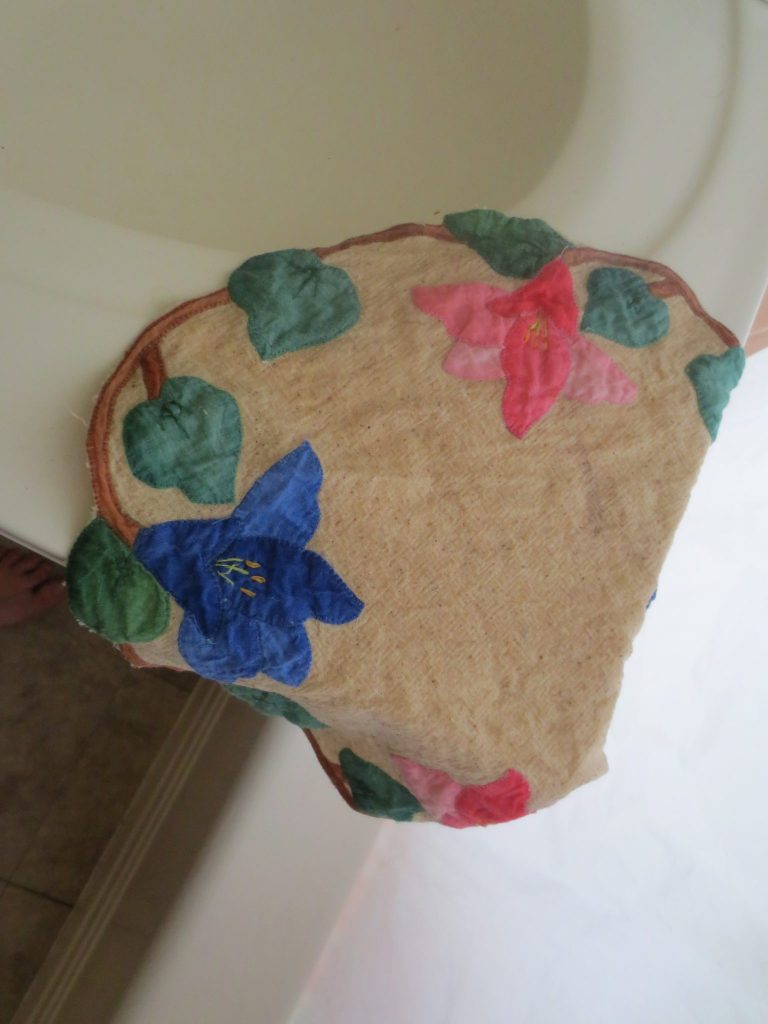
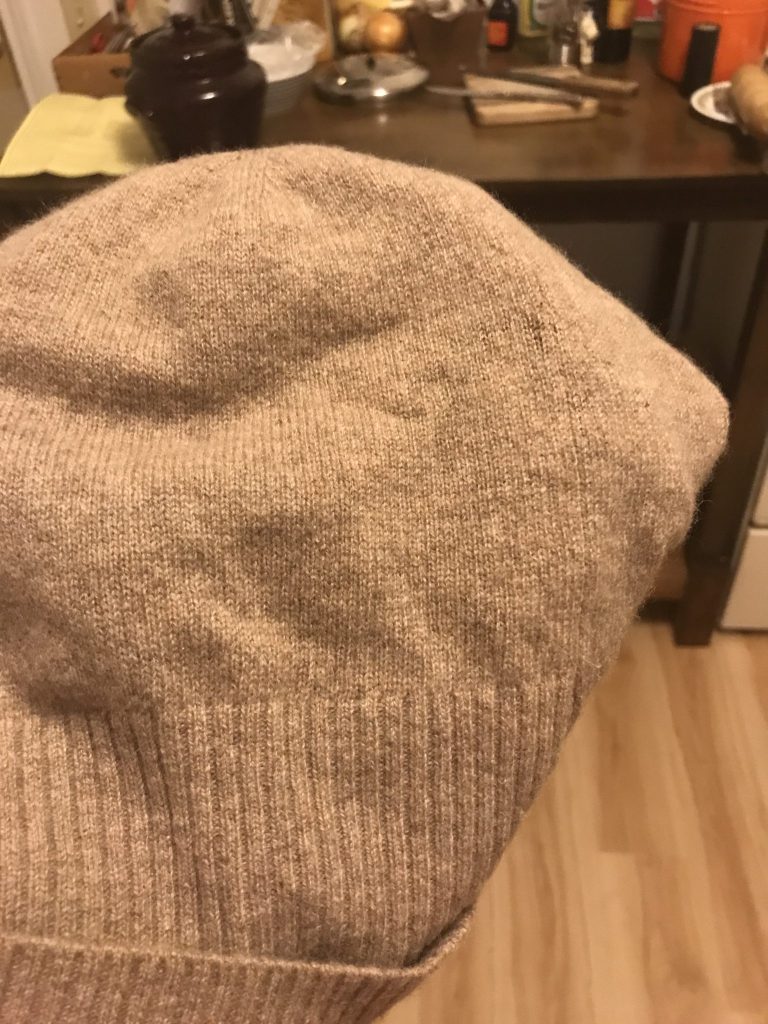
Sibling C got a holey cashmere hat from a friend who didn’t like it enough to want to repair it.
The hat in question. The crock on the counter in the background contains recently made miso! Now it just has to age for a year before it’s ready to eat 🙂
C wanted to repair it, but didn’t have darning yarn in the right color. So… I spun some for her!
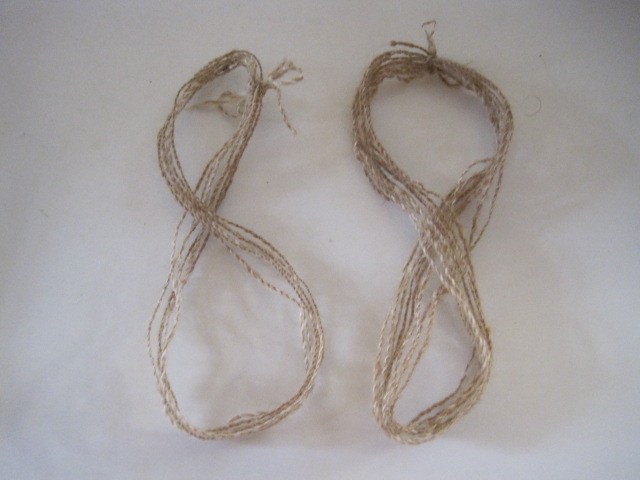
The finished yarn, my drop spindle, camel hair, and white/light gray Shetland wool. The yarn is worsted-spun so that the fibers are aligned. This makes the yarn stronger, shinier, and less prone to pilling. I combed together camel hair and wool to make a lighter tan color.Two tiny skeins of yarn! It’s about 18 ft in all.
The day after the park walk, C and I went to San Francisco via the Caltrain, of course.
First we went to Rainbow Grocery to check out the bulk selection. We were actually too starved to shop, so first we ate our picnic lunch on the bench in front of the store.
Then we went to Cookin’, a mid-century-European-cookware thrift store.
(stand for food mill, wok spatula)
Cookin’ was very impressive! They have a large selection of very niche items – not just one canning food mill, but 5! – and a large selection of vintage and non-electric cookware (e.g. hand-crank egg beater). The store is organized by type, so that all the wooden cooking spoons are together within the larger implement section, the copper pots are together within the larger pots and pans section, etc. Not everything is displayed, so ask if you’re looking for something specific.
I bought a canning food mill stand, which I haven’t even been able to find on eBay. C bought a wok spatula, which she’s been looking for at thrift stores for ages.
Cookin’ is kind of expensive, but the prices are worth it for those hard-to-find items. The prices for popular items (vintage Le Creuset) are on-par with eBay, but the low demand items seem too expensive (worn plastic spatulas for $0.75). The store specializes in European cookware, so you won’t find a lot of specialty Asian items, e.g. (although C did get to choose between 3 different wok spatulas).
Darning eggs are used to stretch knit fabrics to make them easier to repair.
Oddly, they were selling darning eggs as pestles. They do look a bit like wooden pestles (see canning food mill picture above), but the owner obviously doesn’t do crafts. At least I know where to find darning eggs now 🙂
As some reviewers note on Yelp, the shop is like a display of the owner’s personal collection of cookware. The inside is an organized hoard – leave large bags and hats at home to avoid accidents! Enjoy!


 (stand for food mill, wok spatula)
