Getting some tomatoes at my community garden plot!
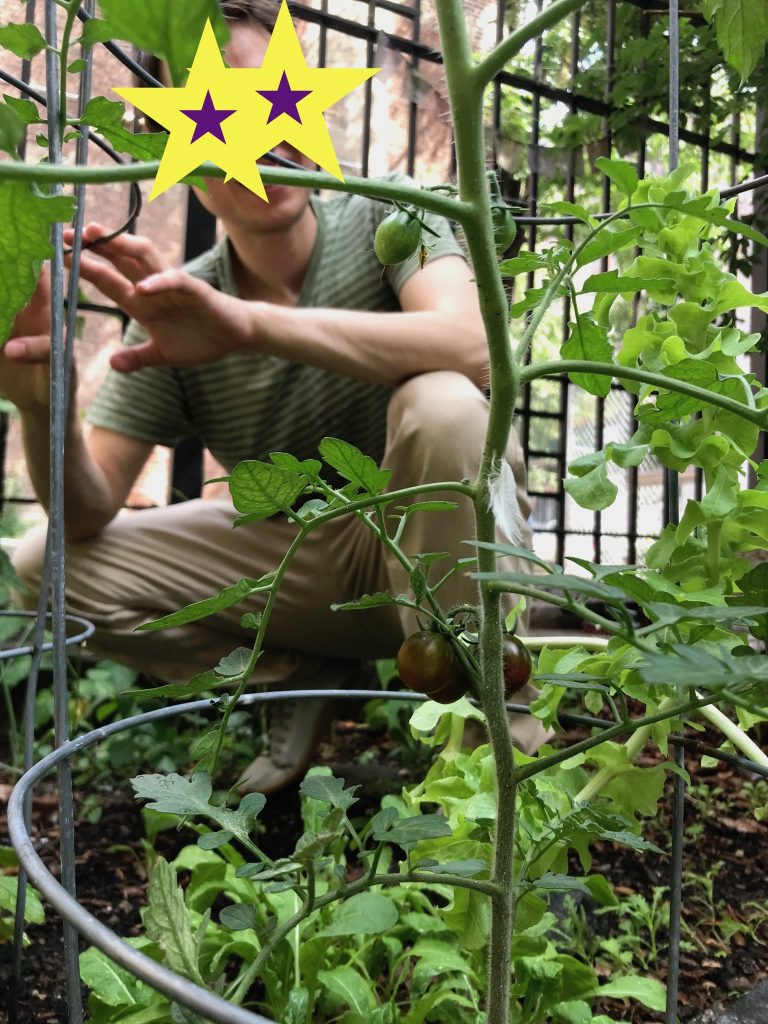
I also have a Cherokee purple tomato developing

Food, sustainablity, and some other stuff
Getting some tomatoes at my community garden plot!
I also have a Cherokee purple tomato developing
We made a vegetarian version of da pan ji (chicken-potato dish) with homemade noodles! The noodle recipe is from an Asian noodle cookbook from the library, This is a book about noodles by Brendan Pang.
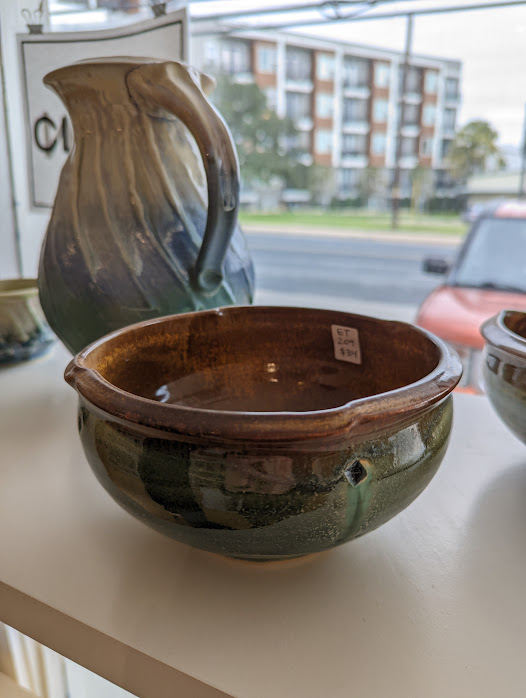
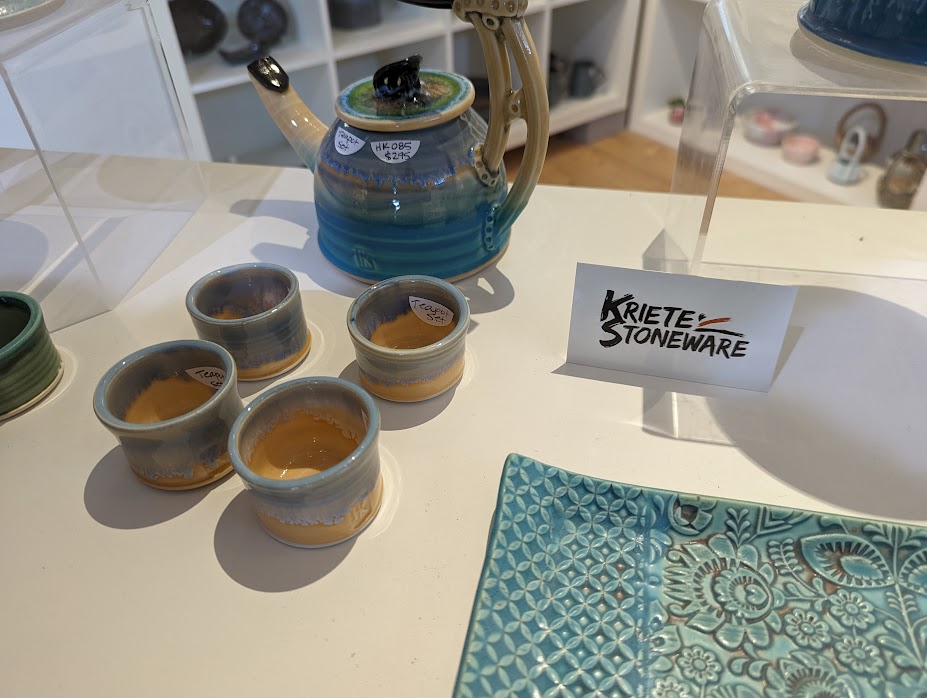
While visiting my parents in Austin for Thanksgiving, J and I went to a local pottery studio and gallery.
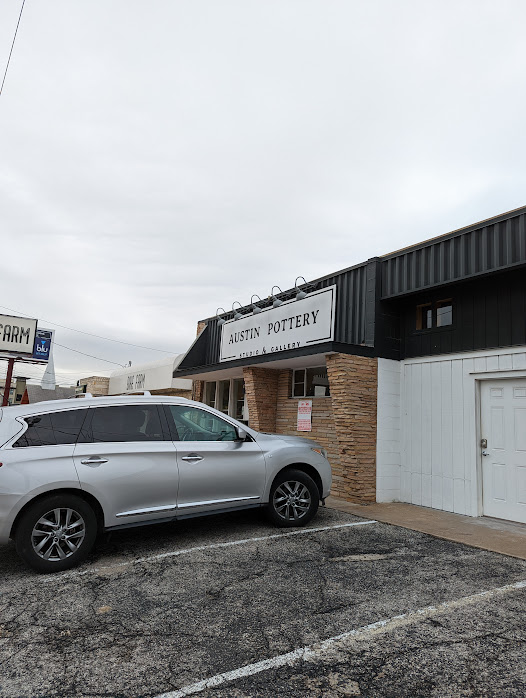
Compared to New York stores, the studio was shockingly large inside, like a small warehouse.
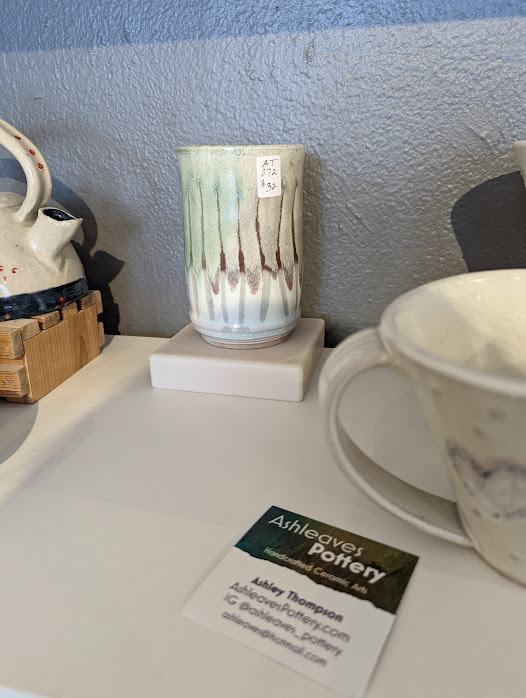
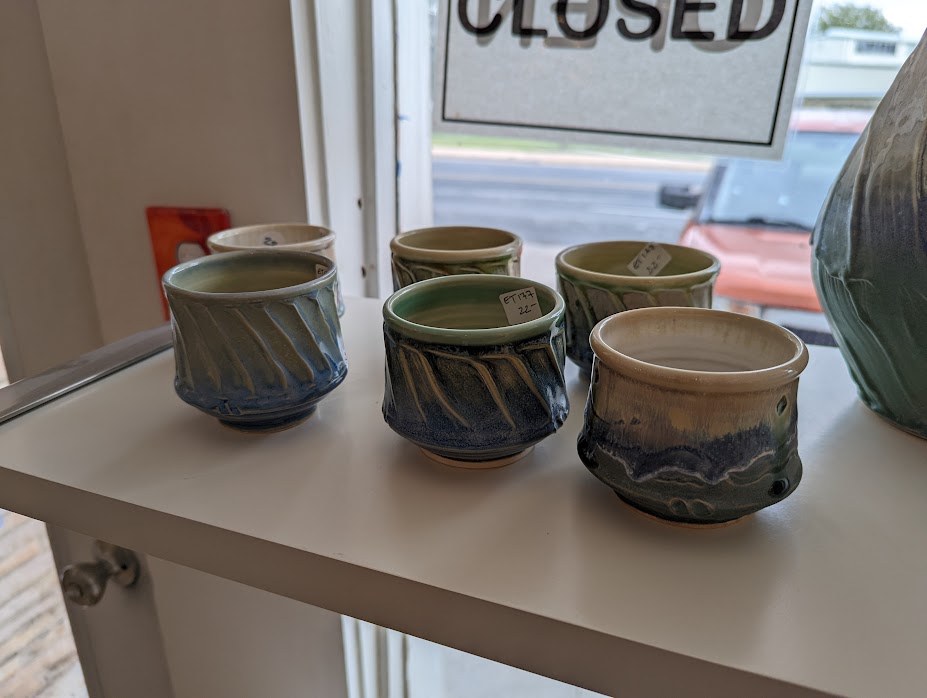
There was quite the variety of ceramic items at the store, decorative, useful, and both. I liked the following items.
I found a great new pizza dough recipe.
Usually my homemade pizza dough is low on flavor, so a master-bread-baker friend recommended using some sort of pre-ferment (discussion of different types). I found an online recipe linked in the preferment article. The author seemed to know what they were talking about and it turned out super well!
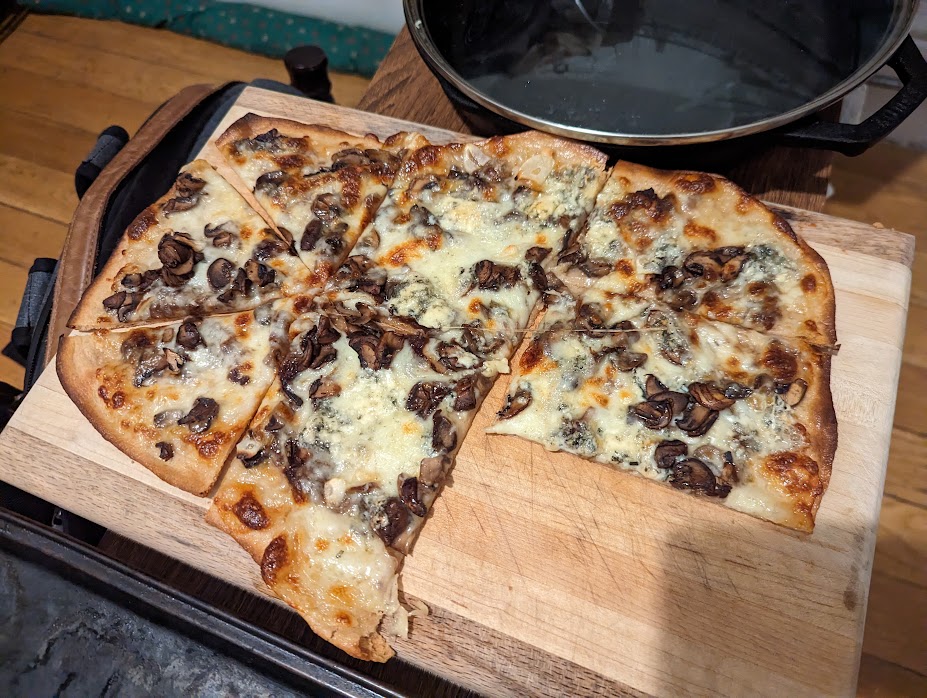
If using a pizza stone (highly recommended), preheat the oven and stone 45 min before you baking the pizzas. The oven should be set to it’s highest temperature (around 550-600°F).
If you don’t have a pizza stone, I have a workaround that seems to work well.
Right before you want to bake the pizzas, when you start preheating the oven, heat a large cast iron skillet on the stove until very hot. Put it in the oven upside down. The thick bottom will act similarly to a pizza stone, but heating it on the stove is faster than heating in the oven.
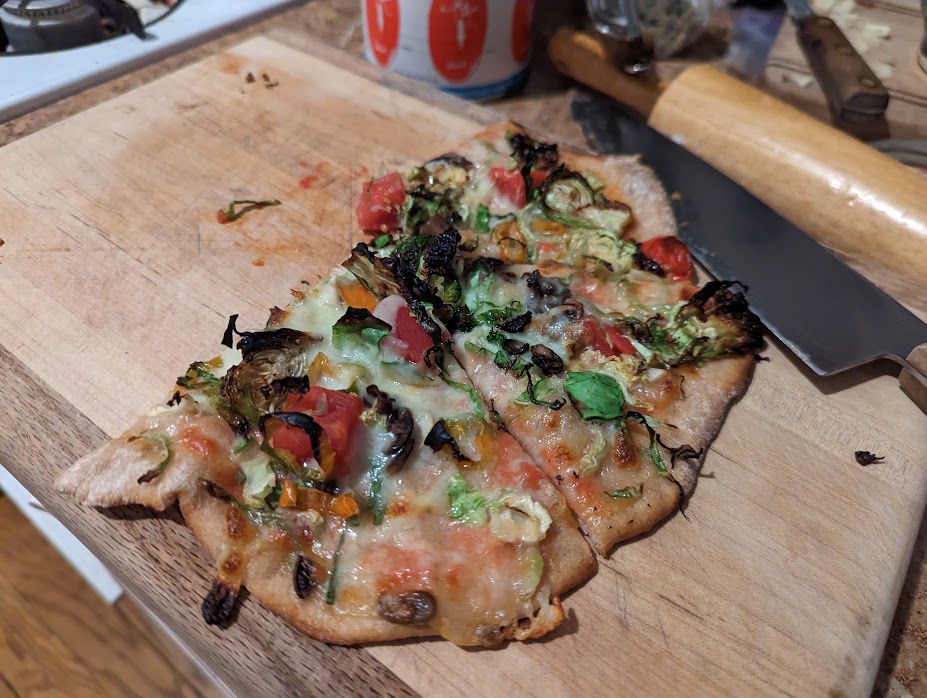
We made this on the recent very cold day. It was 24° in the afternoon and around 10° in the morning.
Sibling C and I have been working on the red and white bowtie quilt project. I finally finished sewing all the seams back together (although a second look-through showed that my initial standard for “good” may have been too low).
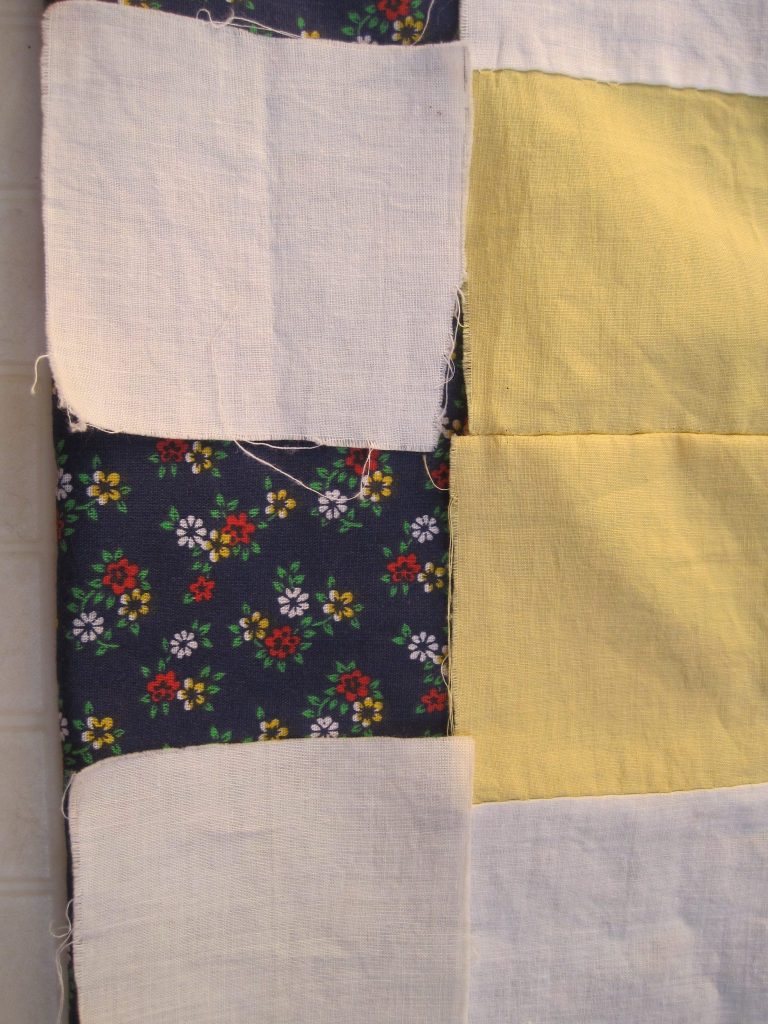
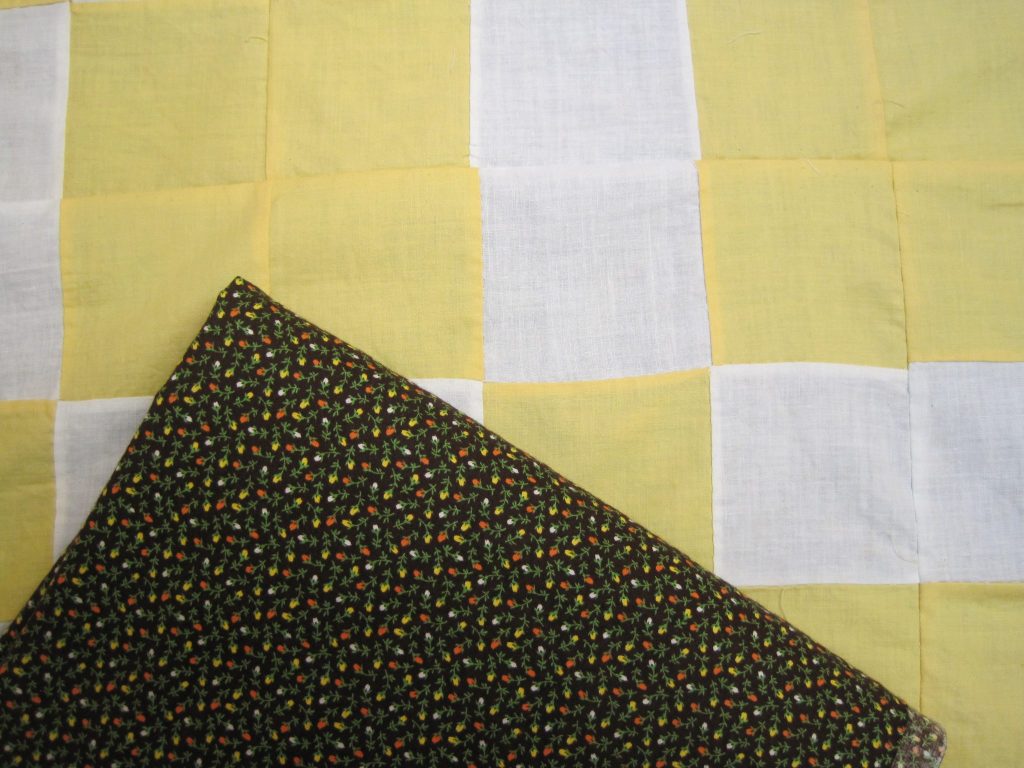
I assembled the back panel from some coordinating and some scrap fabrics. The brown floral fabric I mentioned in the last post is actually a large amount (maybe enough to make a dress), so I didn’t want to use it if possible. The tradeoff is that I had to do more piecing.
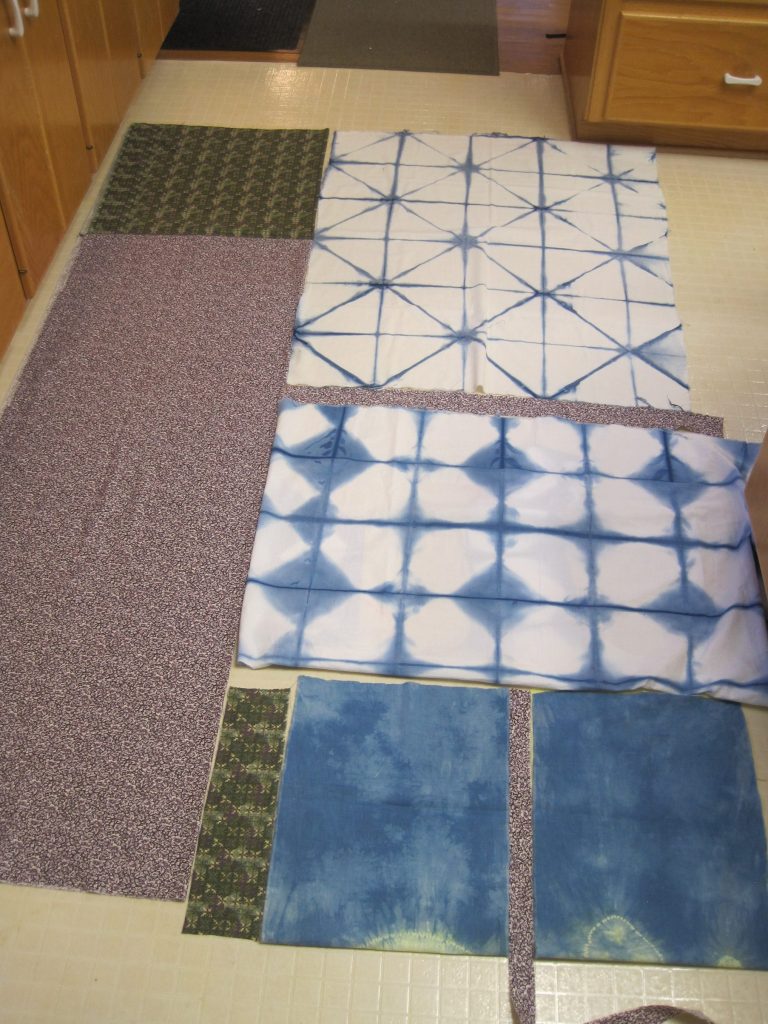
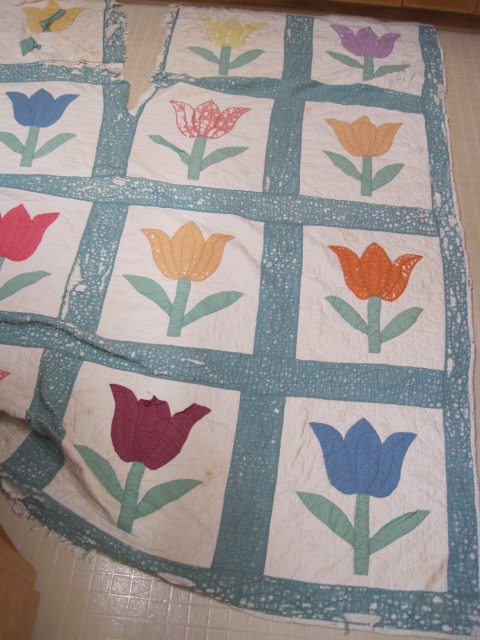
I bought a lovely but worn hand-sewn quilt from eBay to use as filling for this new quilt. Reusing an old quilt like this used to be more common, when fabric and batting was more valuable. Old blankets or sheets, for a lightweight quilt, can be used as well. Search on eBay using the keyword “damage” or “damaged” to find good quilt or blanket candidates.
The old quilt needed some repairs to make it useable. Sibling C and I sewed up that big rip and padded thin areas with scraps of cotton batting.
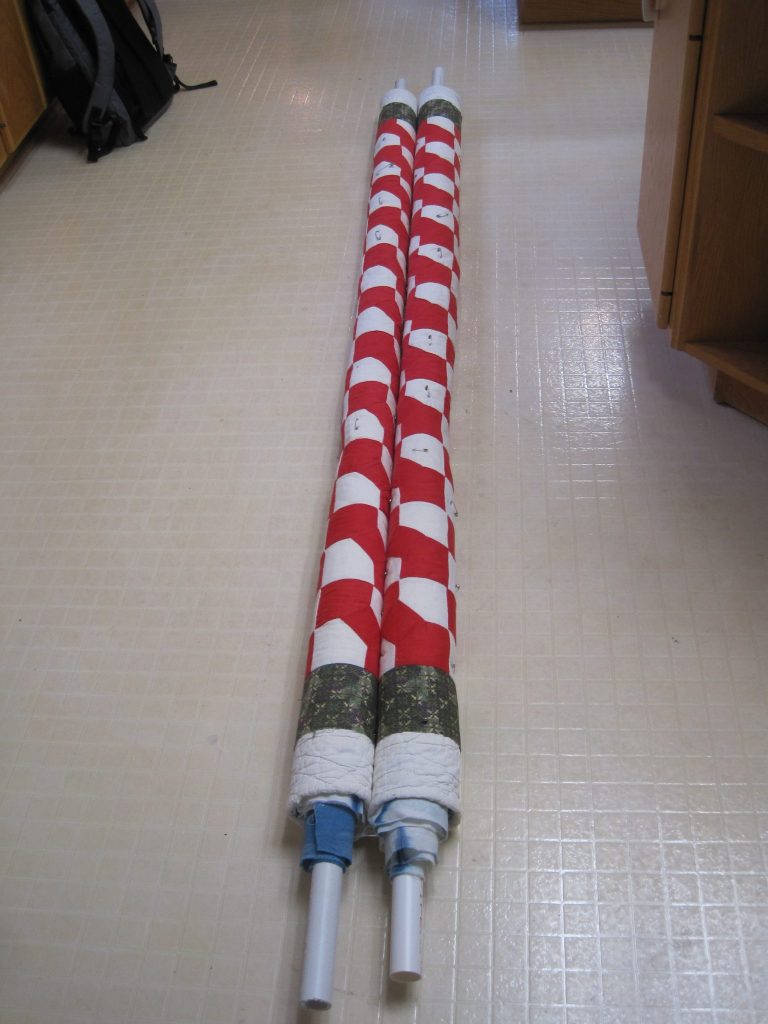
We’re in the quilting stage right now. The quilting pattern is pretty simple, just outlining the red bowties.
Since this quilt is pretty large (maybe 70″ x 78″) we used a special setup to get the excess fabric out of the way when working on it.
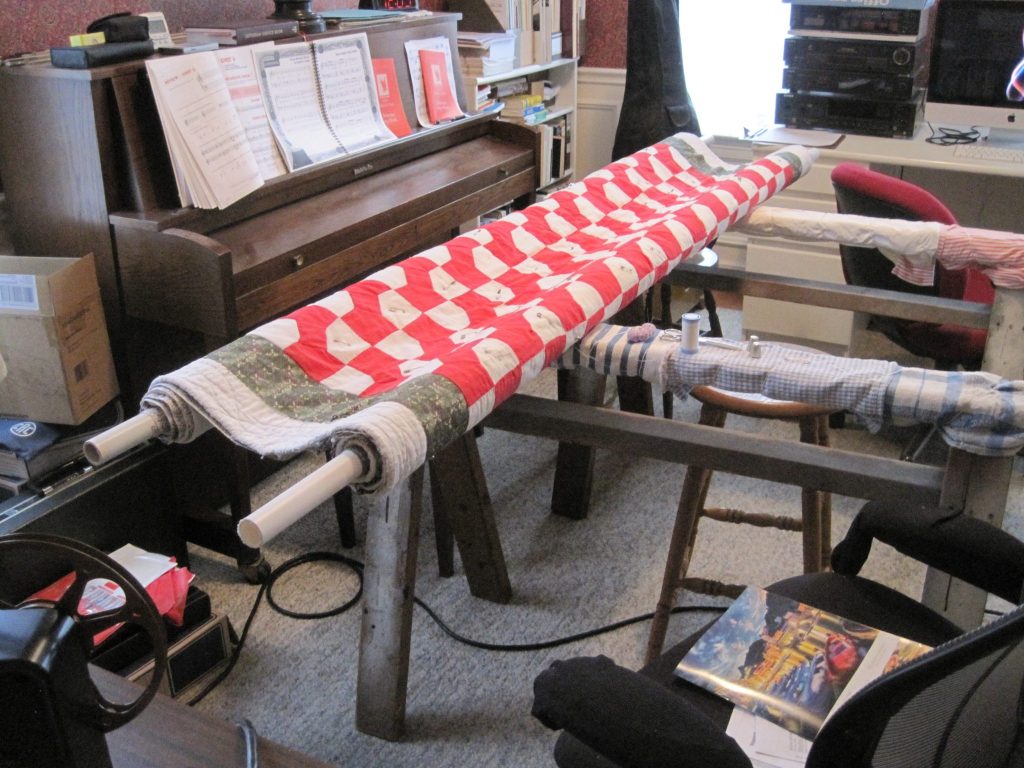
Still a lot of quilting left!
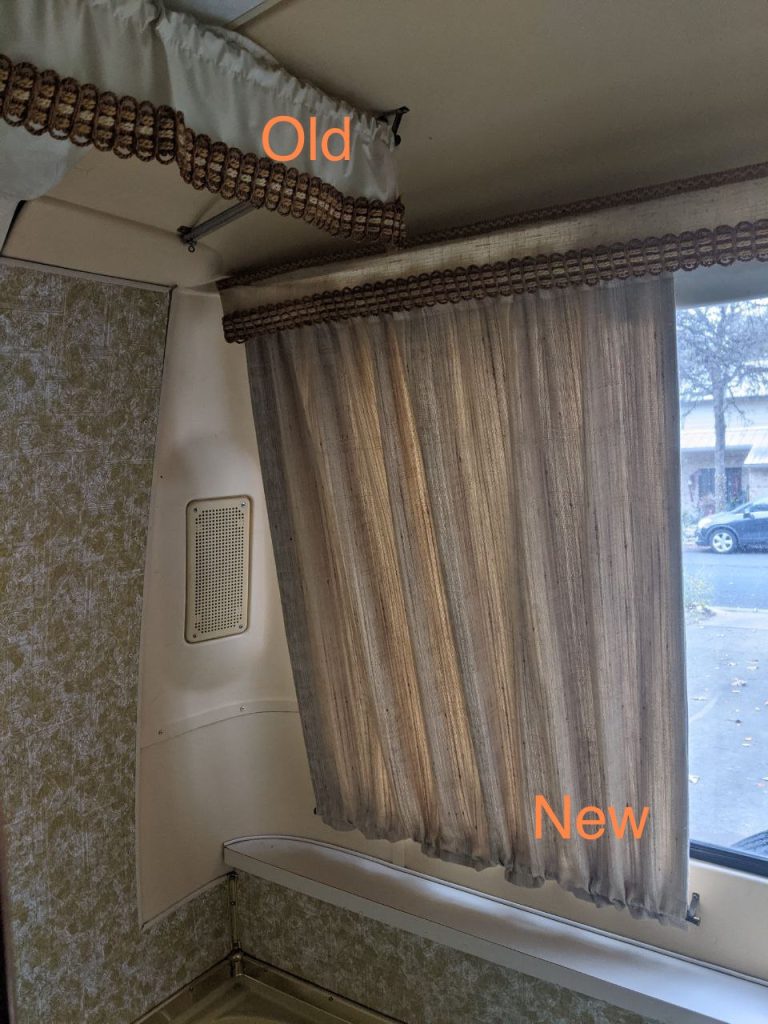
I received a surprise sewing request from my dad. He wanted a replacement curtain for the bathroom in his RV. The old one was falling apart — probably rotten from the sun. The fabric was an upholstery burlap with an interfacing layer for stiffness.
We measured the dimensions (essentially a square with some topstitching) and I duped it using surprisingly well-matched fabric from Austin Creative Reuse . The fabric was only $5.50!
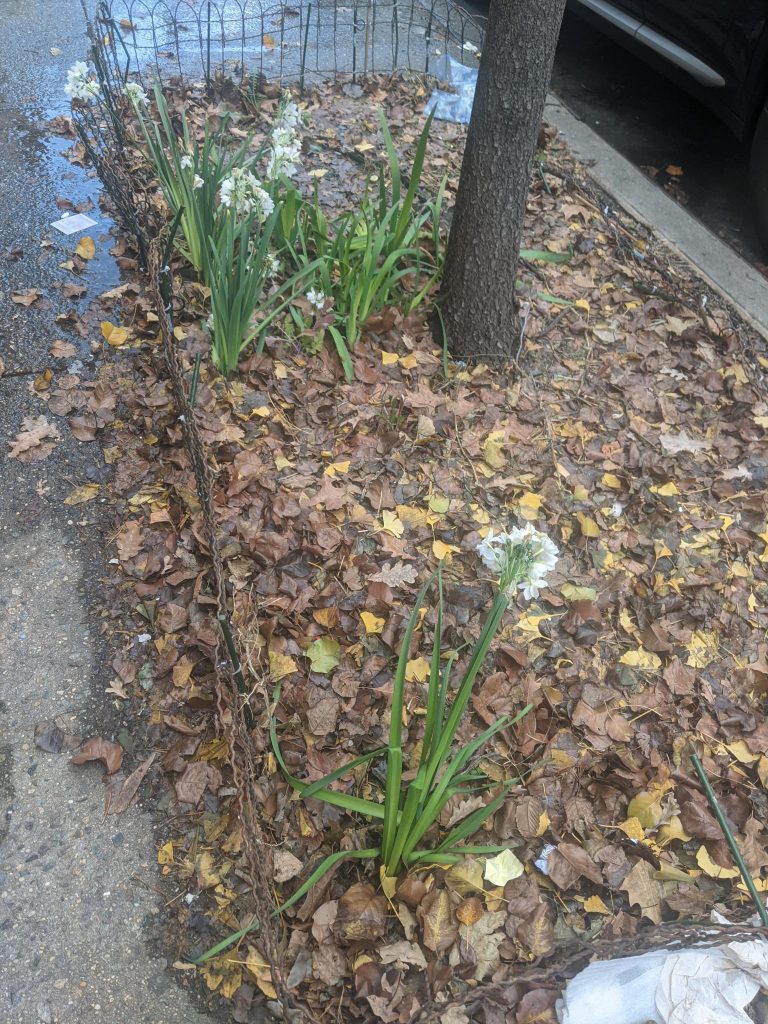
I got some free paperwhites to beautify my garden area with. I hope the obvious flowers will discourage owners from letting their dogs romp in the garden.
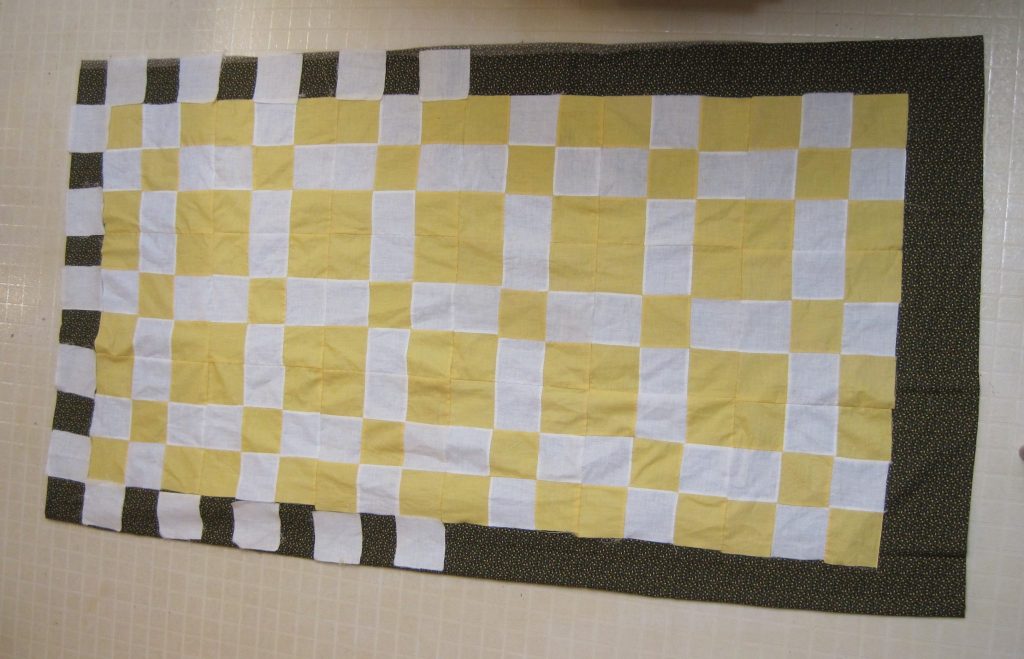
Besides the two already-assembled quilt tops, my grandma had a collection of matching quilt blocks. I turned them into a small quilt (my first!) last Christmas.
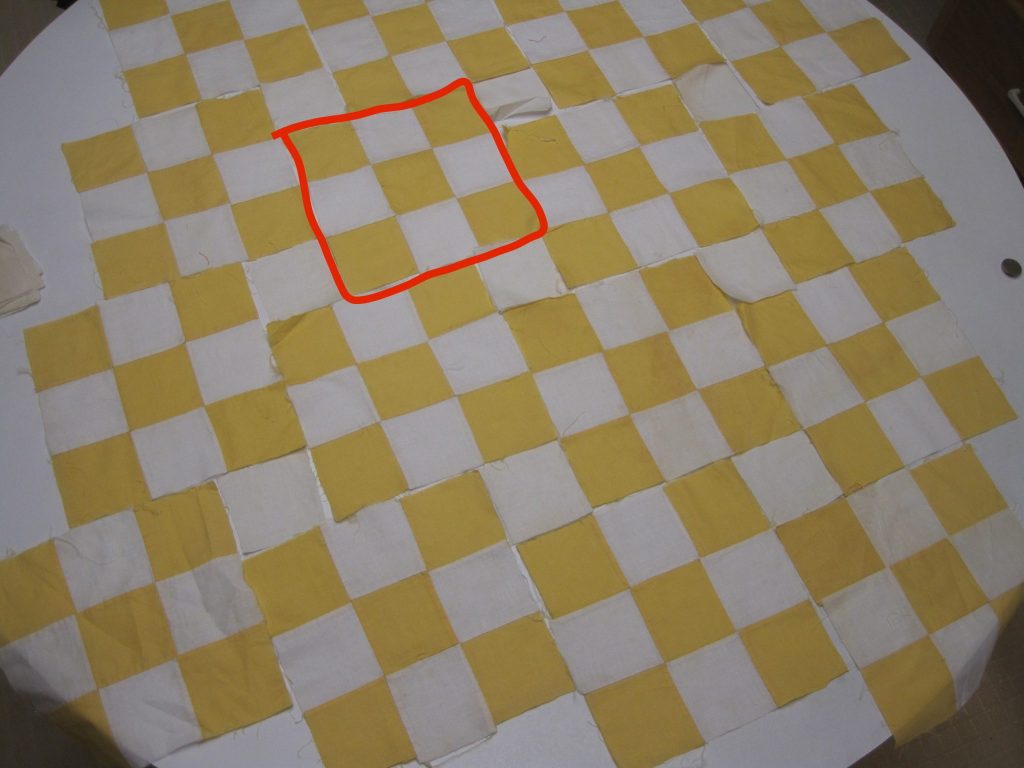
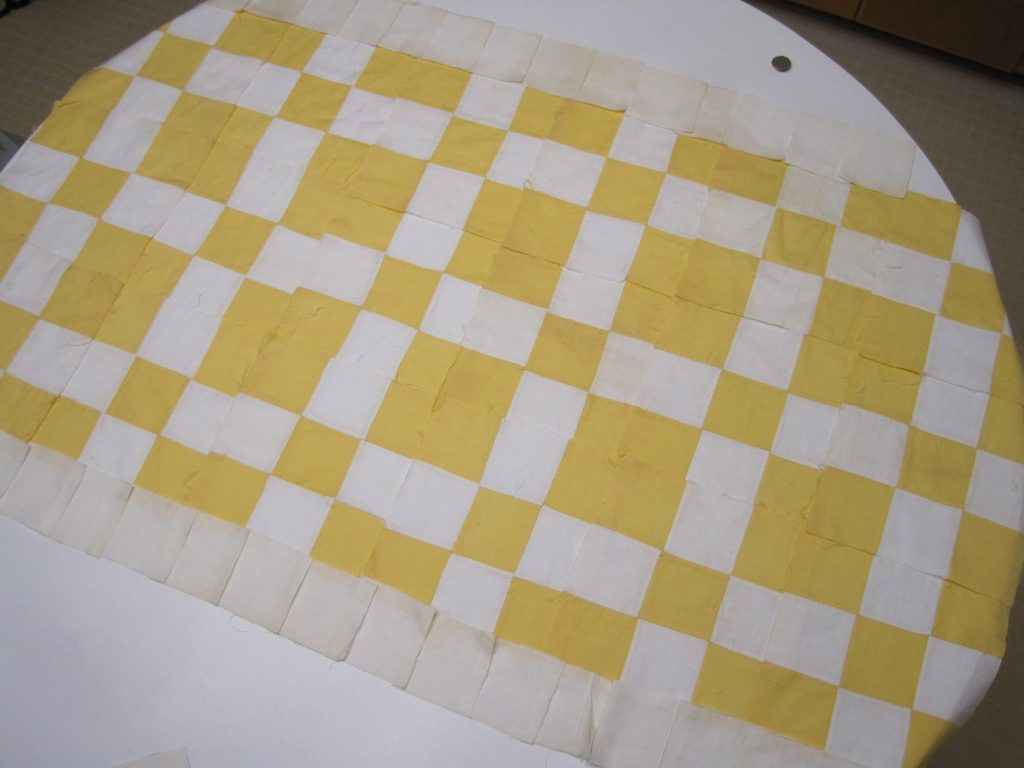
There weren’t that many blocks, though, only enough to make a lap quilt. Neither of the layouts I tried seemed particularly appealing (at first). I settled on the second since it wouldn’t require making additional pieces.
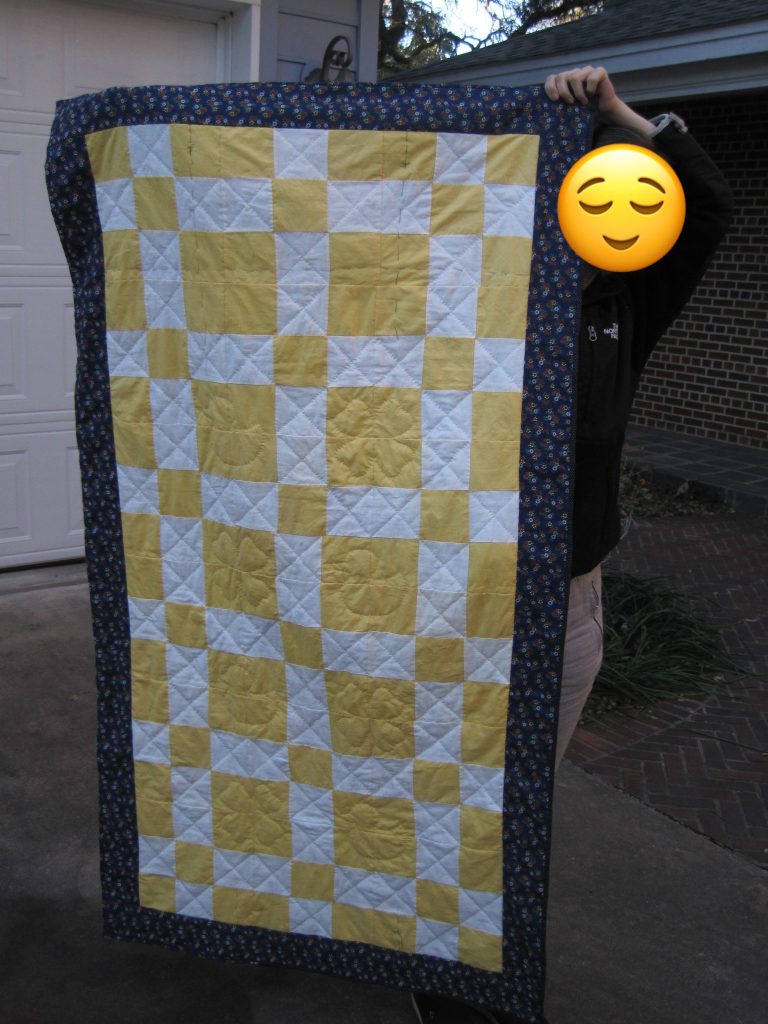
Every step of quilt-making is more laborious and time-consuming than you’d expect.
Before working on this project, piecing seemed like it would take the most time. You have to collect scraps, decide on a pattern, cut and sew everything pretty precisely, and iron everything. Often people use complicated patterns that have super tiny pieces or need some fancy geometry knowledge. Check out the quilting subreddit for examples of fancy quilting projects.
BUT it turns out that piecing with a sewing machine is the fastest part! Sibling C and I sewed the binding on and quilted by hand. It took maybe 40-50 hours between the two of us.
I’m not eager to work on the much-larger red and white bowtie quilt.
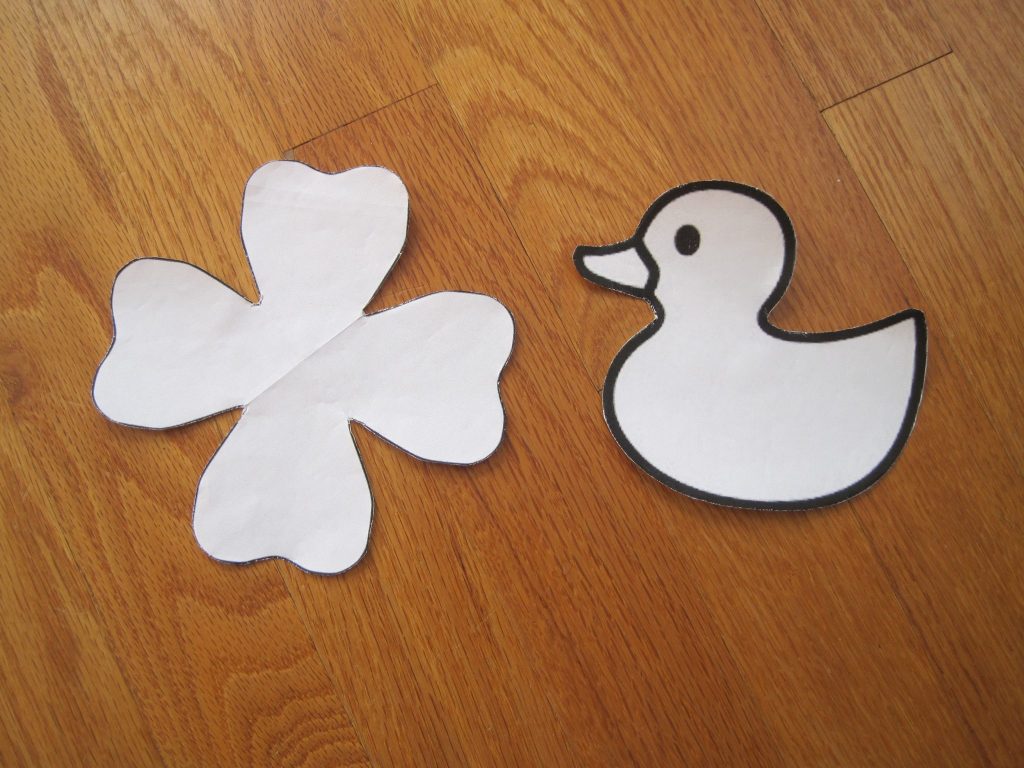
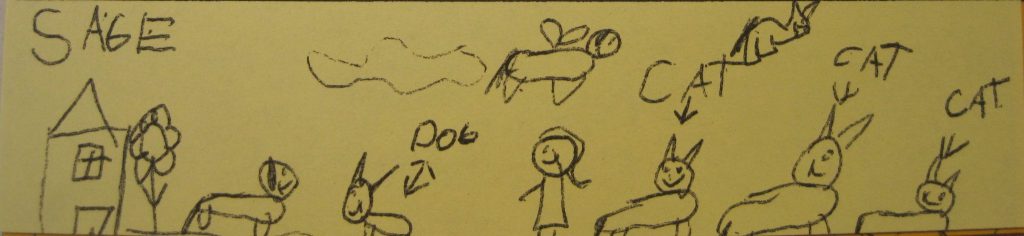
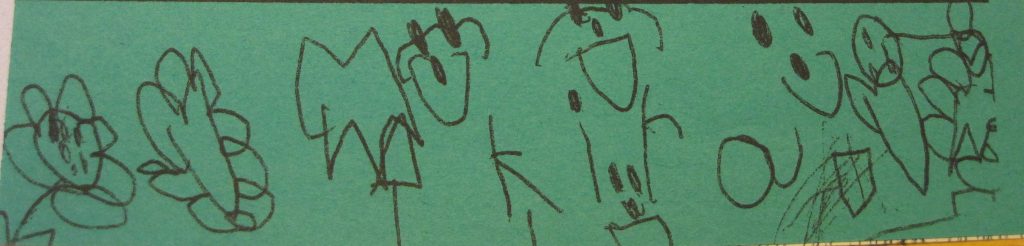
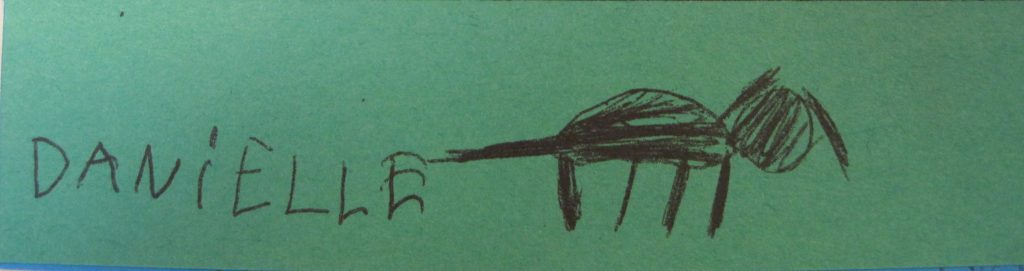
A selection from my kindergarten class. Each student contributed a drawing to a small book that was printed and shared. Students clearly had different interests and abilities.
I made a pair of lounge shorts a while ago. This was before I had my sewing machine, so I had to do everything from hand. Not my favorite, but you do have a lot of control over where the stitches end up!

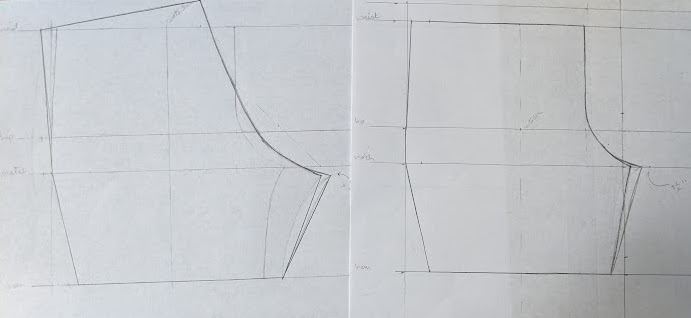
Forgot to take a picture of the finished product, but it wasn’t that good. I gave them away sometime.
I used French seams but had a little trouble doing that with inseam pockets. And did a little research on dominant seams (whether to sew sleeve in first or sew sleeve in after doing side seam, or sew the crotch seams or leg seams first).
Bonus: A setting in sleeve tutorial