These recipes combine a Betty Crocker recipe and one from my grandma. It is surprisingly fast to make!
Chocolate pudding
- 1/3 cup sugar
- 2 Tbsp cornstarch (or other refined starch) or 4 Tbsp flour
- 1/3 cup cocoa powder
- 2 cups milk
- 2 egg yolks, beaten
- 2 tsp vanilla
Mix sugar, starch, and cocoa powder in pan, being sure to remove lumps – sift if needed. Combine milk and egg yolks. Gradually add to pan. Cook over medium-low heat, stirring constantly, until mixture thickens and boils. Let boil for 1 min, then remove from heat. Stir in vanilla. Chill.
Vanilla pudding
- 1/3 cup sugar
- 2 Tbsp cornstarch (or other refined starch) or 4 Tbsp flour
- 2 cups milk
- 2 egg yolks, beaten
- 2 Tbsp butter
- 2 tsp vanilla
As above, stirring in butter with vanilla. Chill.
Tips
- If you are having trouble with lumps forming during the cooking process, use a whisk to stir vigorously and make sure the heat is on low. As a last resort, strain the pudding after cooking. Do it fast before the pudding cools and thickens.
- I’ve only used the starch for this recipe. Flour has approximately half the thickening power of pure starch, so the flour amount provided should be about right, but you might need to adjust a bit.
- For thicker, richer pudding, replace some of the milk with cream and/or boil for longer than 1 min to reduce the water content.
- Butterscotch variation: substitute 2/3 cup brown sugar for sugar in vanilla pudding recipe.
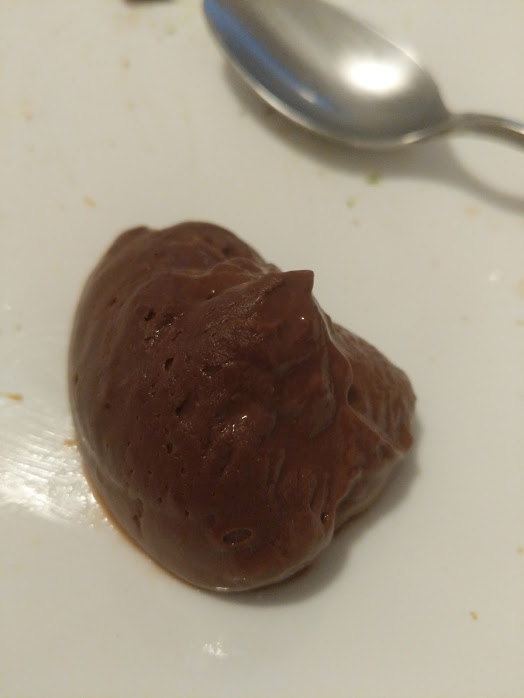
- I find this pudding to have a gelled consistency rather than a gloopy consistency. If you want more gloopiness, try decreasing the amount of starch/flour.