Last Saturday, we tried to go to a Japanese-English language meetup (they serve takoyaki afterwards). Because it’s in the far-away city of Cupertino, we decided to make a full day of it and spend time at museums in the area. Unfortunately, it turned out that we had gotten the date wrong and the meetup wasn’t happening… ;_; Ummmm
But the trip was totally worth it! We did lots of other exciting things.
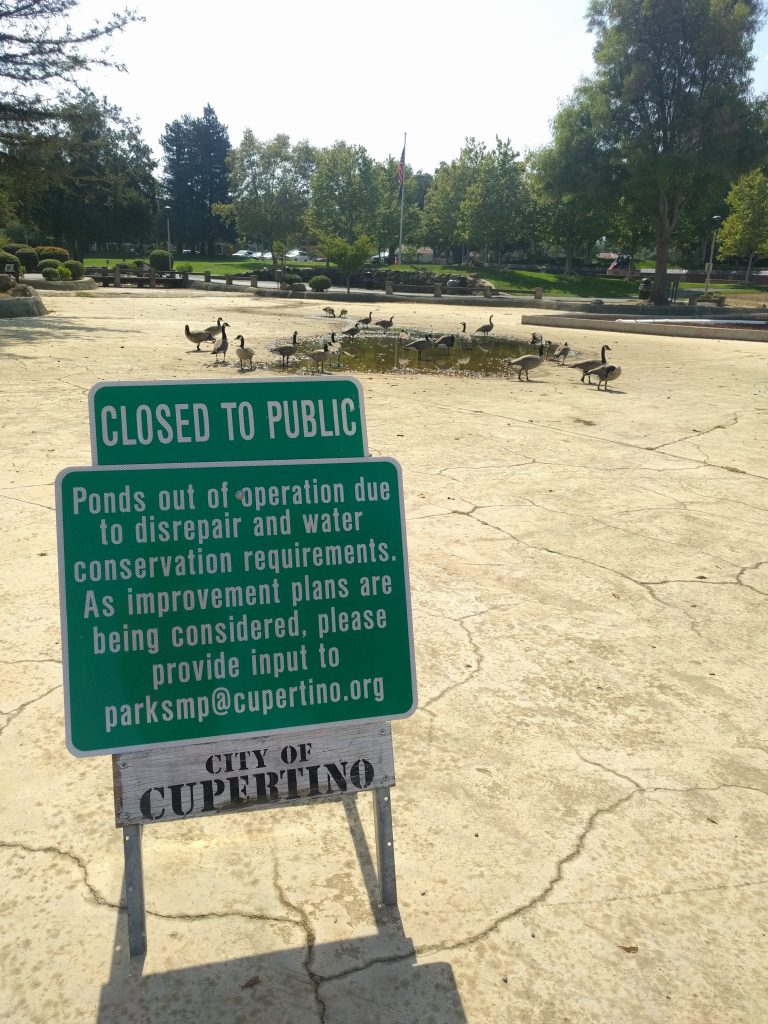
The first planned activity was the Cupertino Historical Society. It’s a very small museum inside the Cupertino community center. Turns out that it’s free (although J left a donation), which is always nice. Afterwards we wandered around the park behind the community center. We ate our box lunches while gazing out over the pond. I believe I had leftover pasta and split peas.
Fortuitously, Cupertino was having it’s community-wide garage sale last Saturday! I love garage sales!!
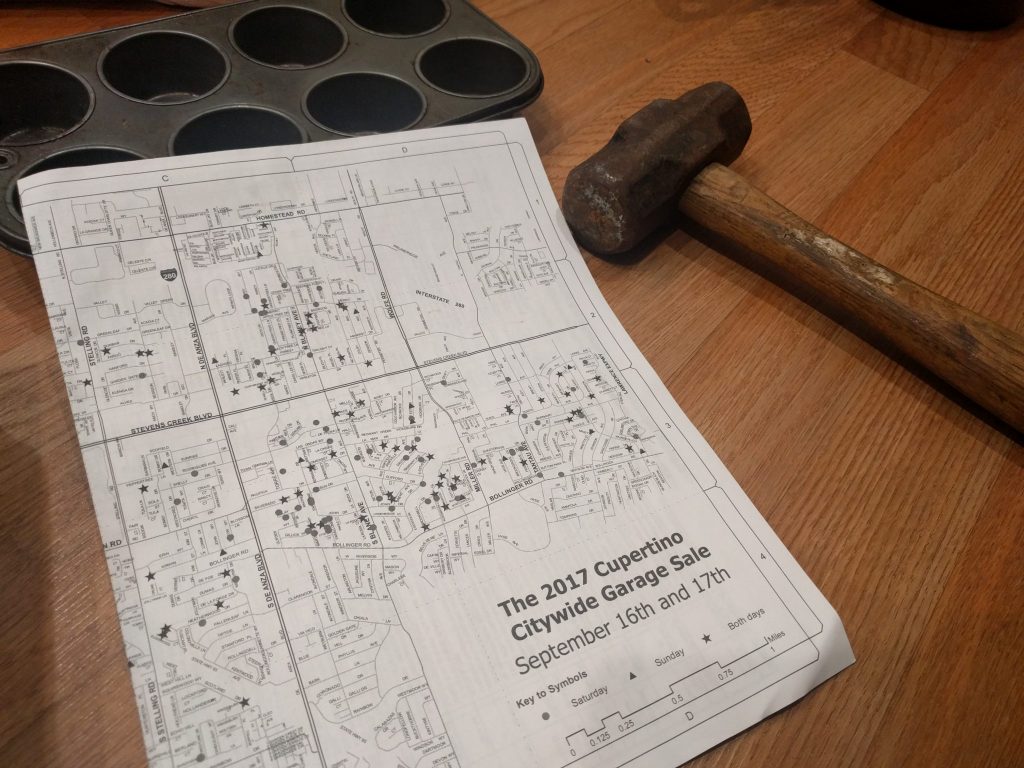
J and I went to several together, and I went to several more alone (while J attempted to attend the language meetup).
I got:
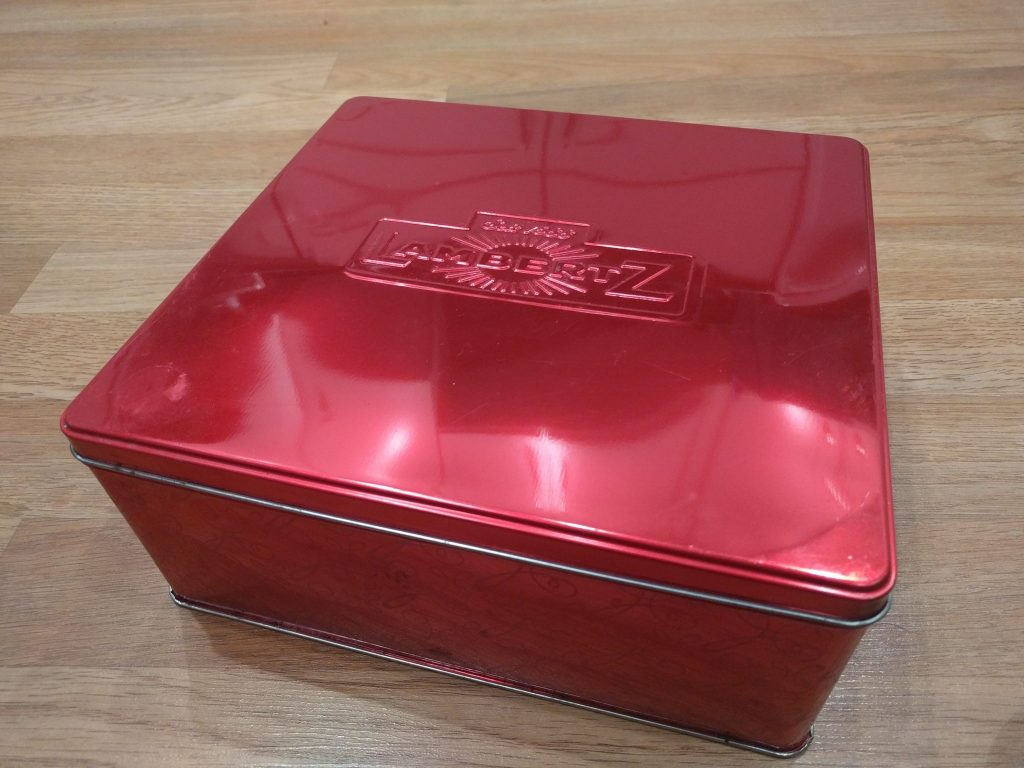
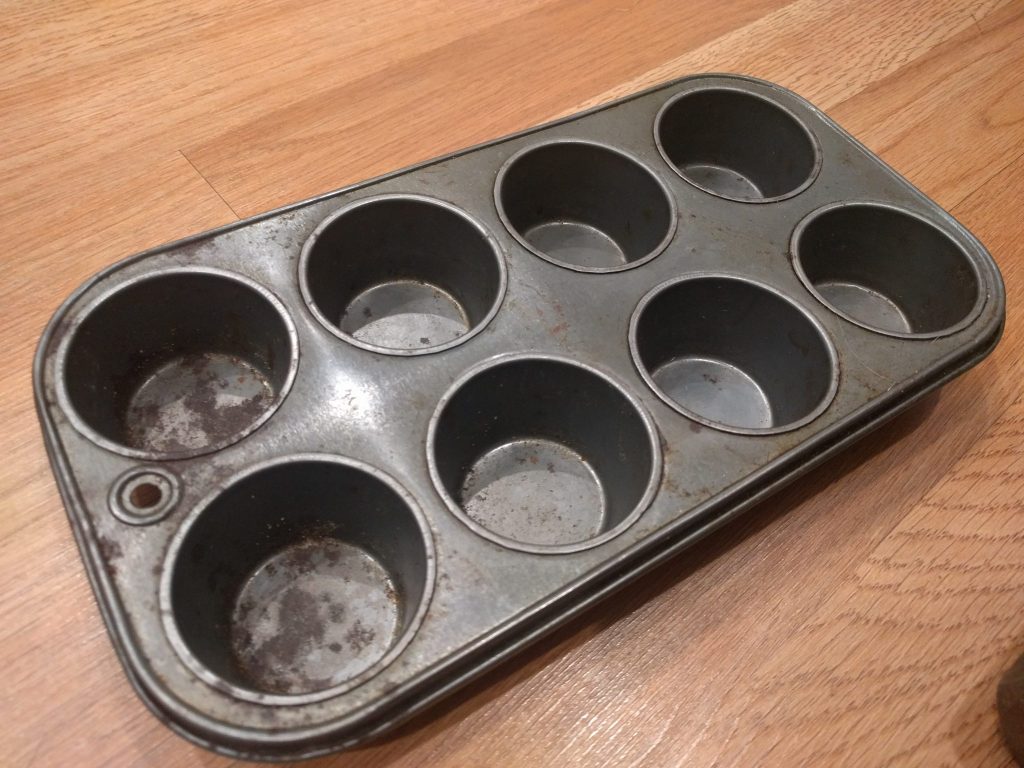
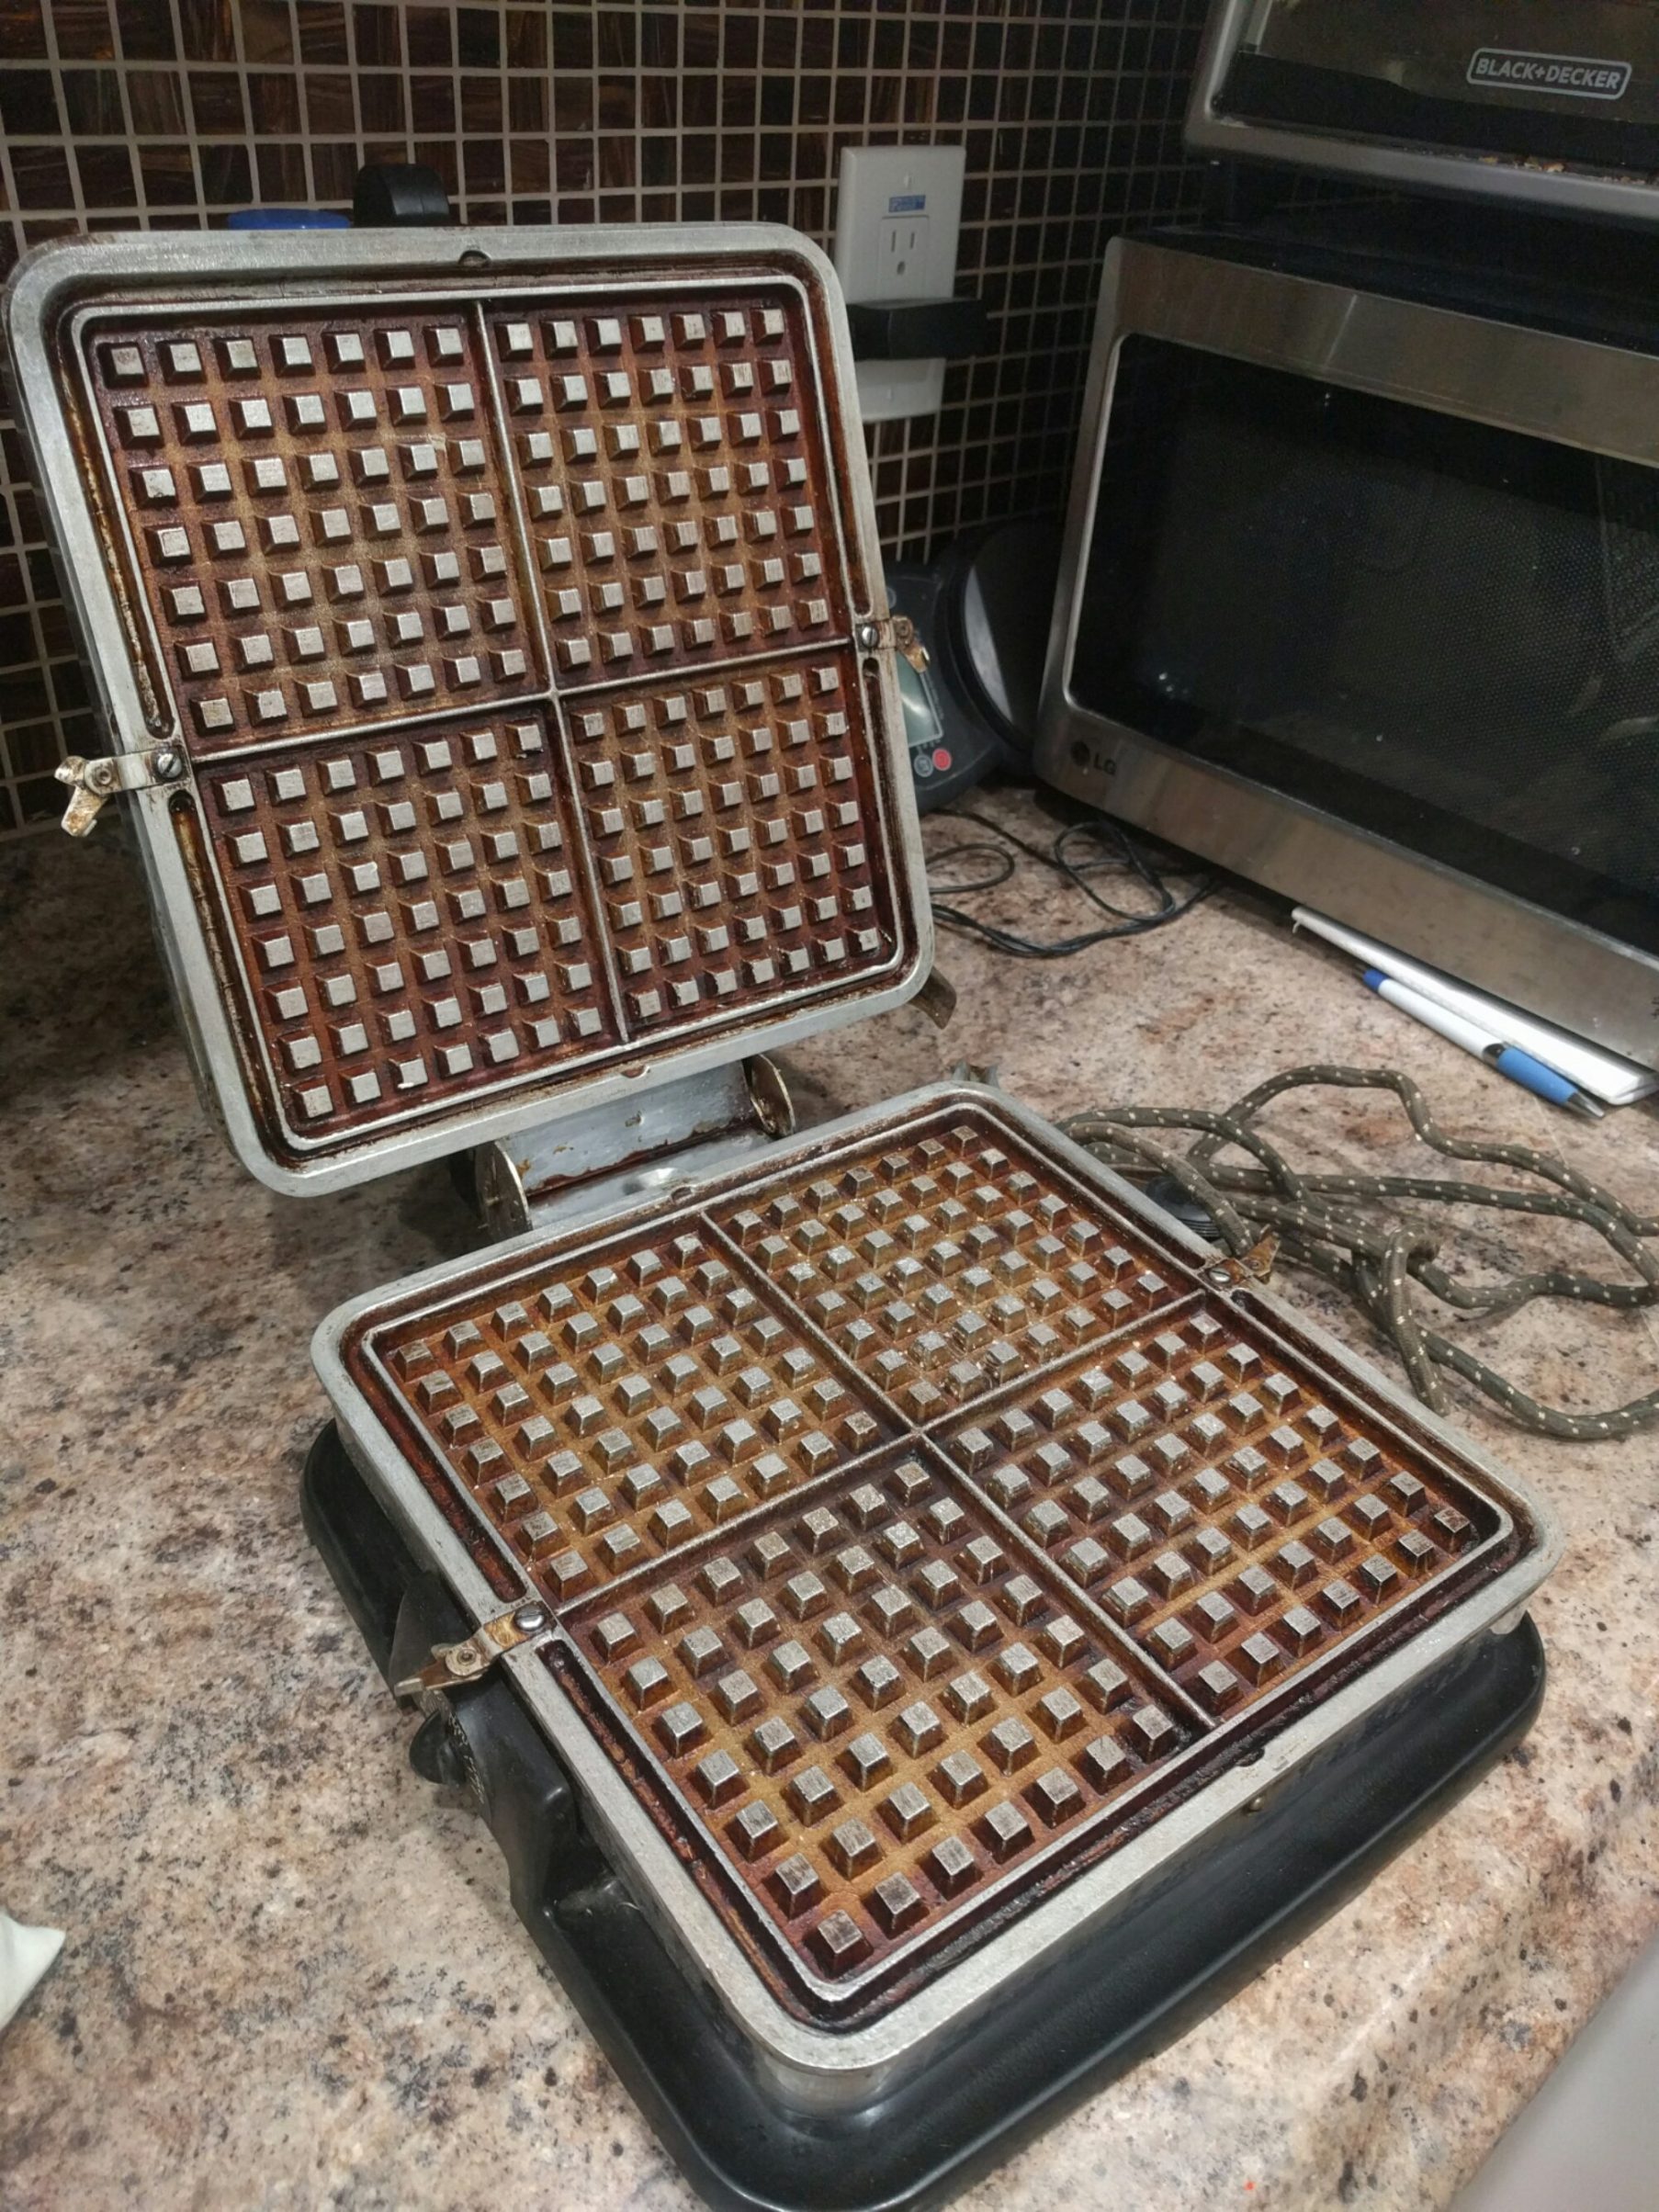
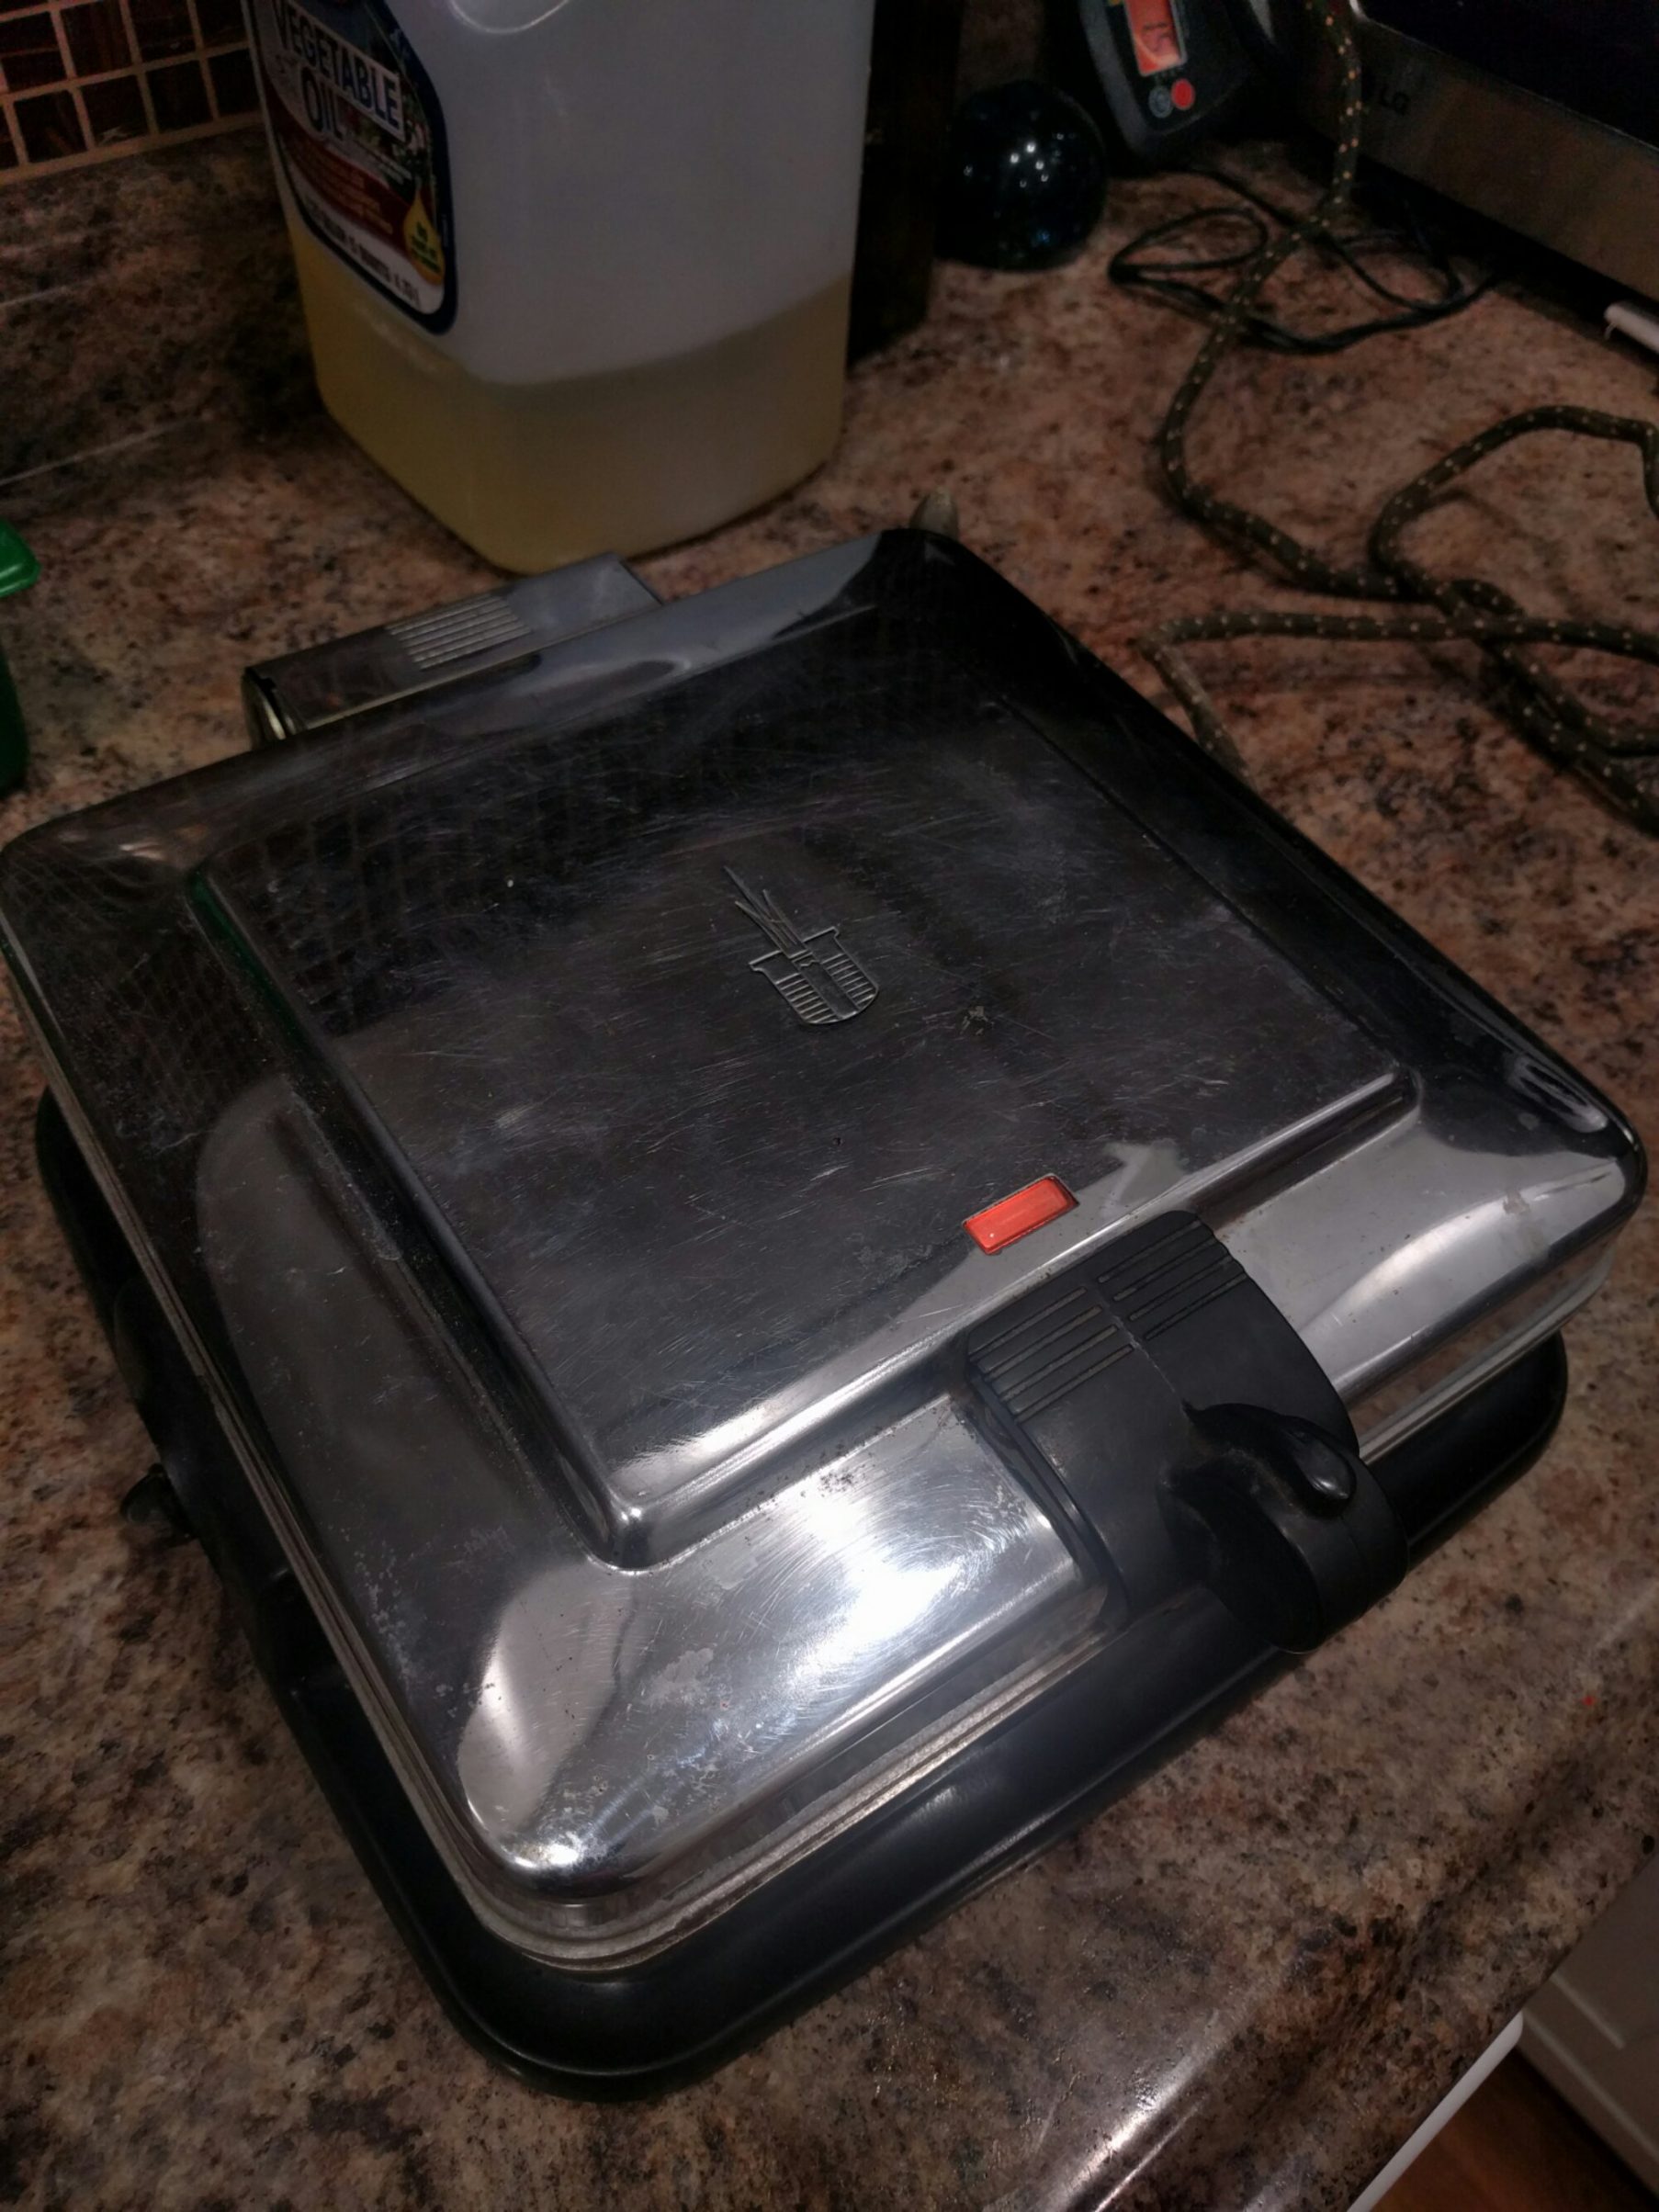
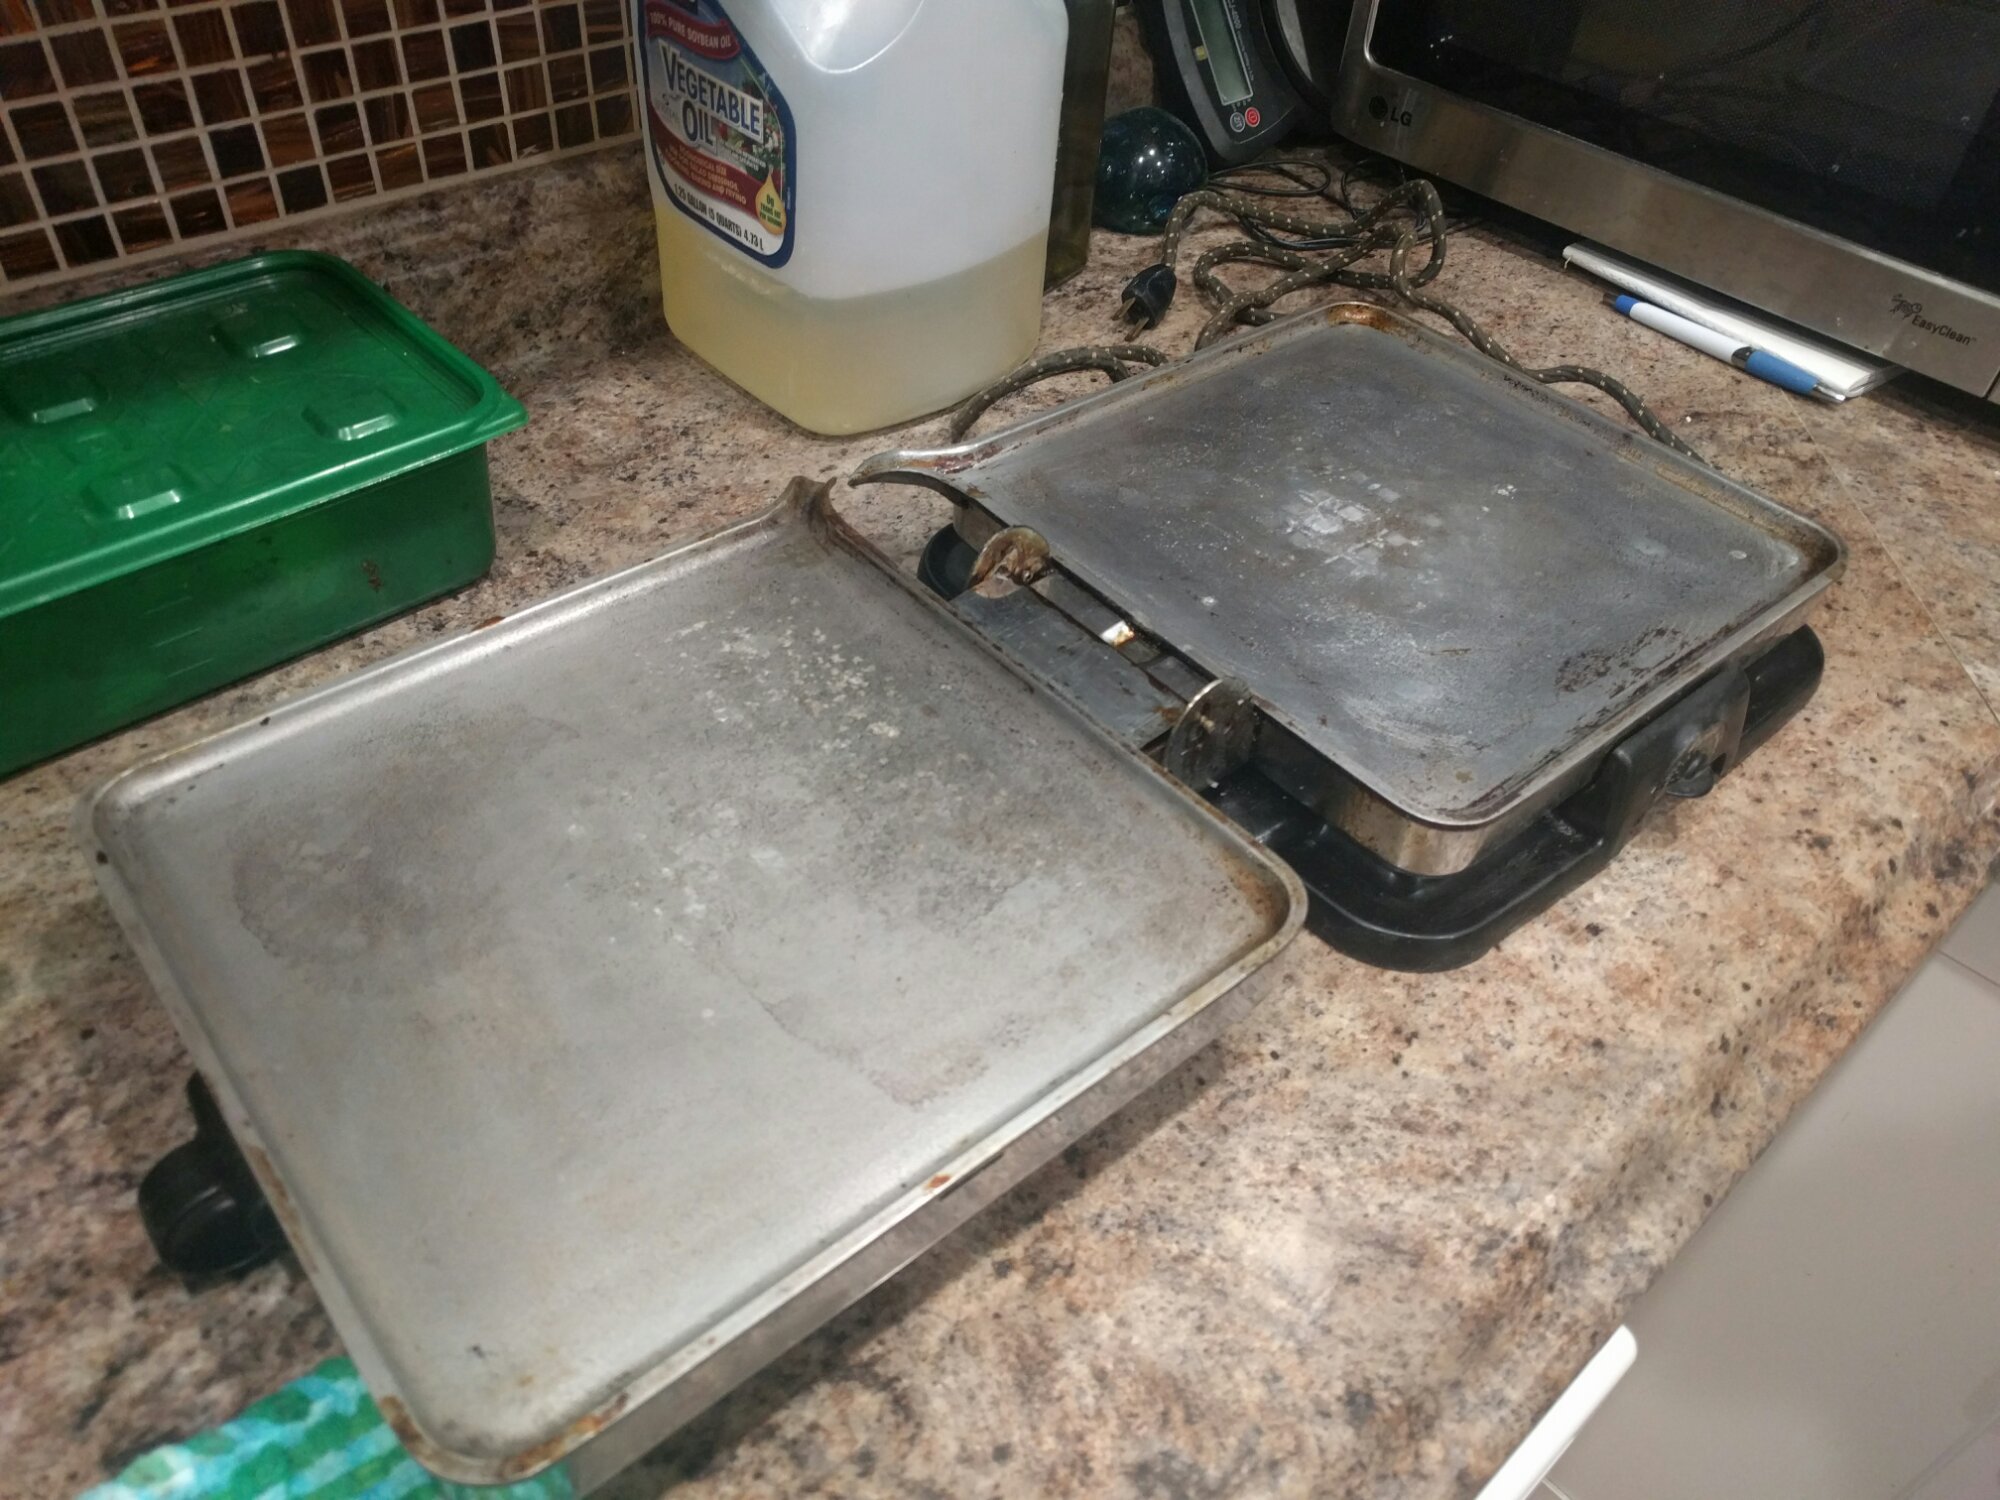
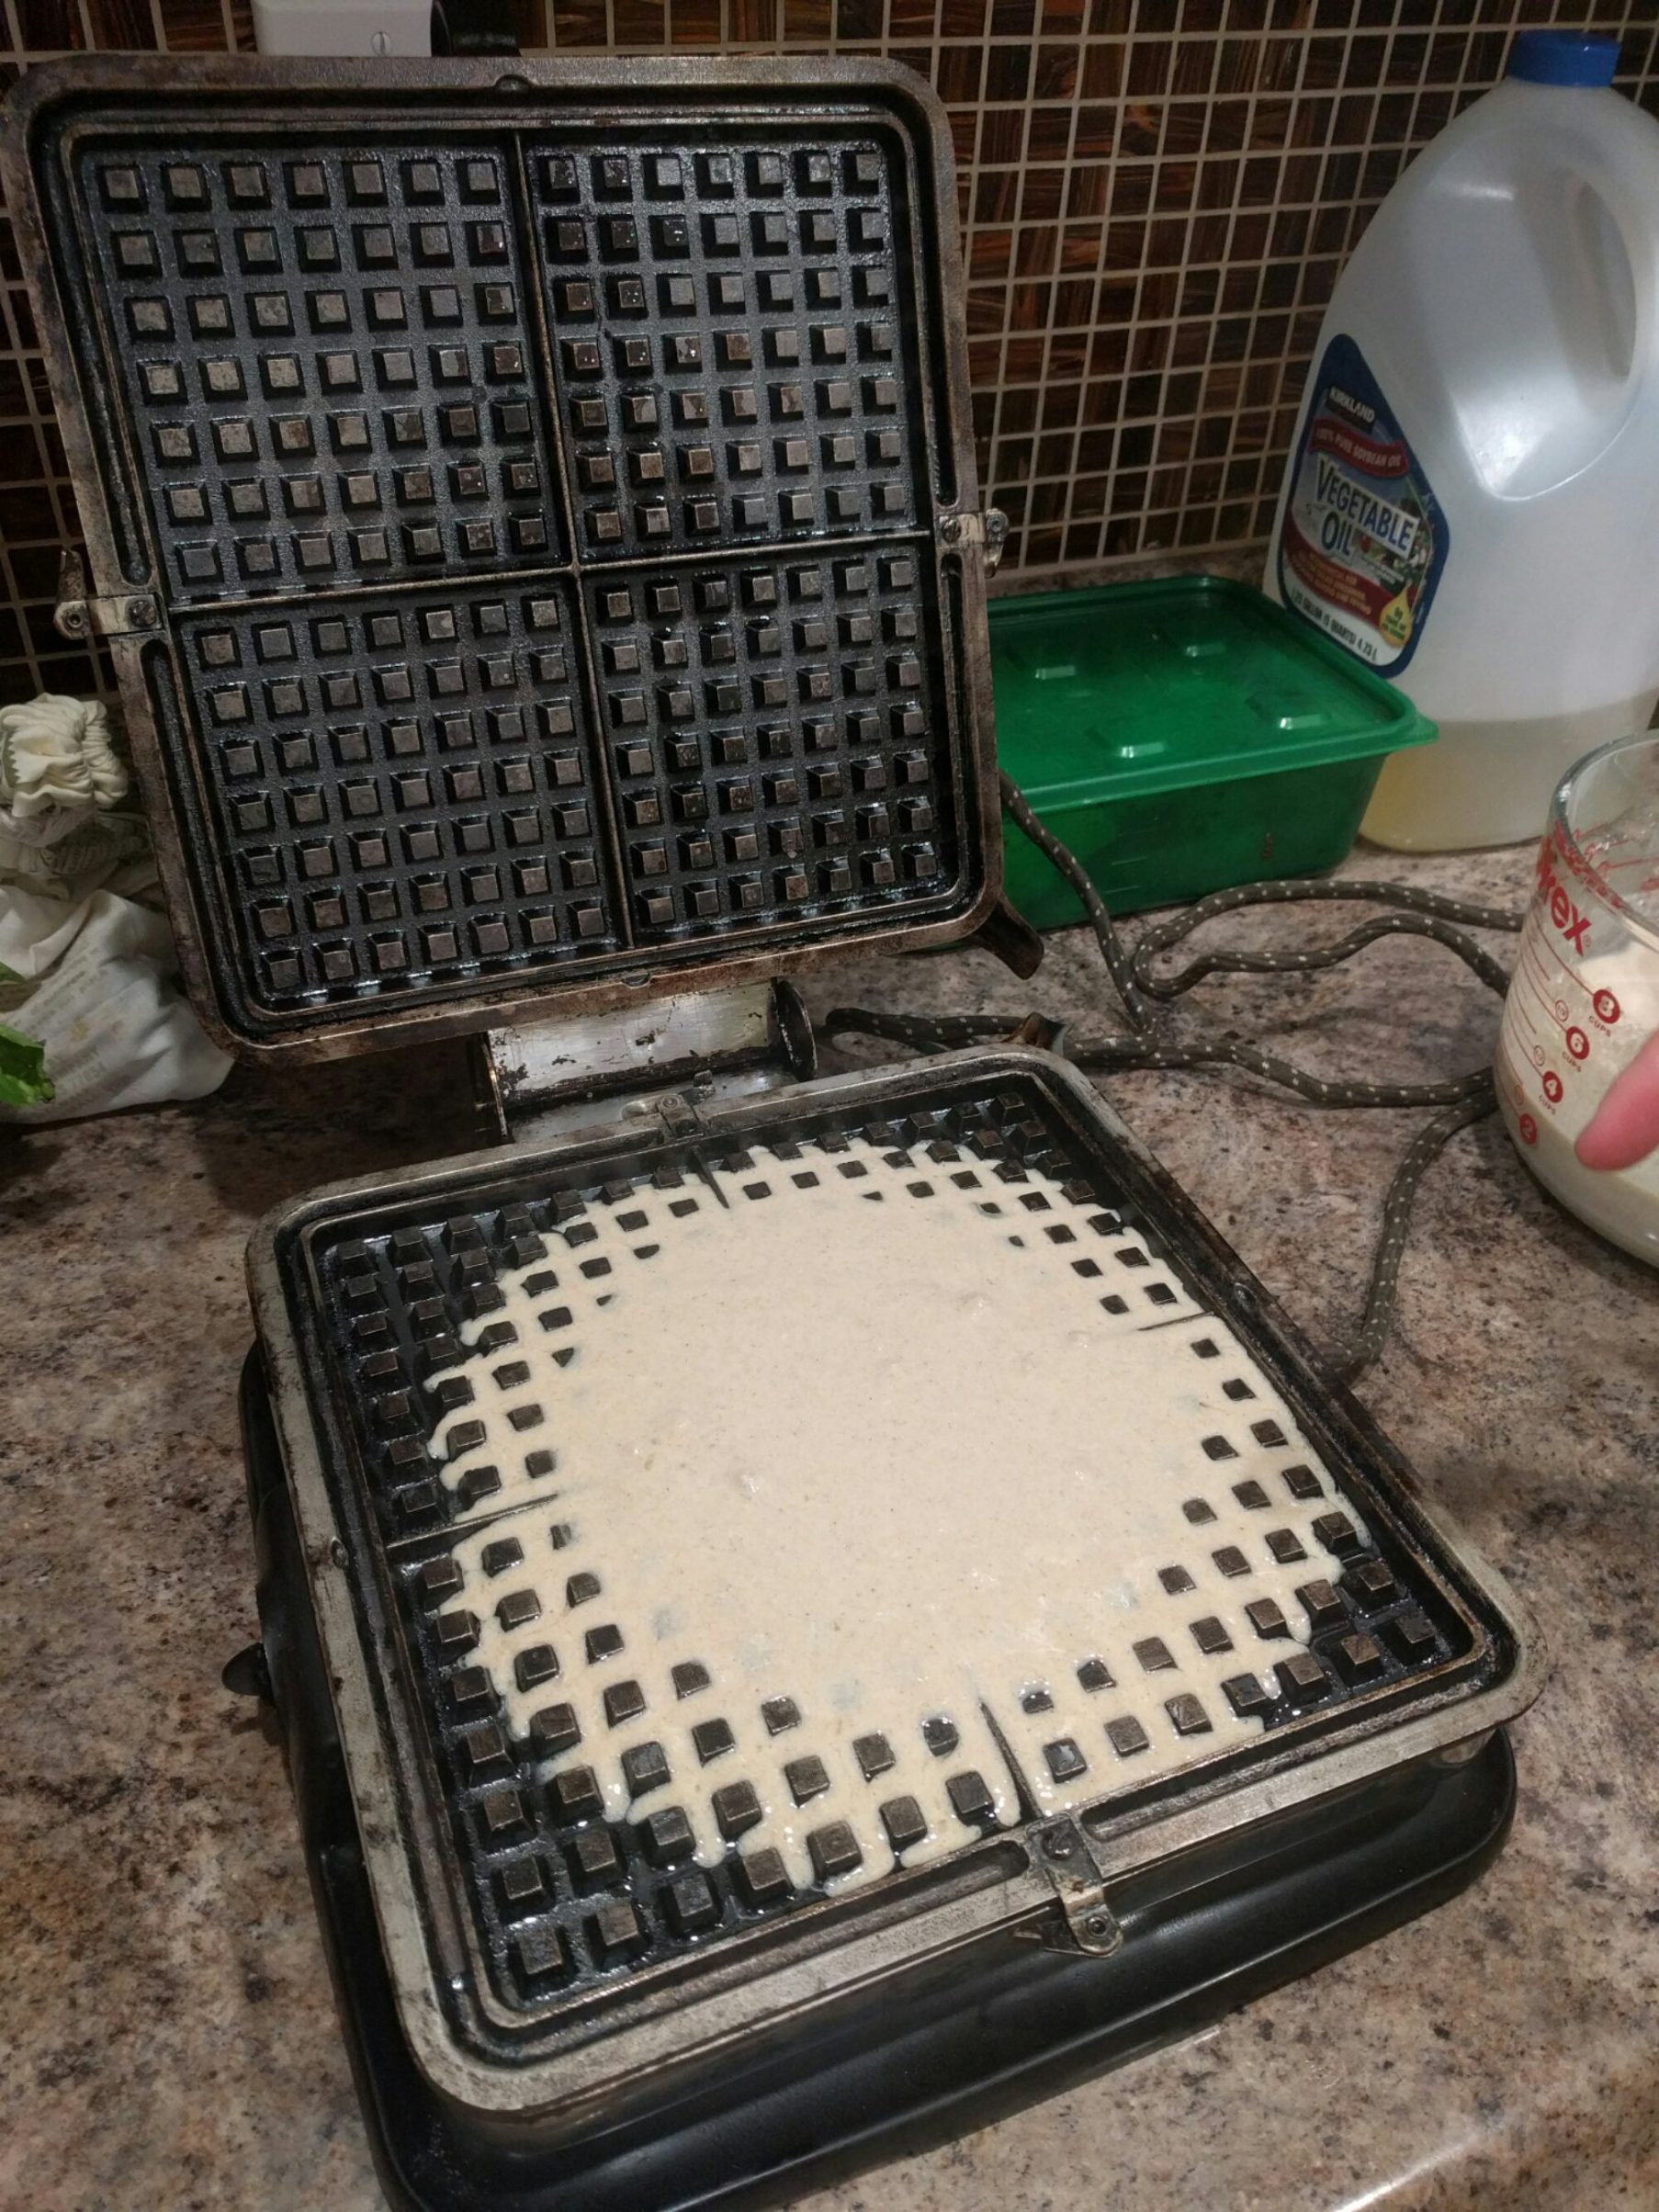
and the aforementioned waffle iron. All these were from a single jackpot sale! A middle-aged man and his parents were cleaning out the parents’ home, so most of the items were mid-century (hence the waffle iron). There was also lots of old tupperware, many other cookie and fruitcake tins (reminds me of my family!), old electronics, etc.
While I was going to garage sales, J got dinner and boba.
We went to Sprouts and Whole Foods afterwards. Sprouts has some weird bulk items, like chocolate-covered honeycomb. Surely people don’t eat the honeycomb. Isn’t it made of beeswax??
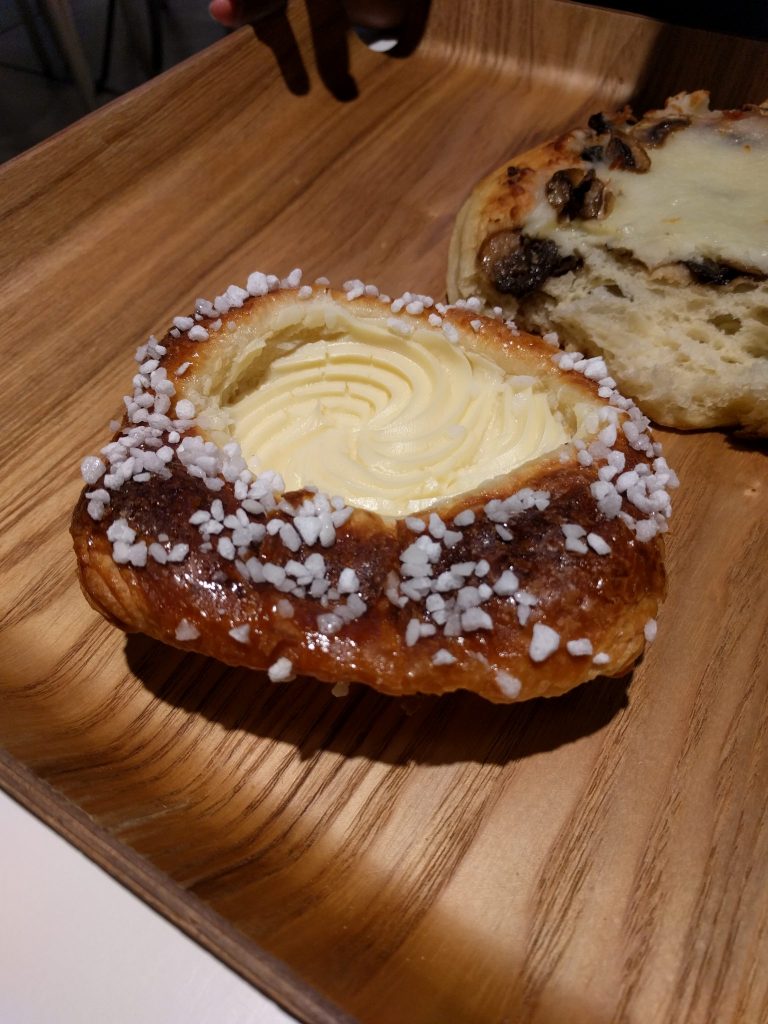
After-afterwards we got bread at Paris Baguette, a Korean bakery chain.