

On Saturday, I went to sewing hour at my local library. (There are sewing machines available for public use!) There are always more projects to work on, and items to repair!
I’ve been modifying a shirt I made a few months ago. The collar was a little short, and I had forgotten to trim the seam allowance to make room for the collar buttonhole. I’ve been reading Shirtmaking by David Coffin, which spurred me to try to make improvements.
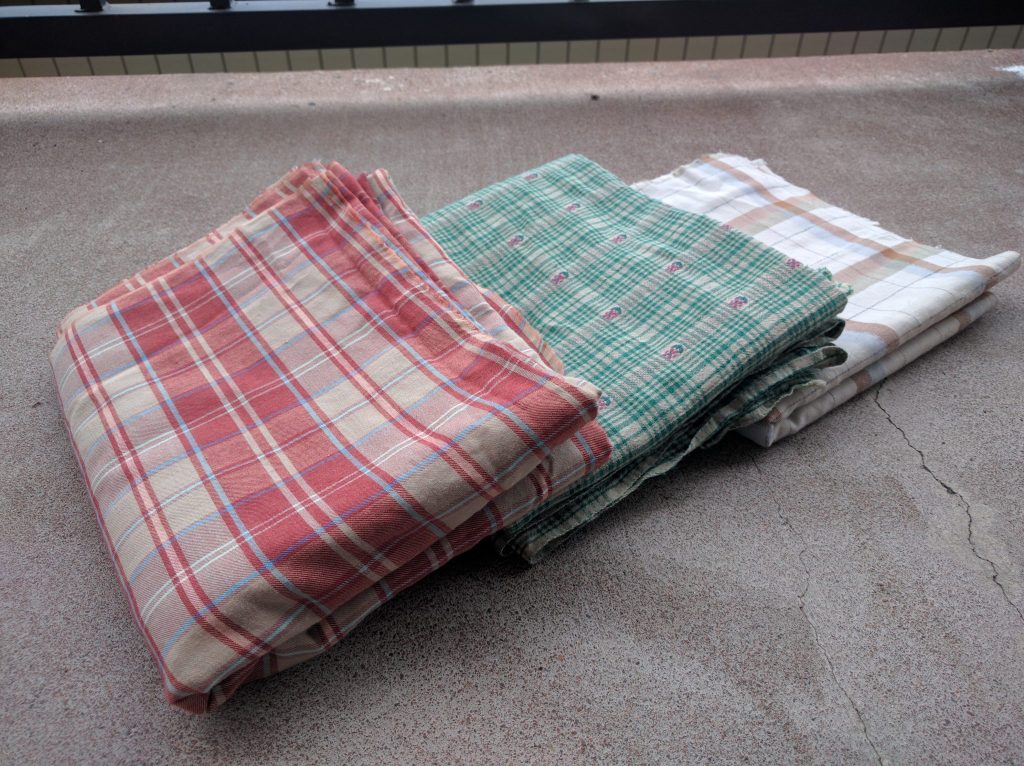
The waist elastic on a pair of my pajama bottoms died recently, so I replaced it with a drawstring.
And I’ve started making an undershirt with some thrifted fabric. I don’t like the fabric that much, definitely not enough to use it for a shirt, so I’m using it as muslin.
Because the fabric is woven (not knit, as is used in most underwear), I wanted to cut the fabric on the bias instead of on the straight grain. Doing so gives the finished garment some side-to-side stretch. However, it makes the garment more difficult to construct, and is a technique I’ve never used.
So I was looking for a pattern to use, maybe vintage (a lot of old lingerie was made using bias-cut woven fabrics for stretch), with specific instructions on how to deal with bias. I never did find what I was looking for, but I did find a few good resources:
MakeMyPattern.com A completely free website that helps you generate custom patterns to fit particular measurements.
Archived tips on sewing on the bias from a 1940s sewing book Thanks, Wayback Machine!
I used the A-shirt pattern, basically a tank top, from MakeMyPattern.com. I modified the pattern to be a little smaller, but it’s too small now 🙁 I’m going to add gussets to the side seam to add ease to the chest and hips areas. I’ll let you know how it goes!